It’s been over a month since I last posted. I have been busy these days at work and remodeling my bedroom, but at the end of the day, I simply haven’t made time for the blog. A lot has gone on, but I’ll keep this to the highlights, and then I plan to post a Reflection piece with more info.
FOOD
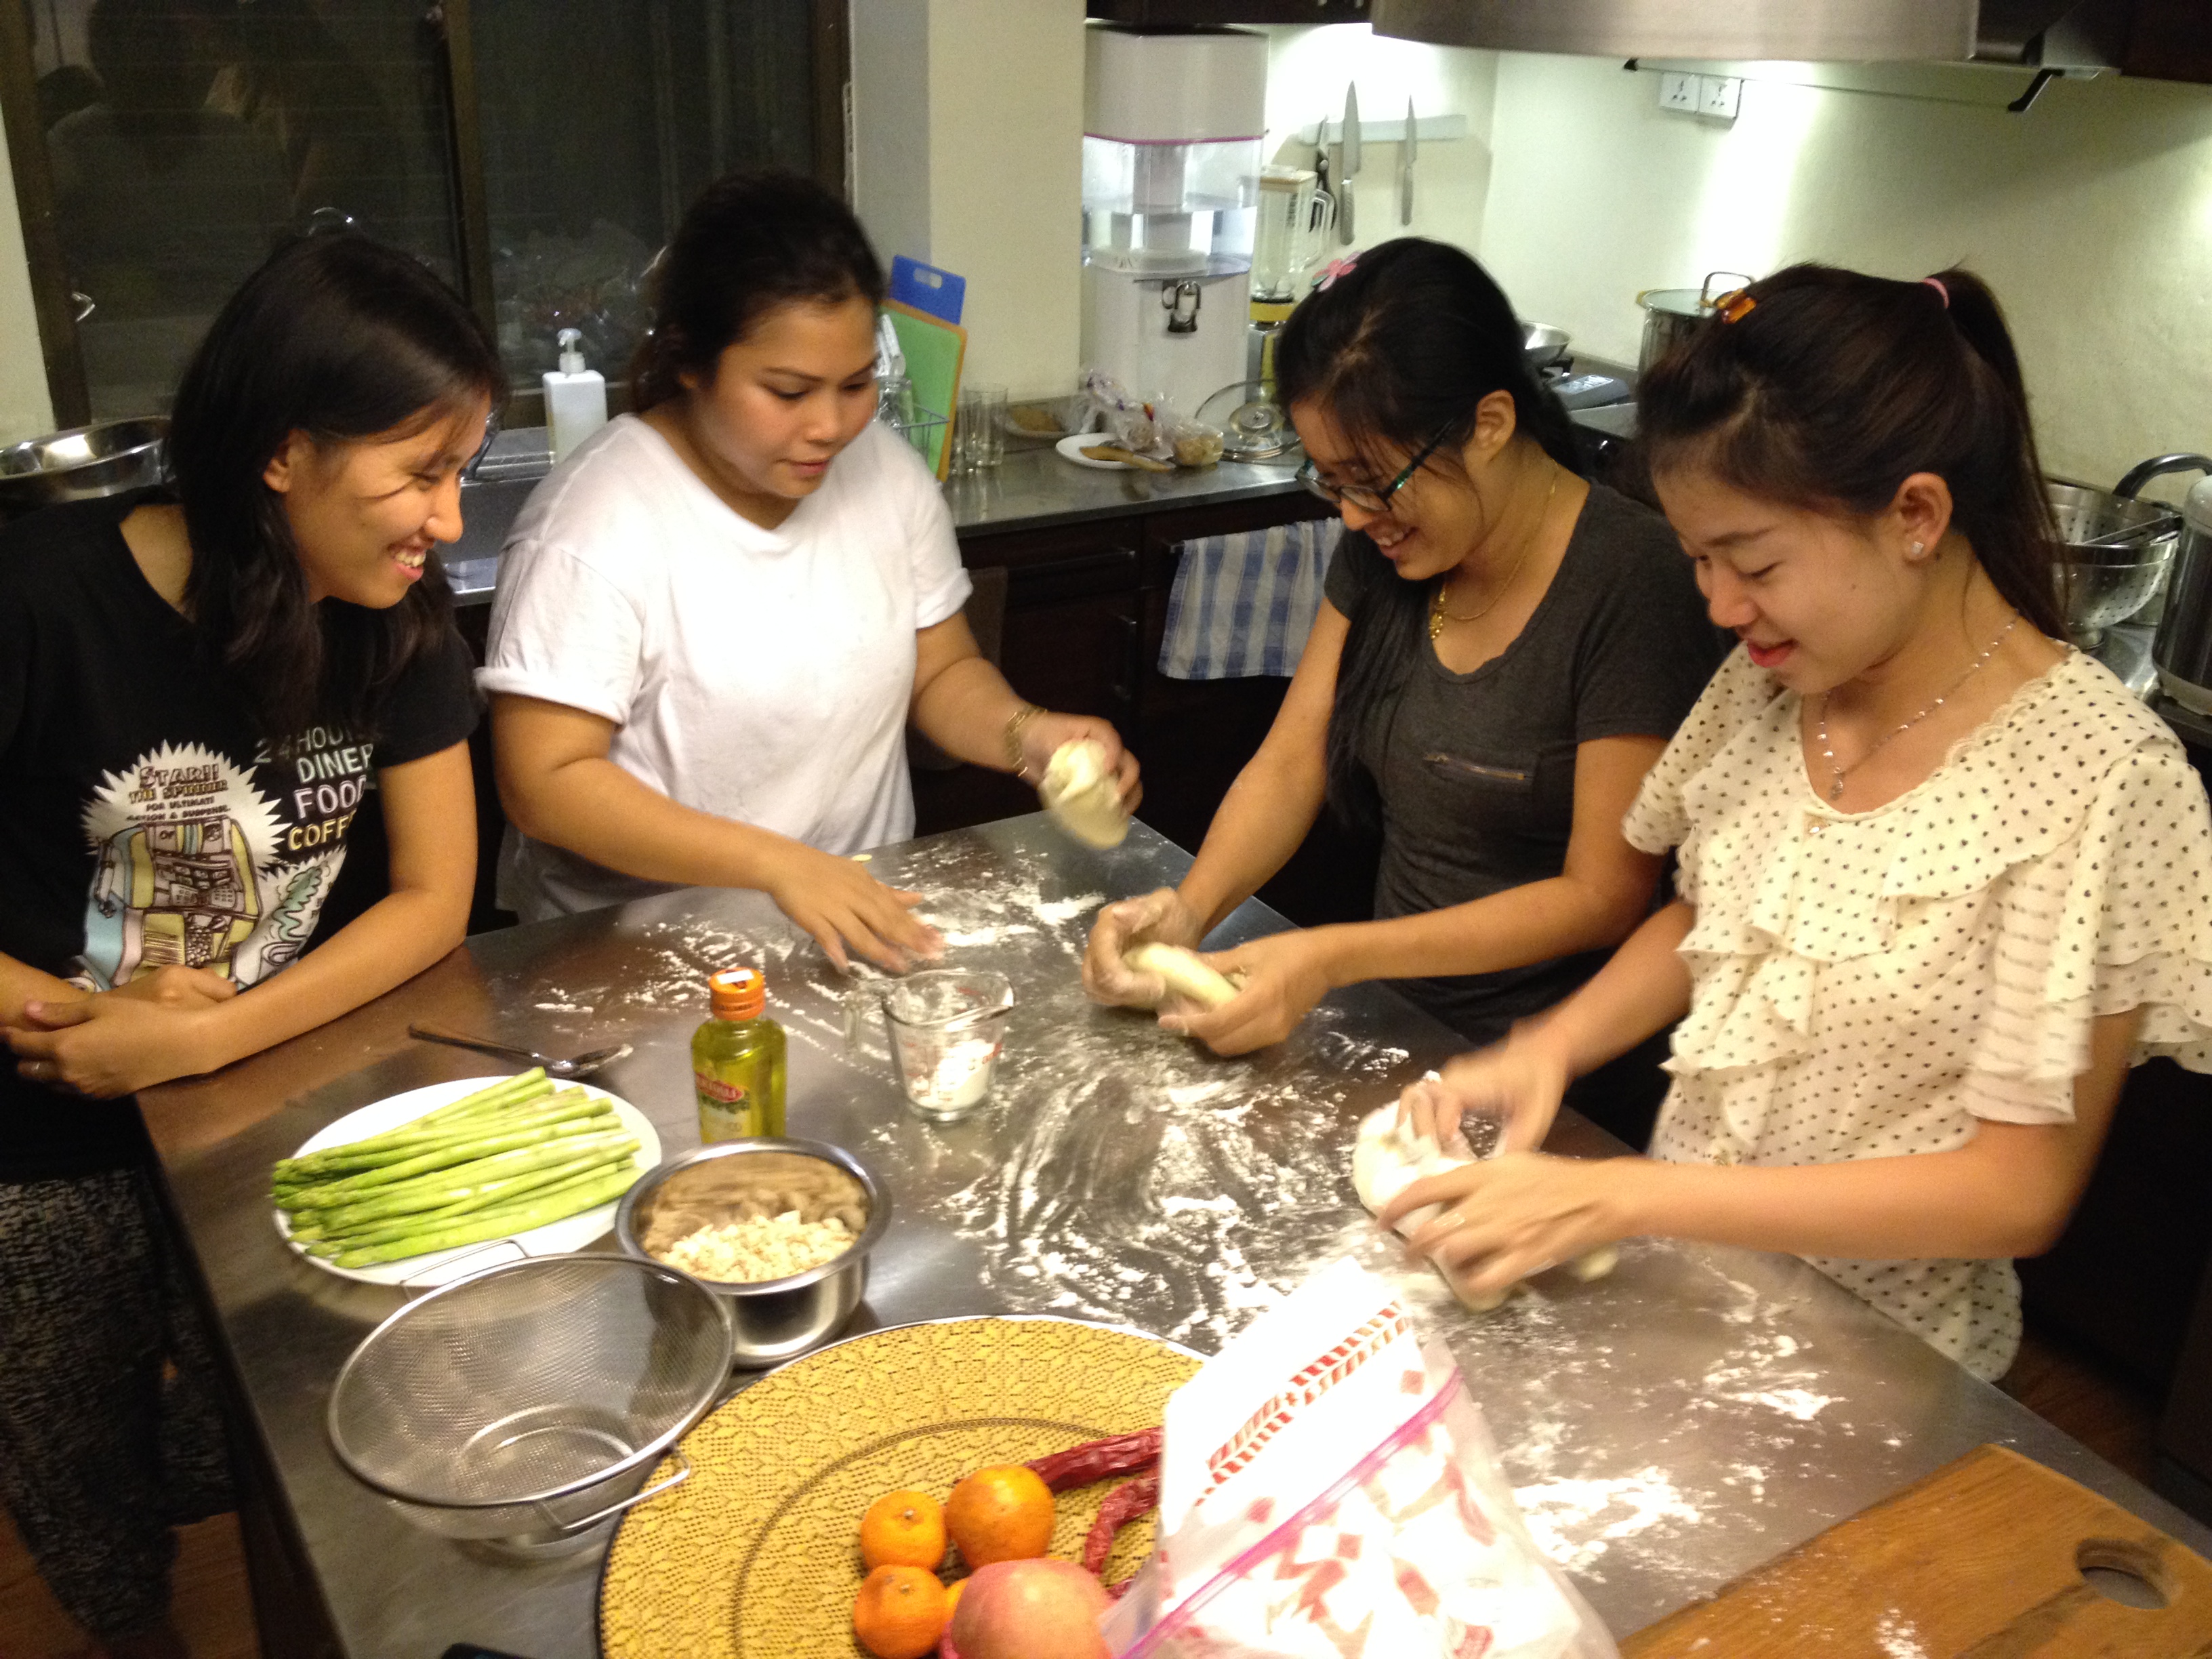
I’m still cooking! I also haven’t had food sickness in a while, which is great. You’ll see in the below pictures a creme brûlée I’ve learned to make (although the picture doesn’t show the brûlée part, which we use a blowtorch for), Indian-style paratha (potato-filled pastry) that I attempted to make, a pancake breakfast I led at the office, and some of my Burmese friends from work who came over for dinner (I taught them how to make pasta, and for most of them I think it was their first time eating it).


BEDROOM
The bedroom remodel has been a very fun, very informative, a bit nerve-wracking, and a time-intensive experience. It’s been about 2-2.5 months, with maybe every other weekend at least partly devoted to working on it.
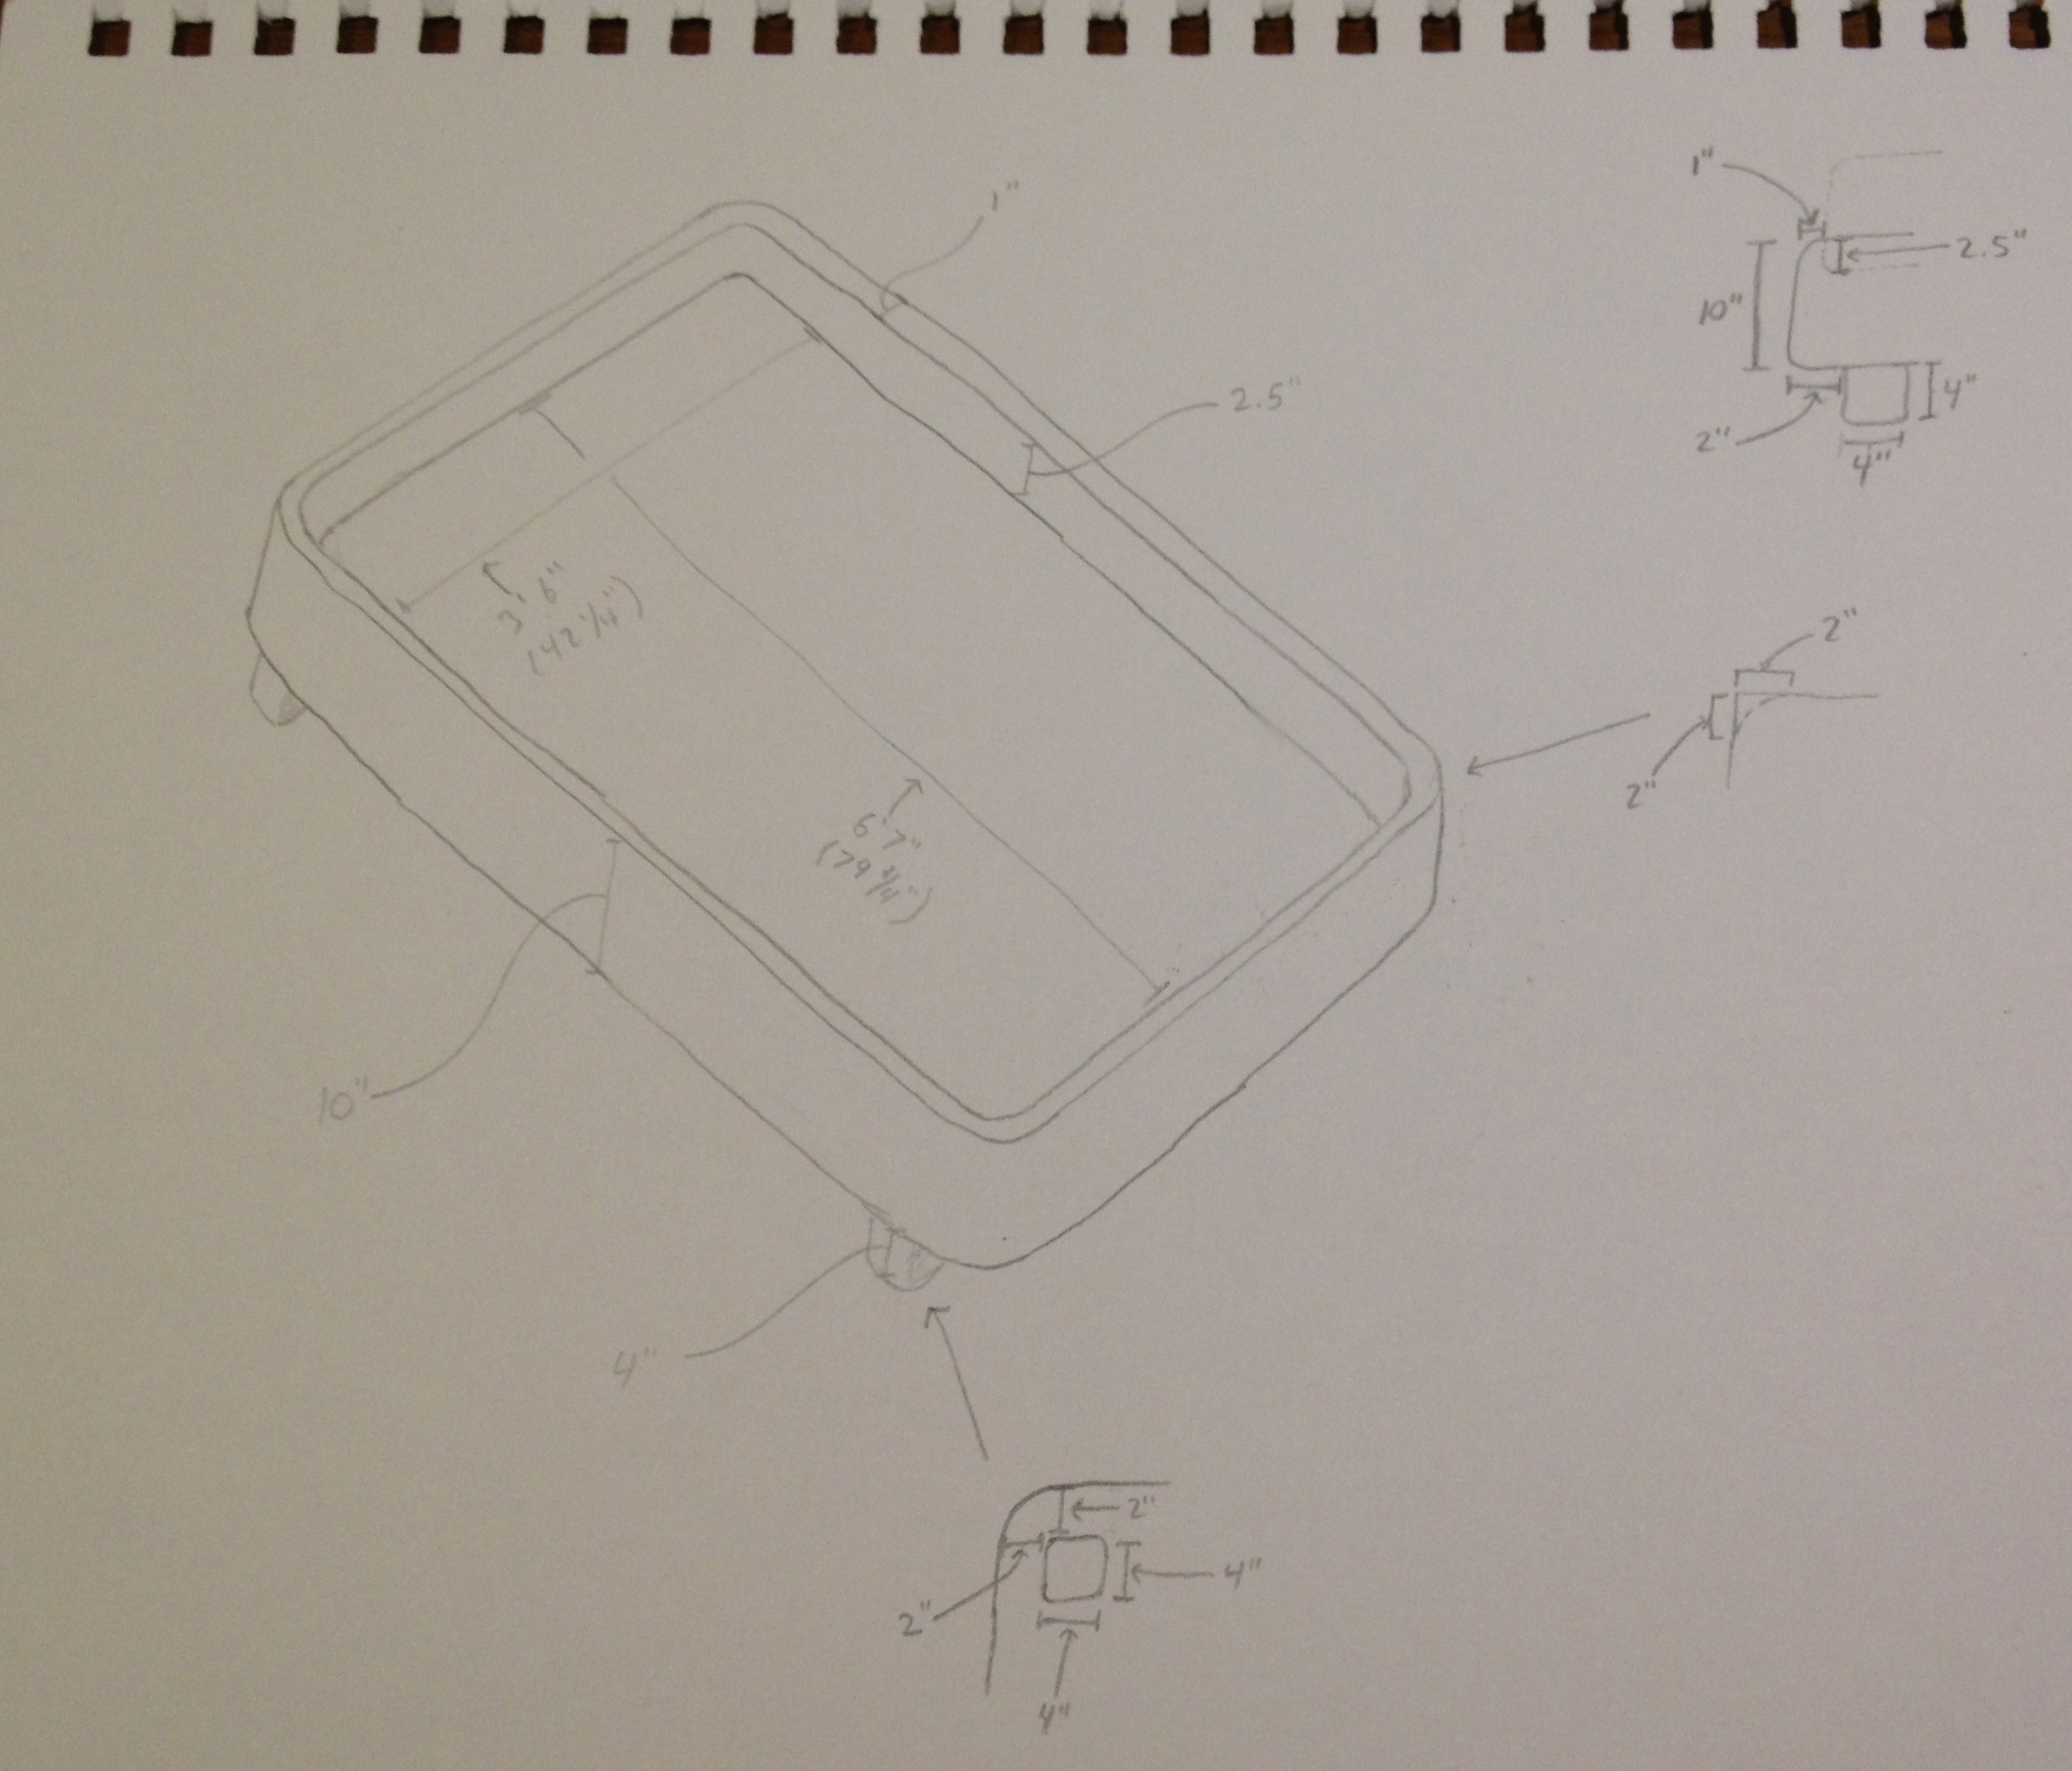
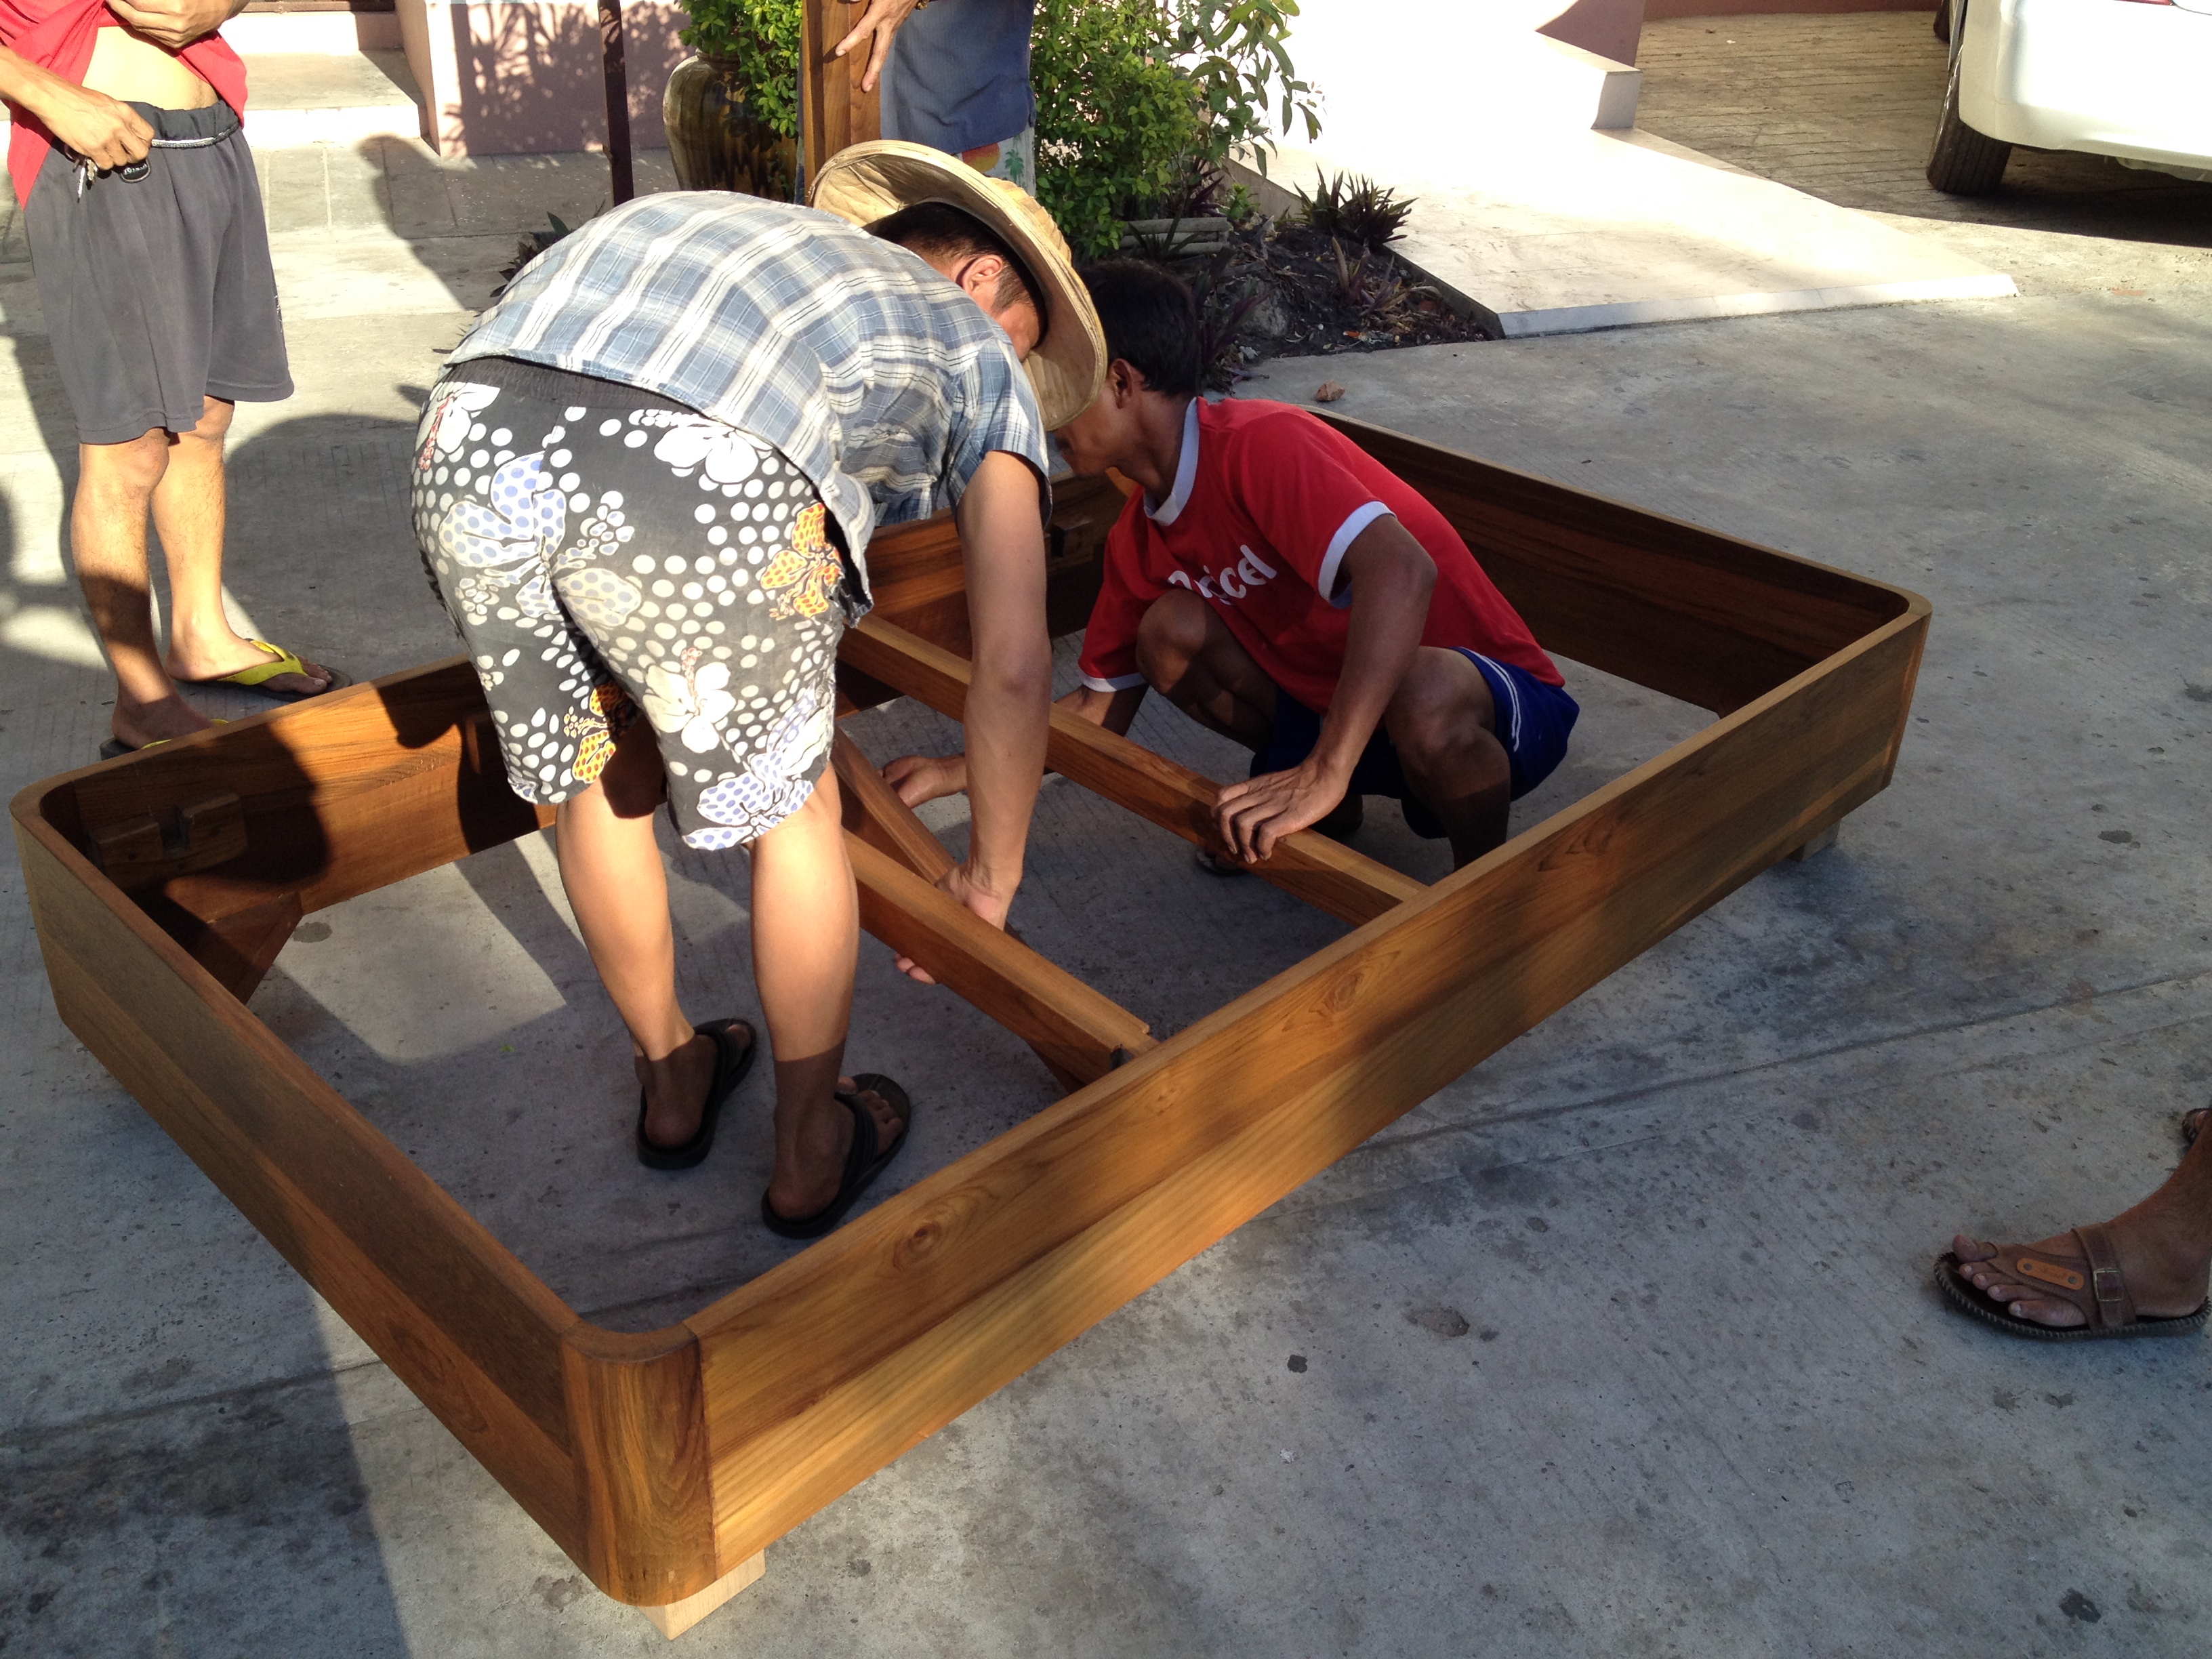
Step 1 was the bed. I had mentioned the Sketch-up model that I put together. From there I transferred over to a sketch with all the dimensions and went to Helping Hands to have them build the bed for me. It is made of recycled teak and took about 3 weeks to make. I paid $300 for it. However, it didn’t have enough slats, so I had to have them add a 1.5cm piece of plywood to distribute the weight, which was another $35.


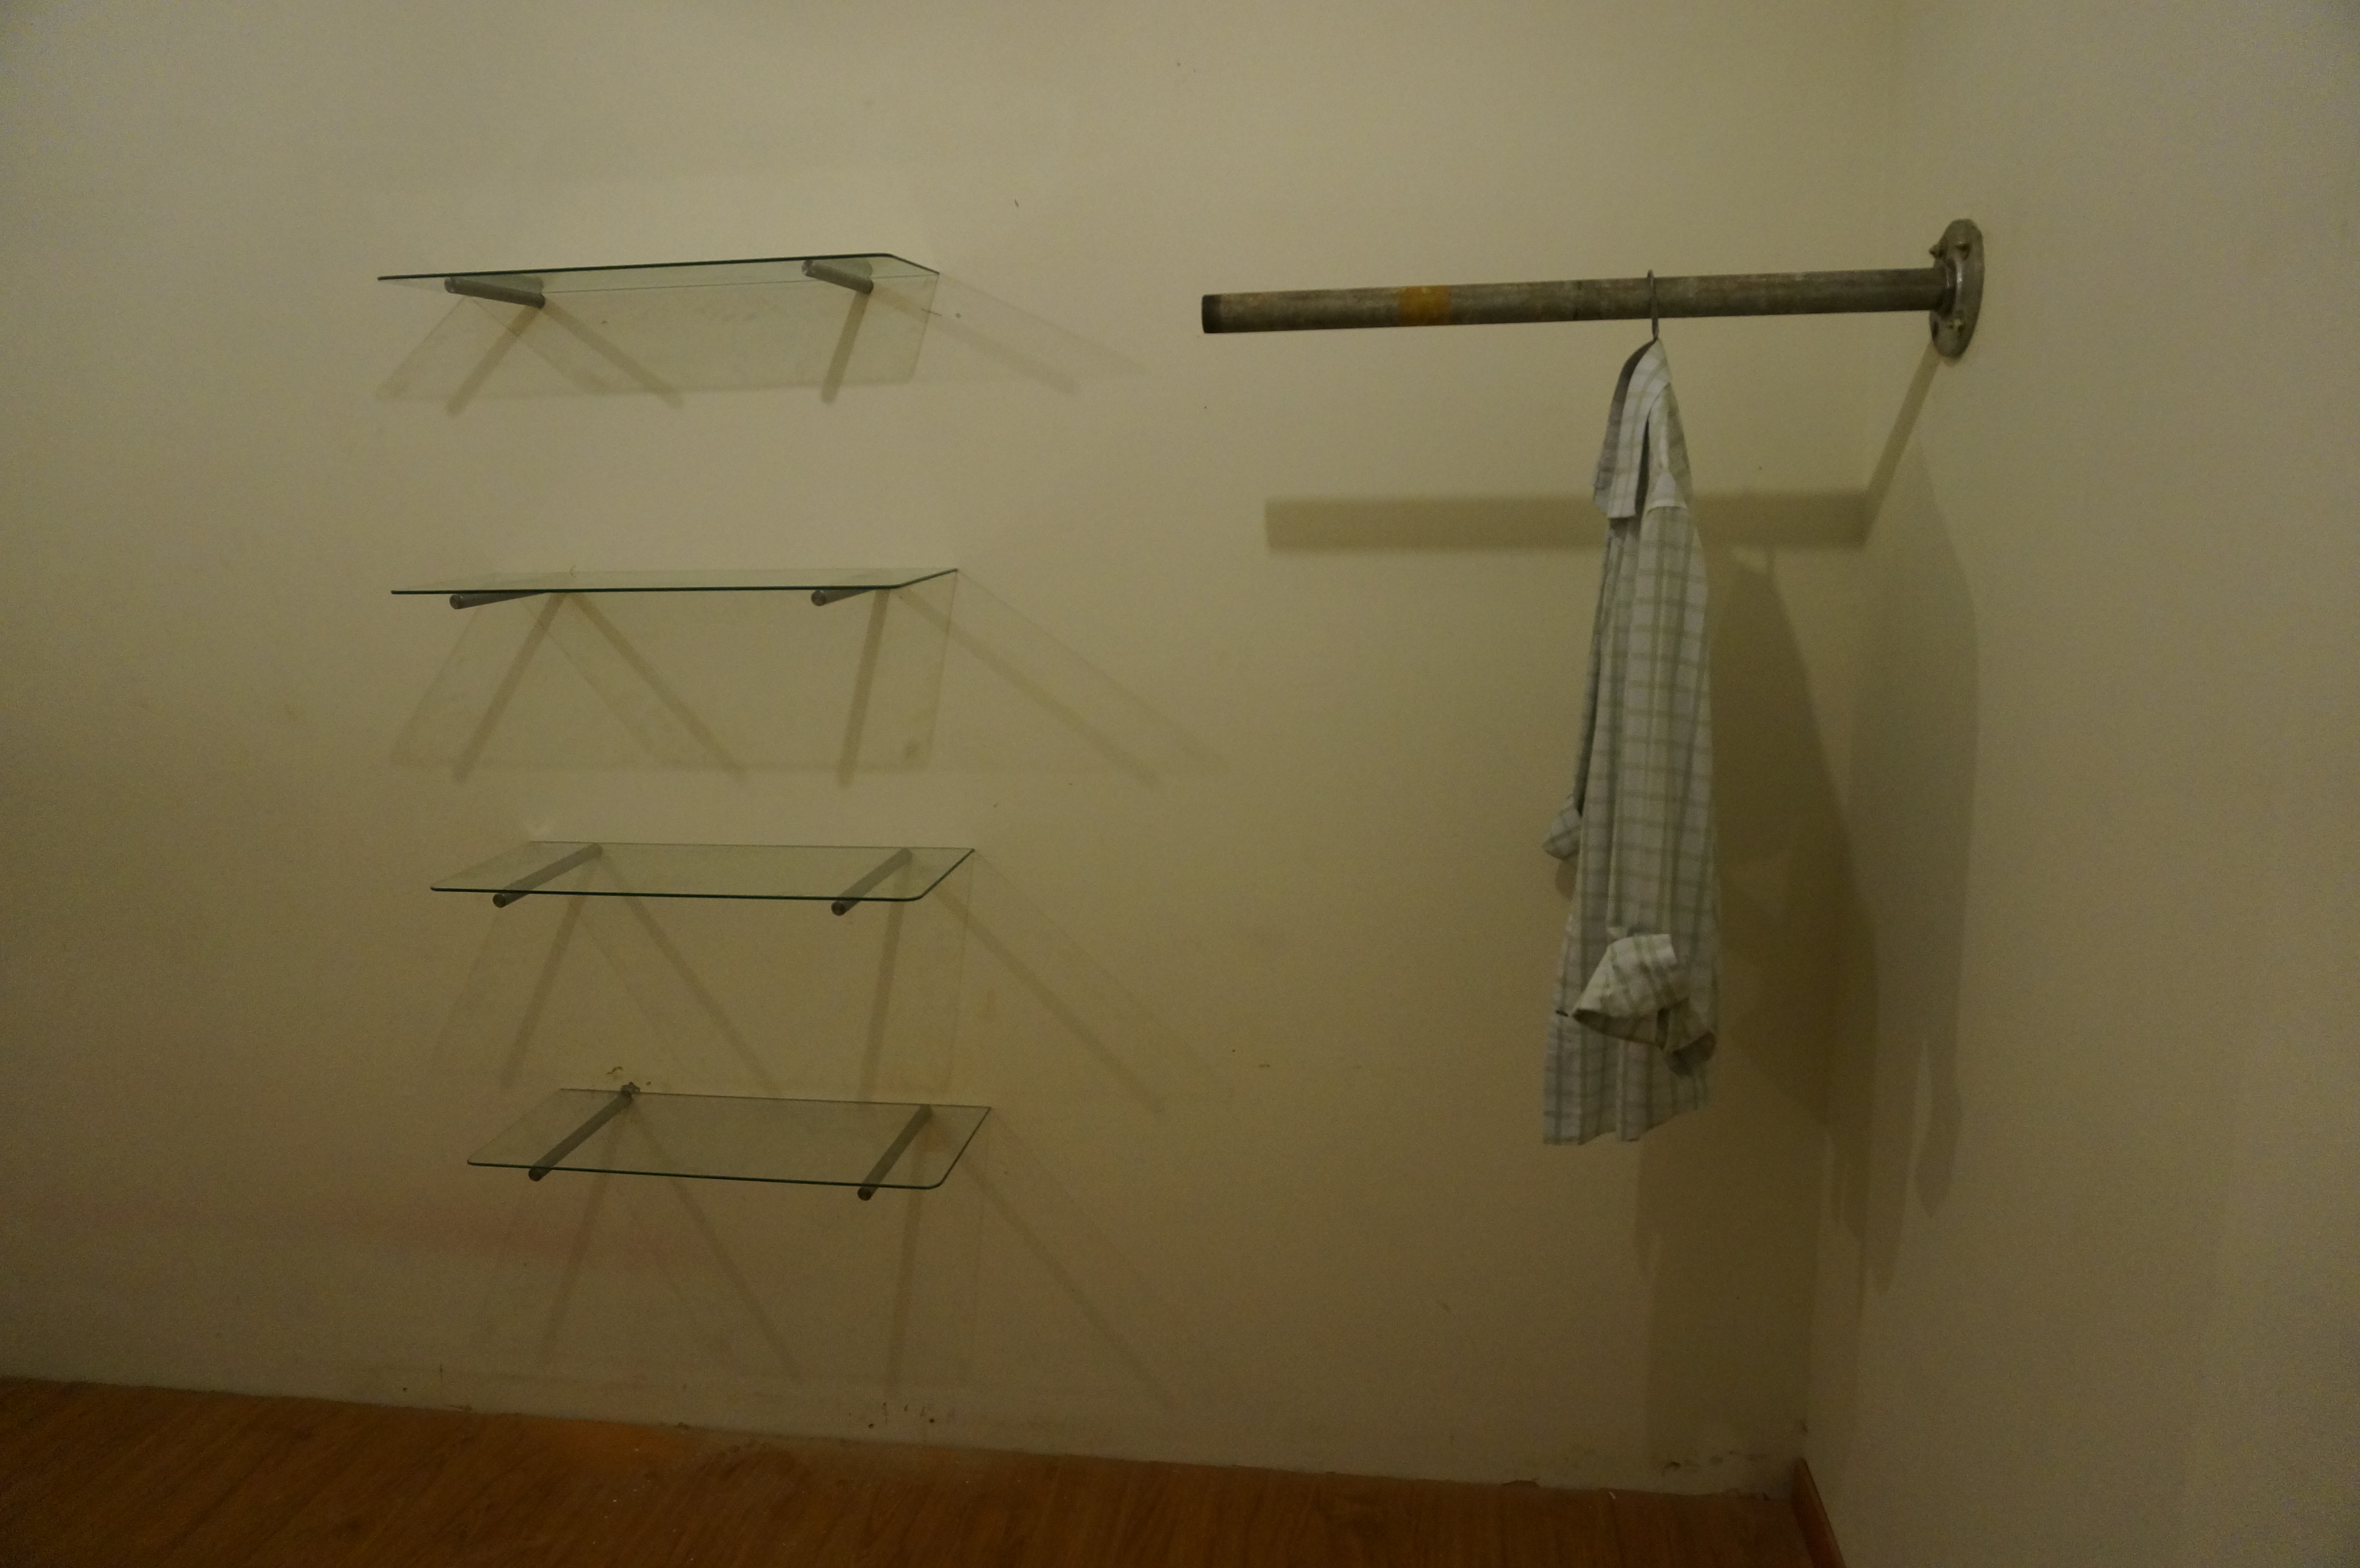
After the bed, the focus was on the “deconstructed closet.” Given that it is a smaller room, and that historically I have kept the doors to my closets open anyway for ease of access and airflow for my clothes, I decided to try and design an open closet with just shelves and a clothes rack.
Here’s a picture of the general idea:
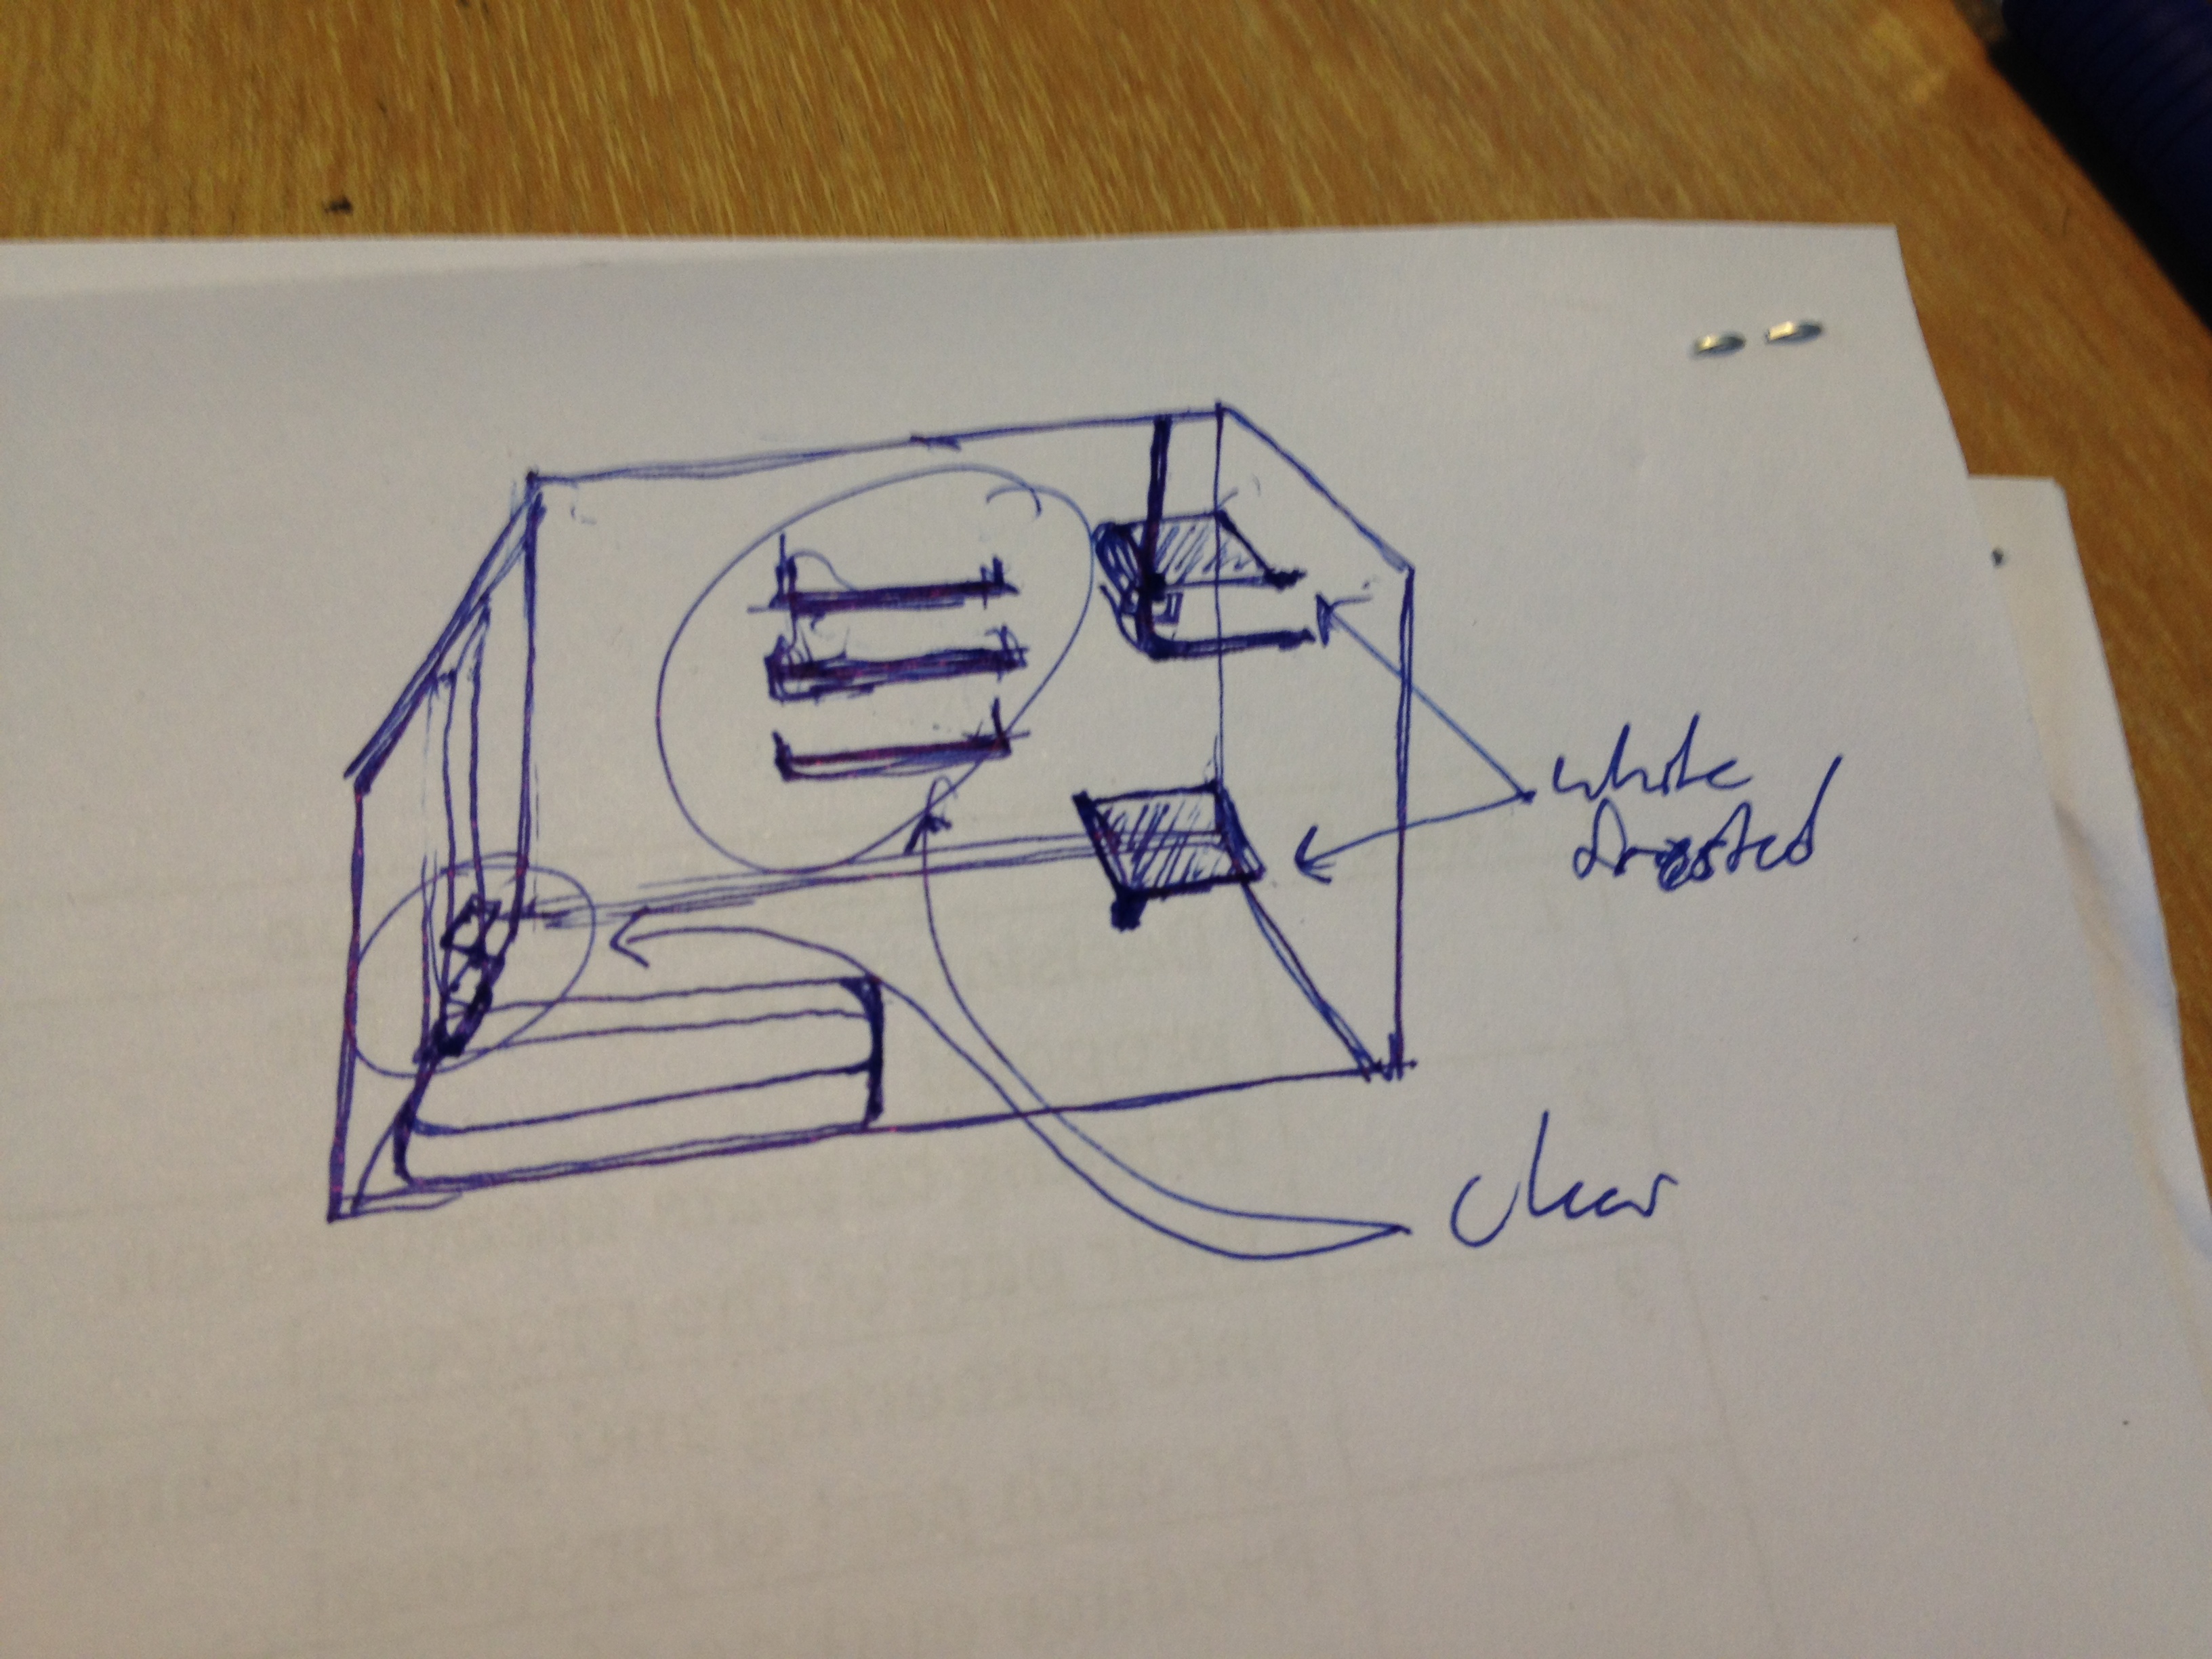
At first I was thinking of using cables to hold up the shelves, but at the end of the day I ended up going with just steel bars that would come out from the wall via wall anchors.
A trip to the industrial zone to get a bunch of material started the process:

A bunch of shops with interesting inventory management.
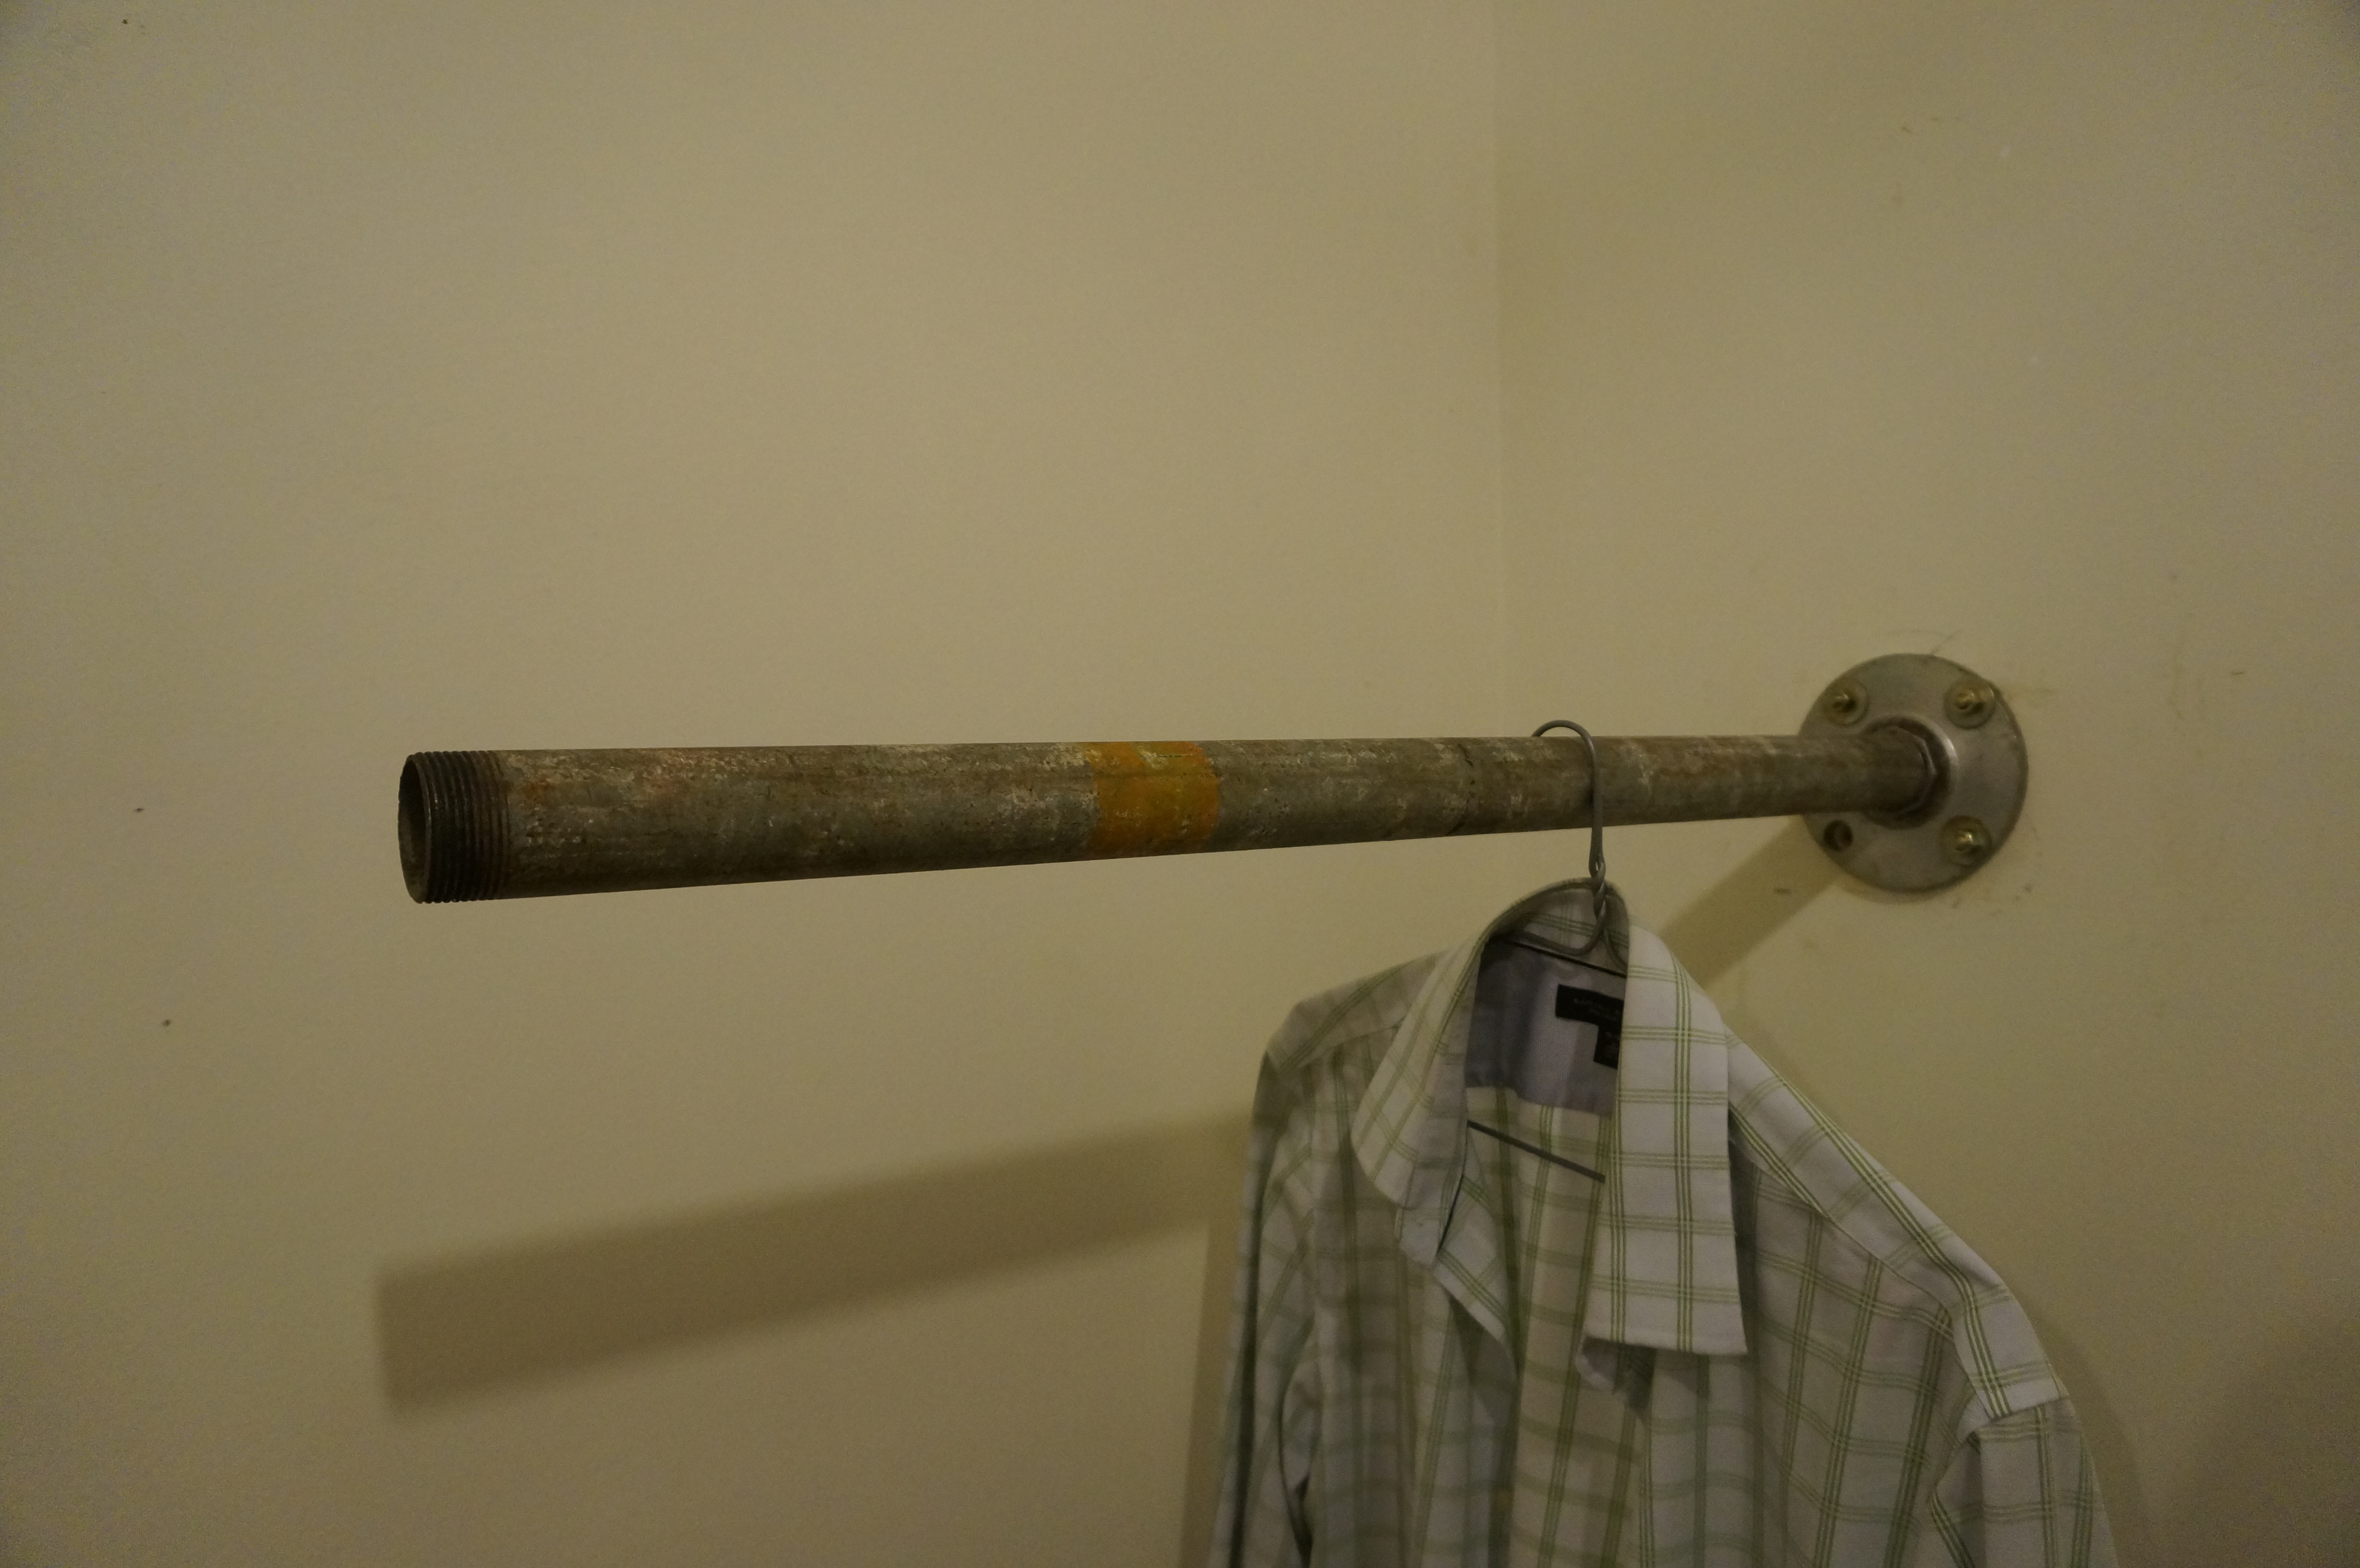
This is where I bought the pipe for the clothes rack:

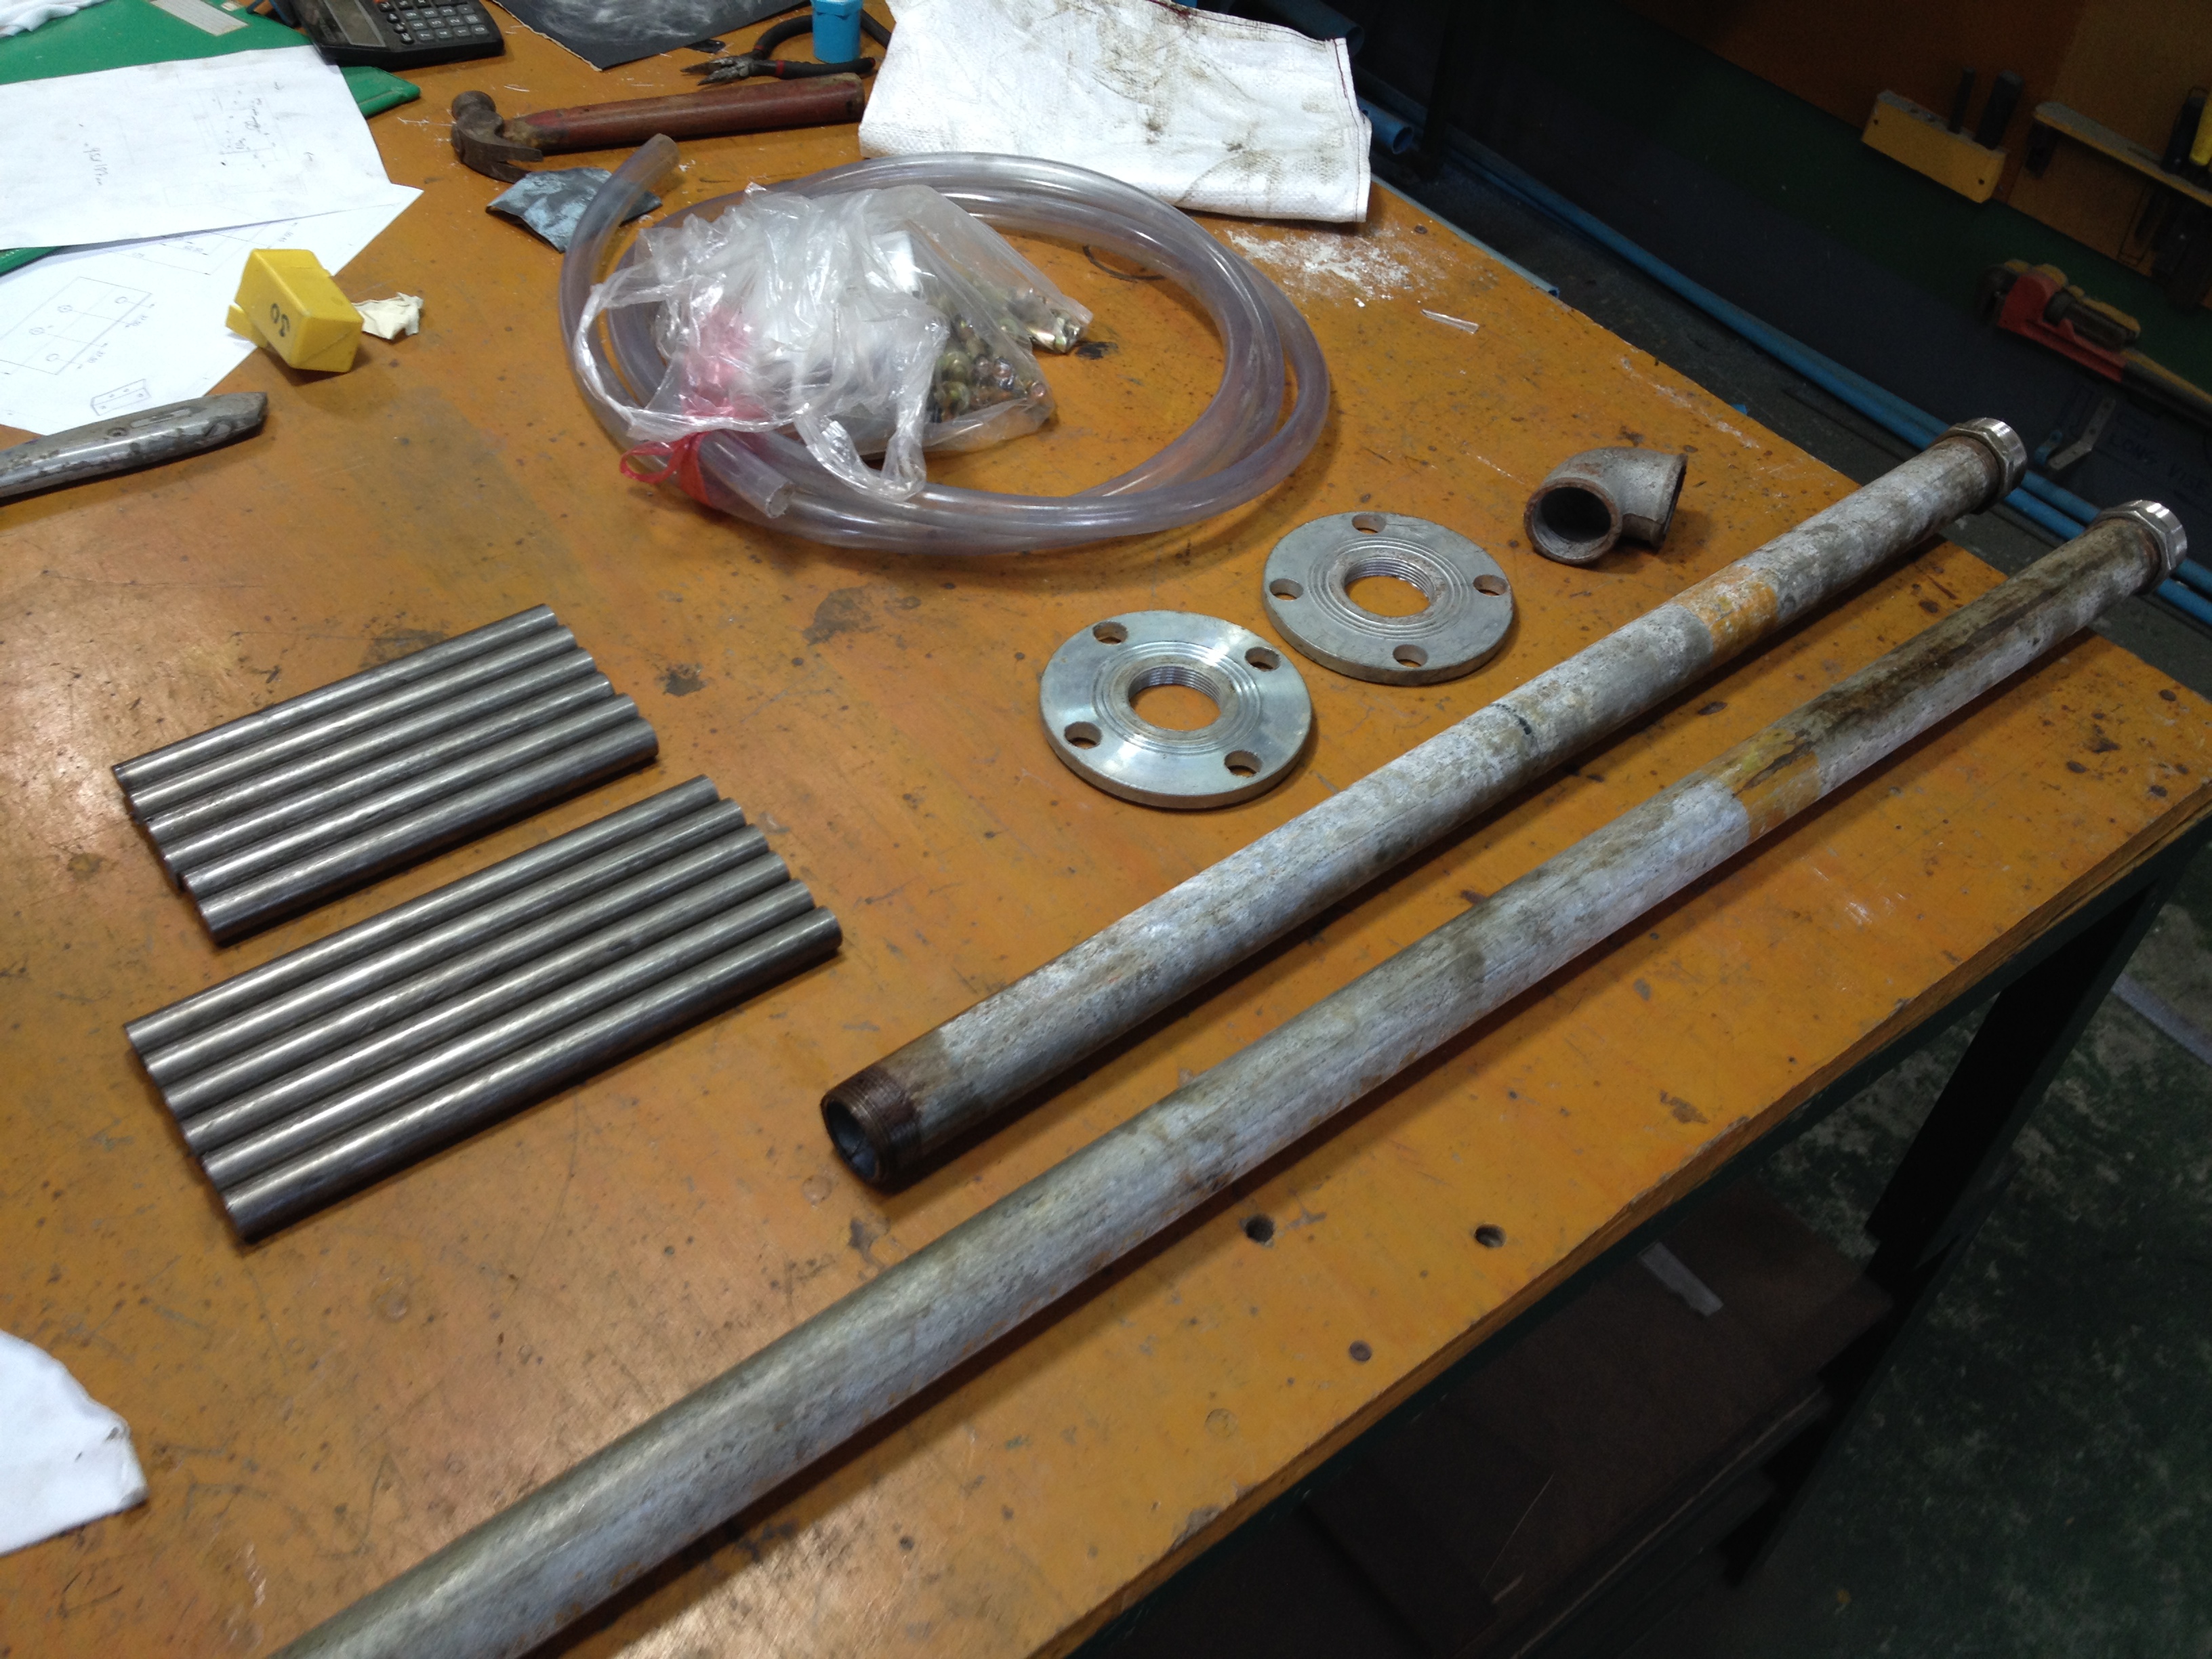
Here is the end of the day with the raw material acquired. I’d say it was between $30-$50. You can see that I am going for an urban/industrial look (to contrast against the clean look/lines in the room and the apartment).
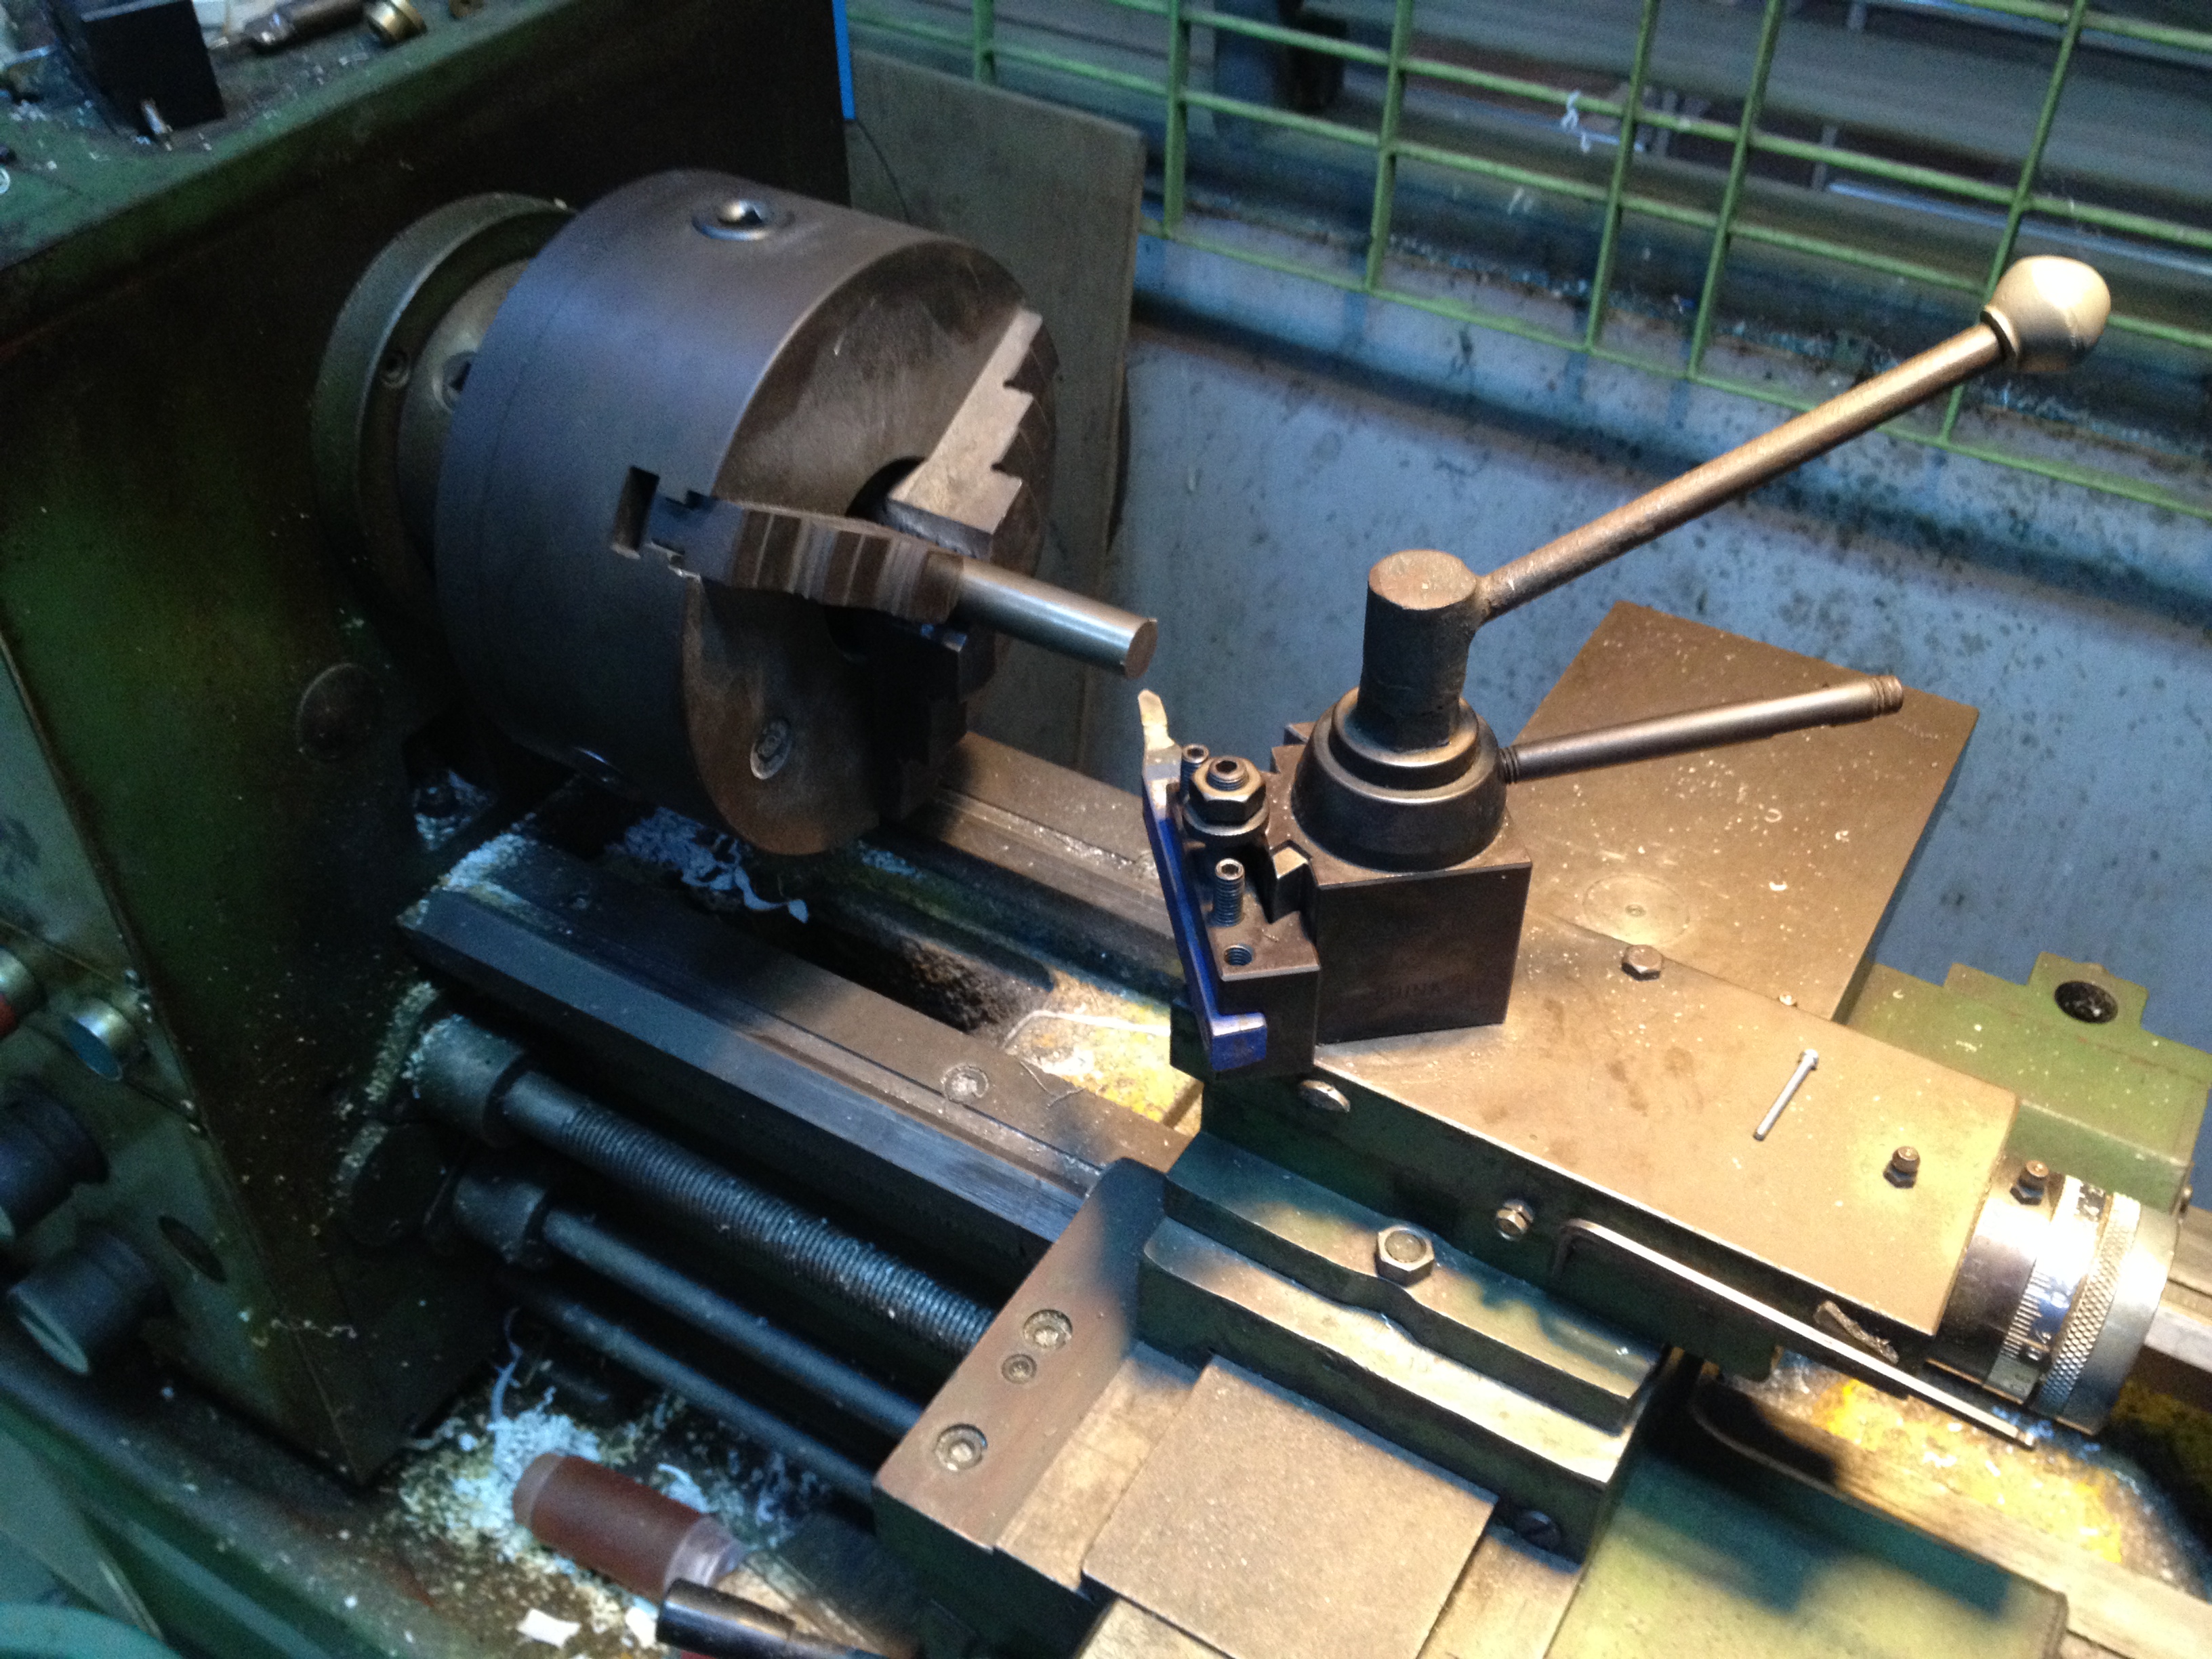
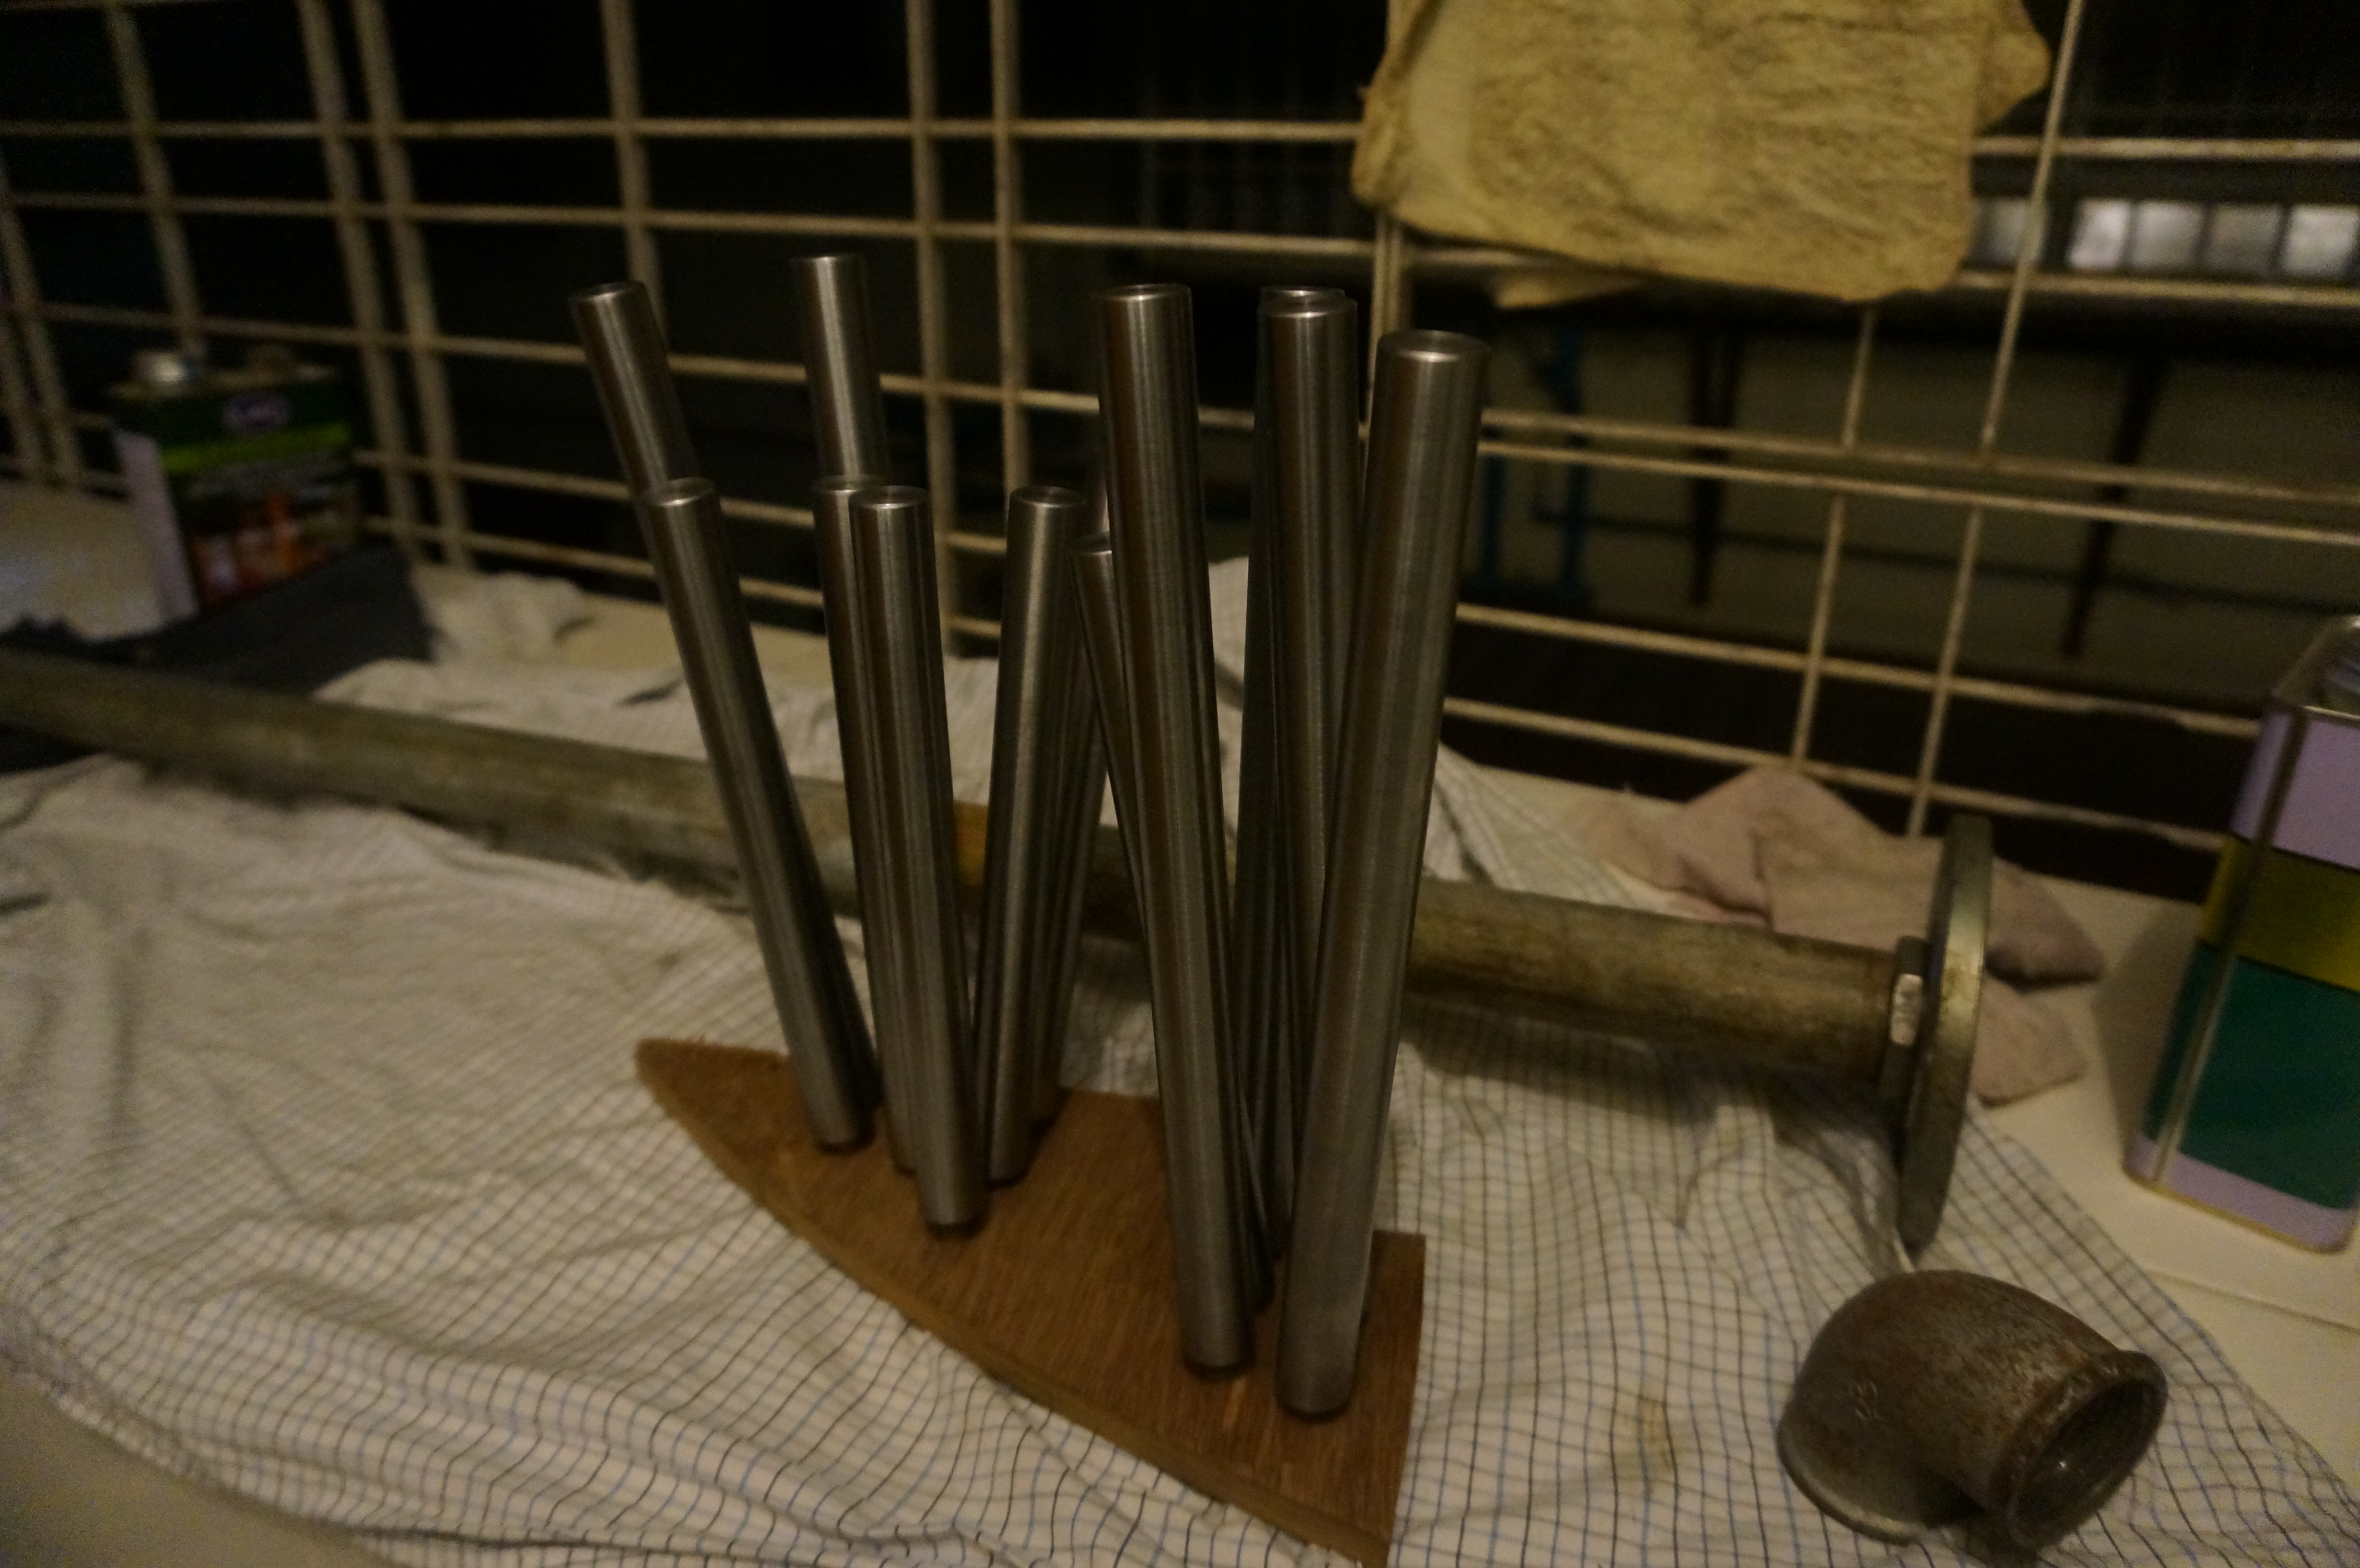
Lathing down the ends for a clean machined finish (and also putting chamfer edges on them).
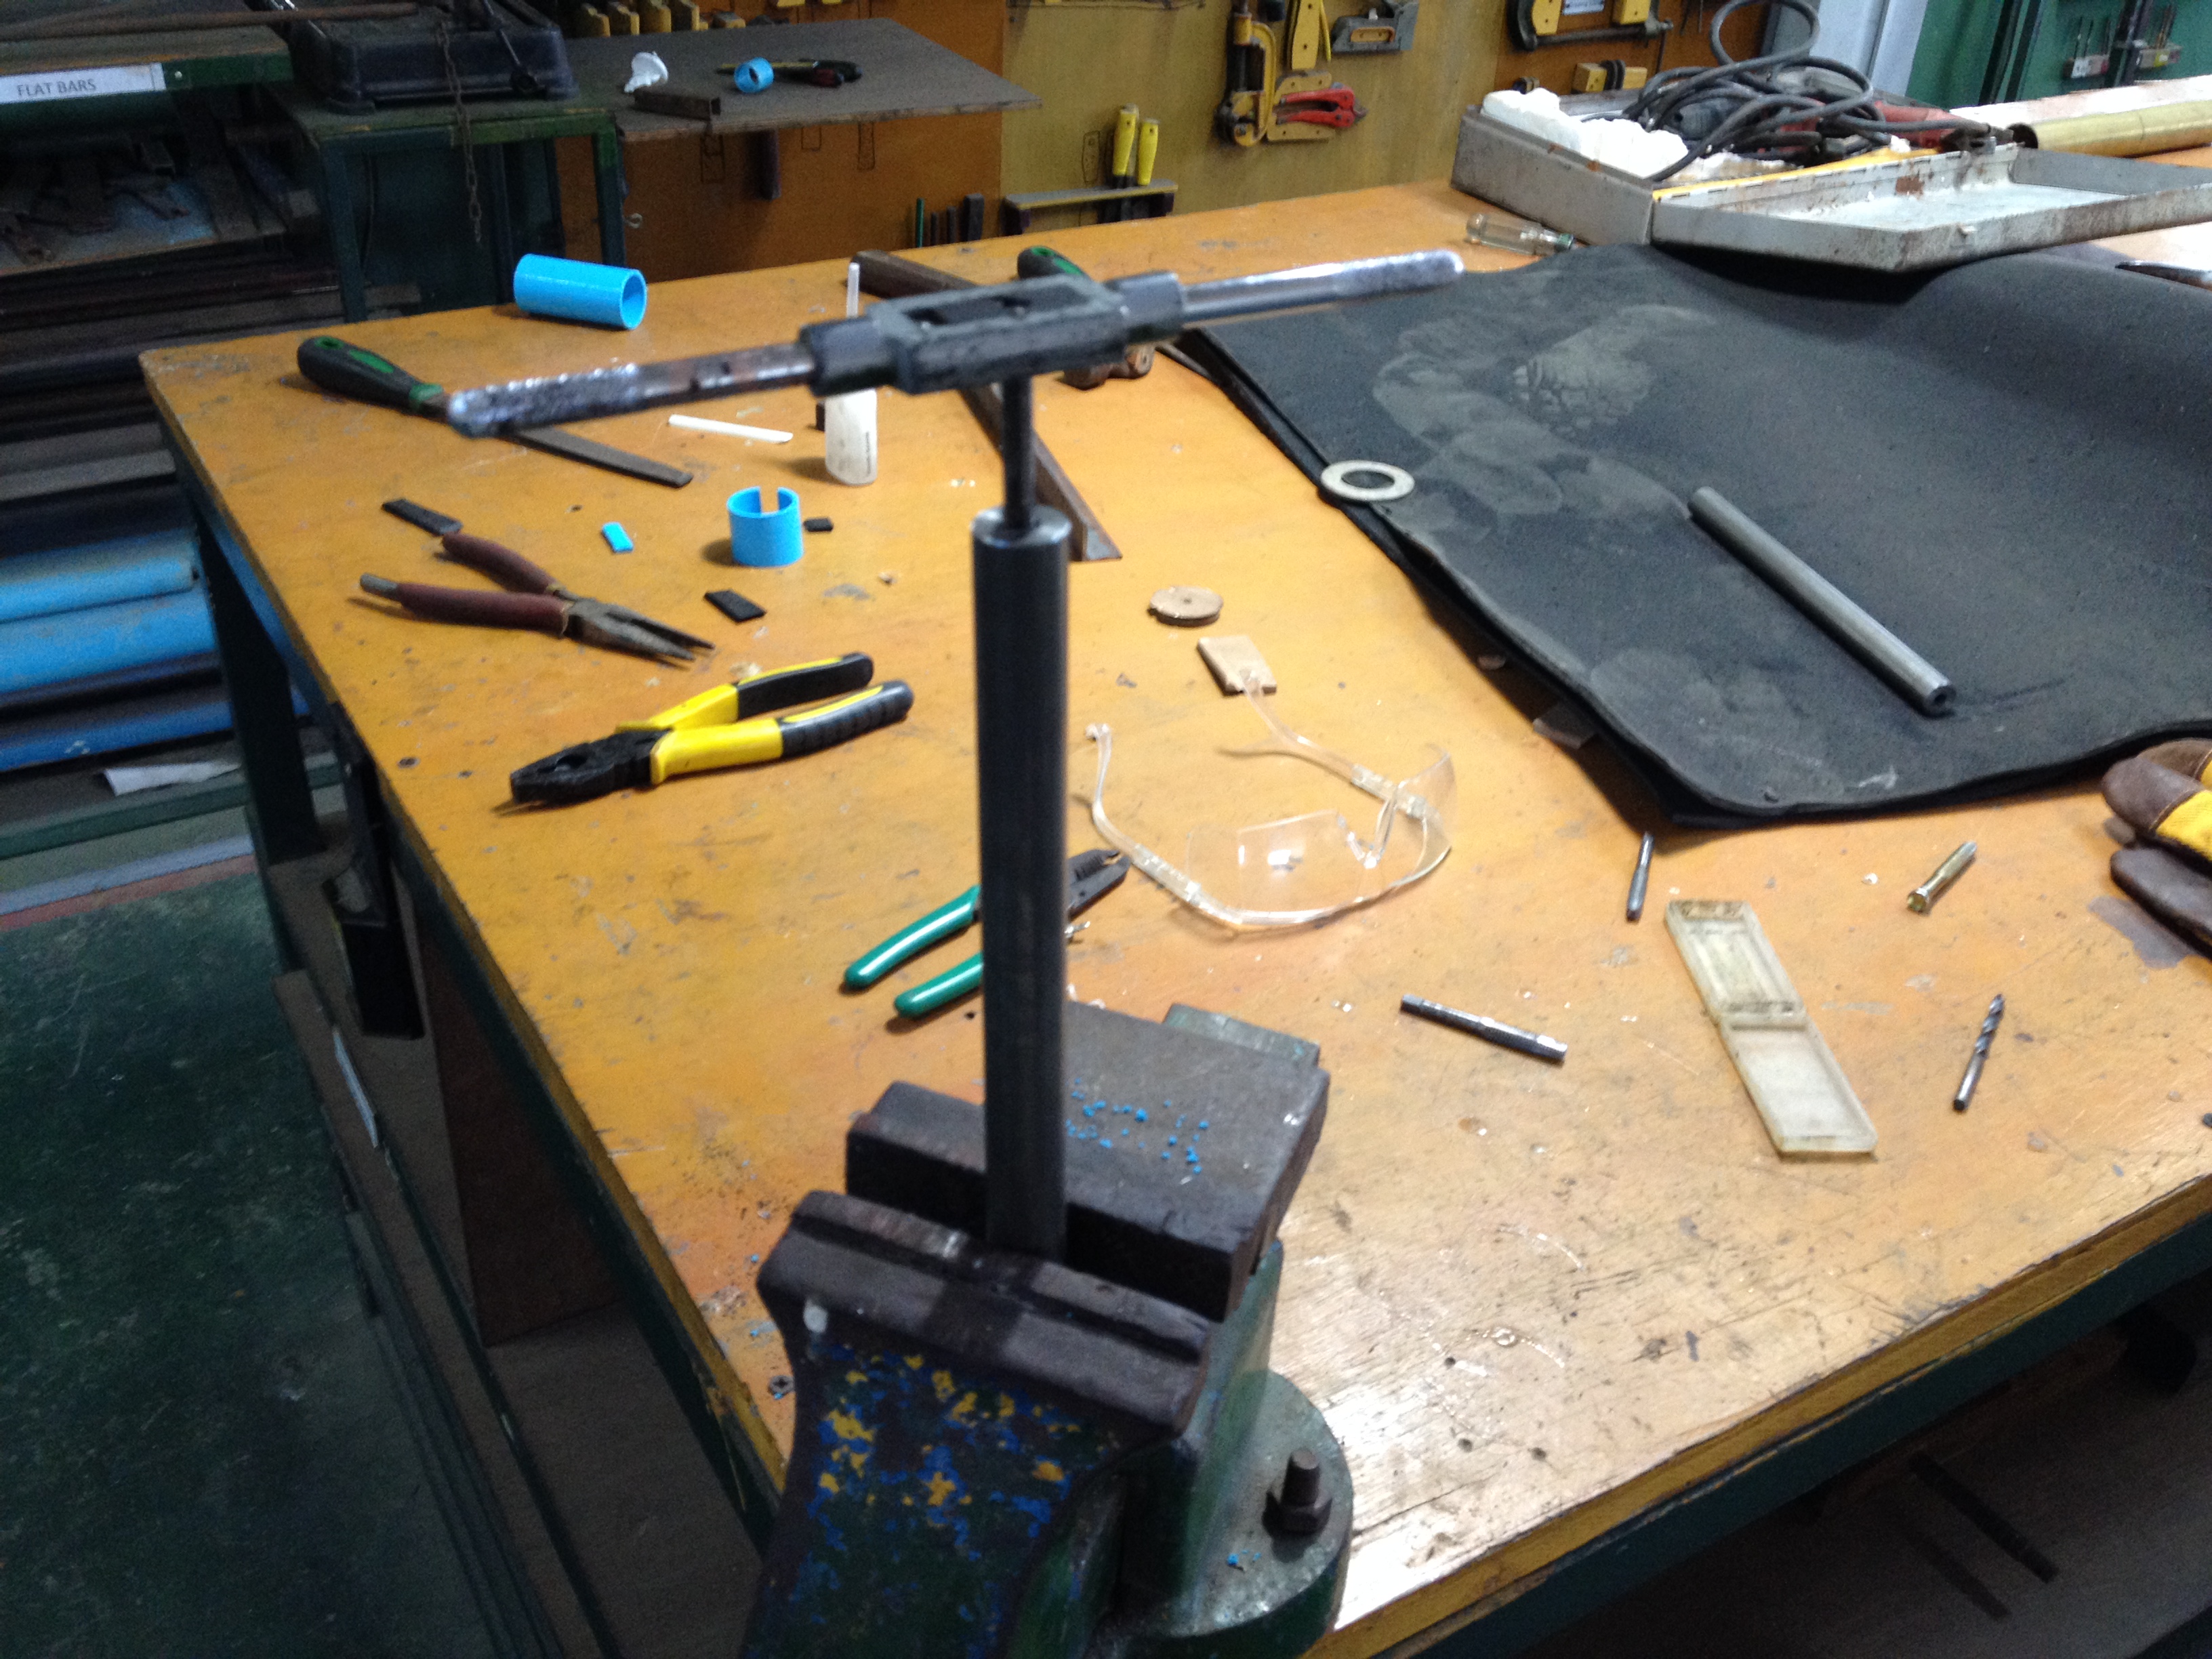
Drilling the holes and tacking the threads was time-intensive (12 holes to do).
Next step was applying a urethane coat to make sure the bars won’t rust (Taiei built this cool painting rig for me to use).
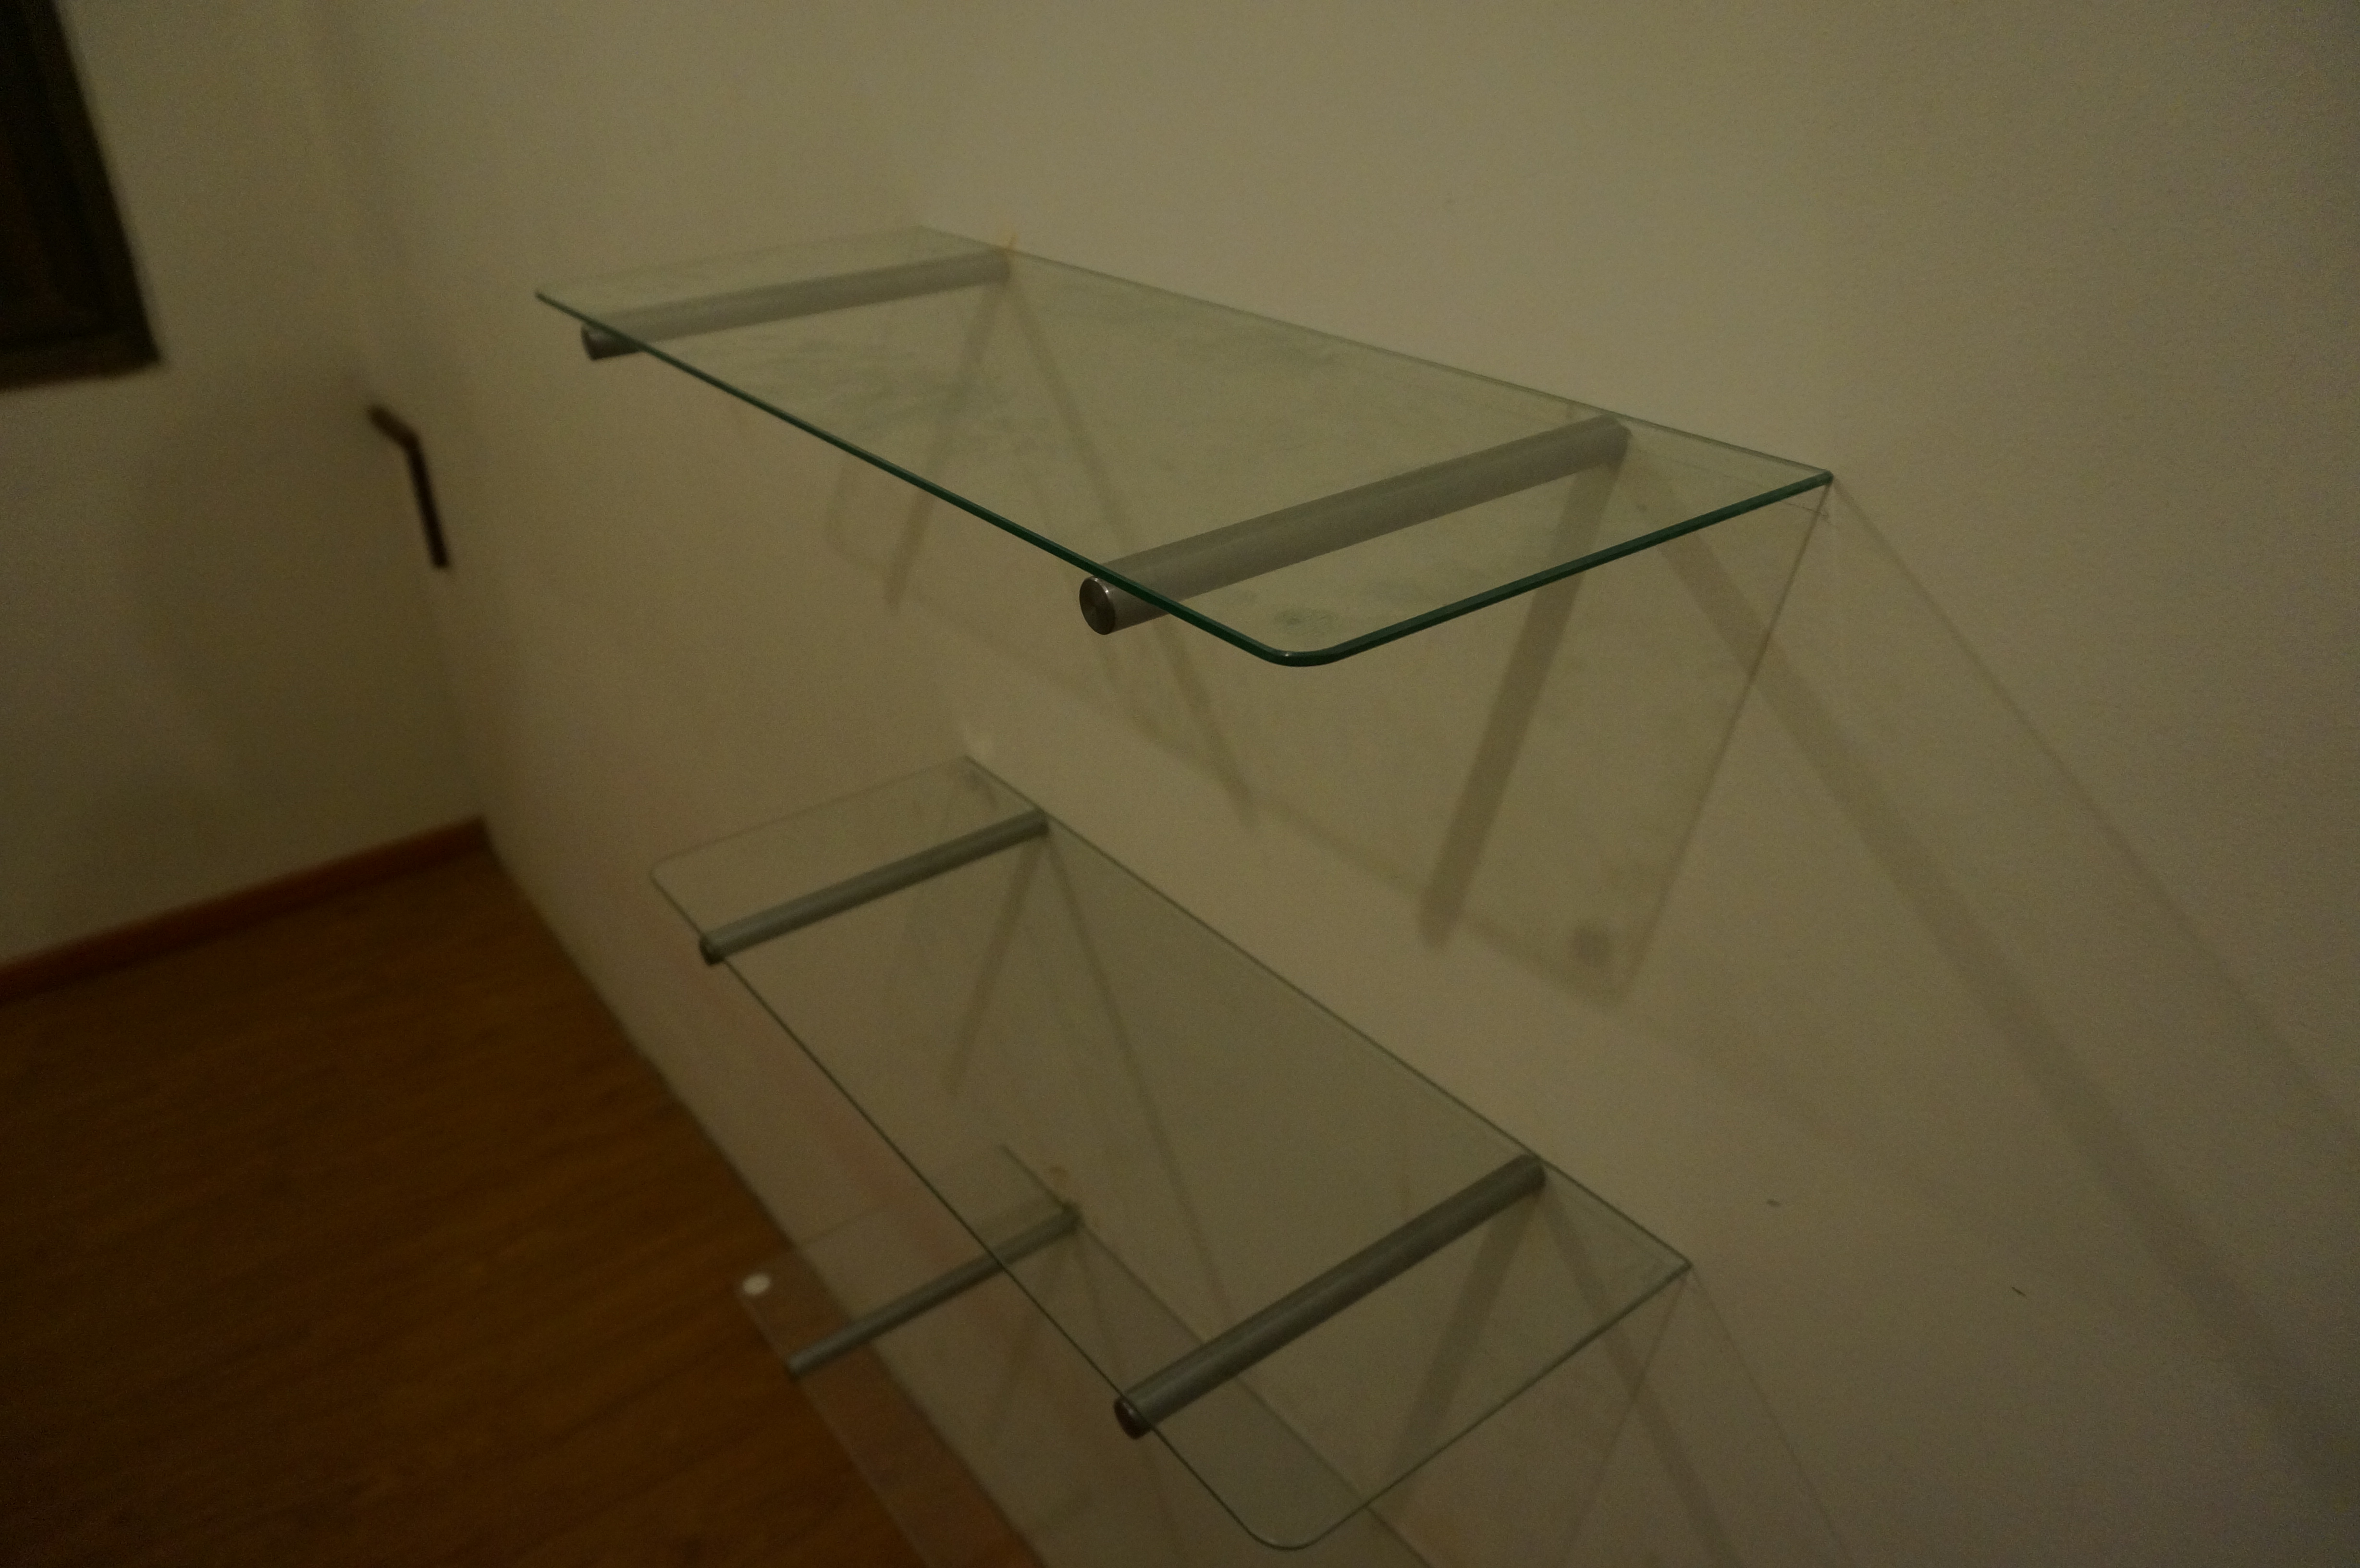
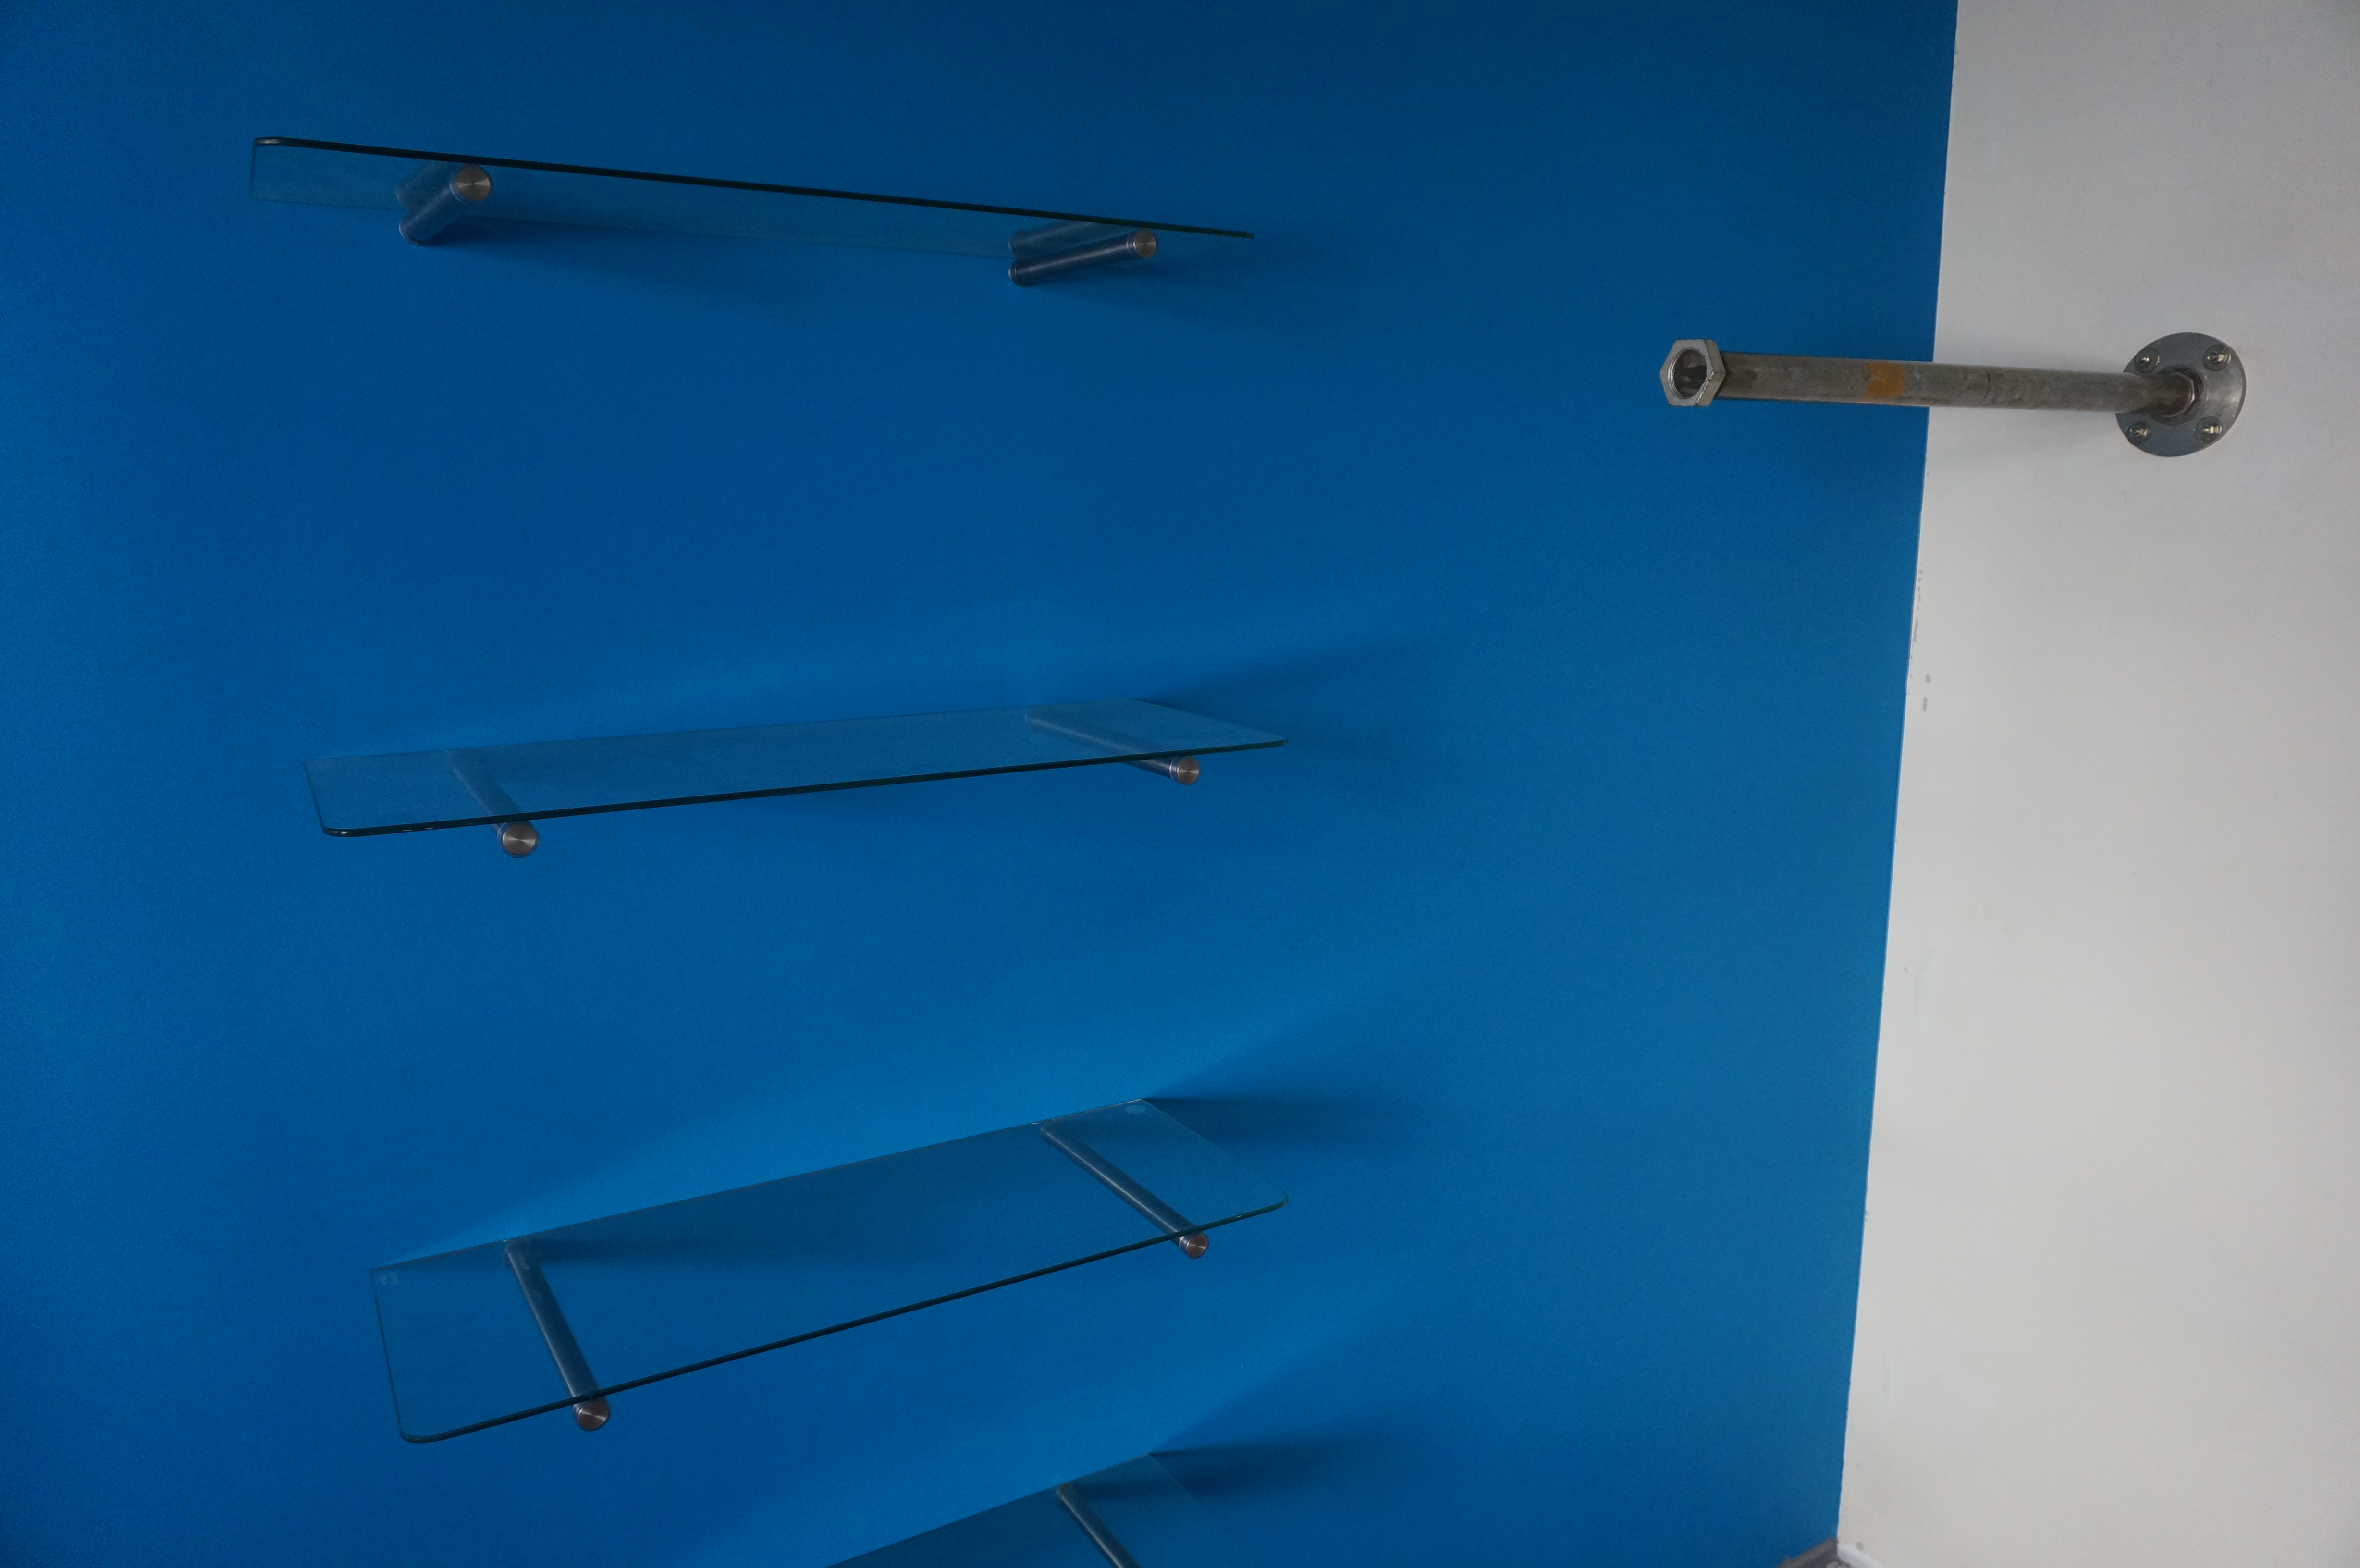
In the meantime I went to glass vendor and had glass panes made for the shelves (~$60).
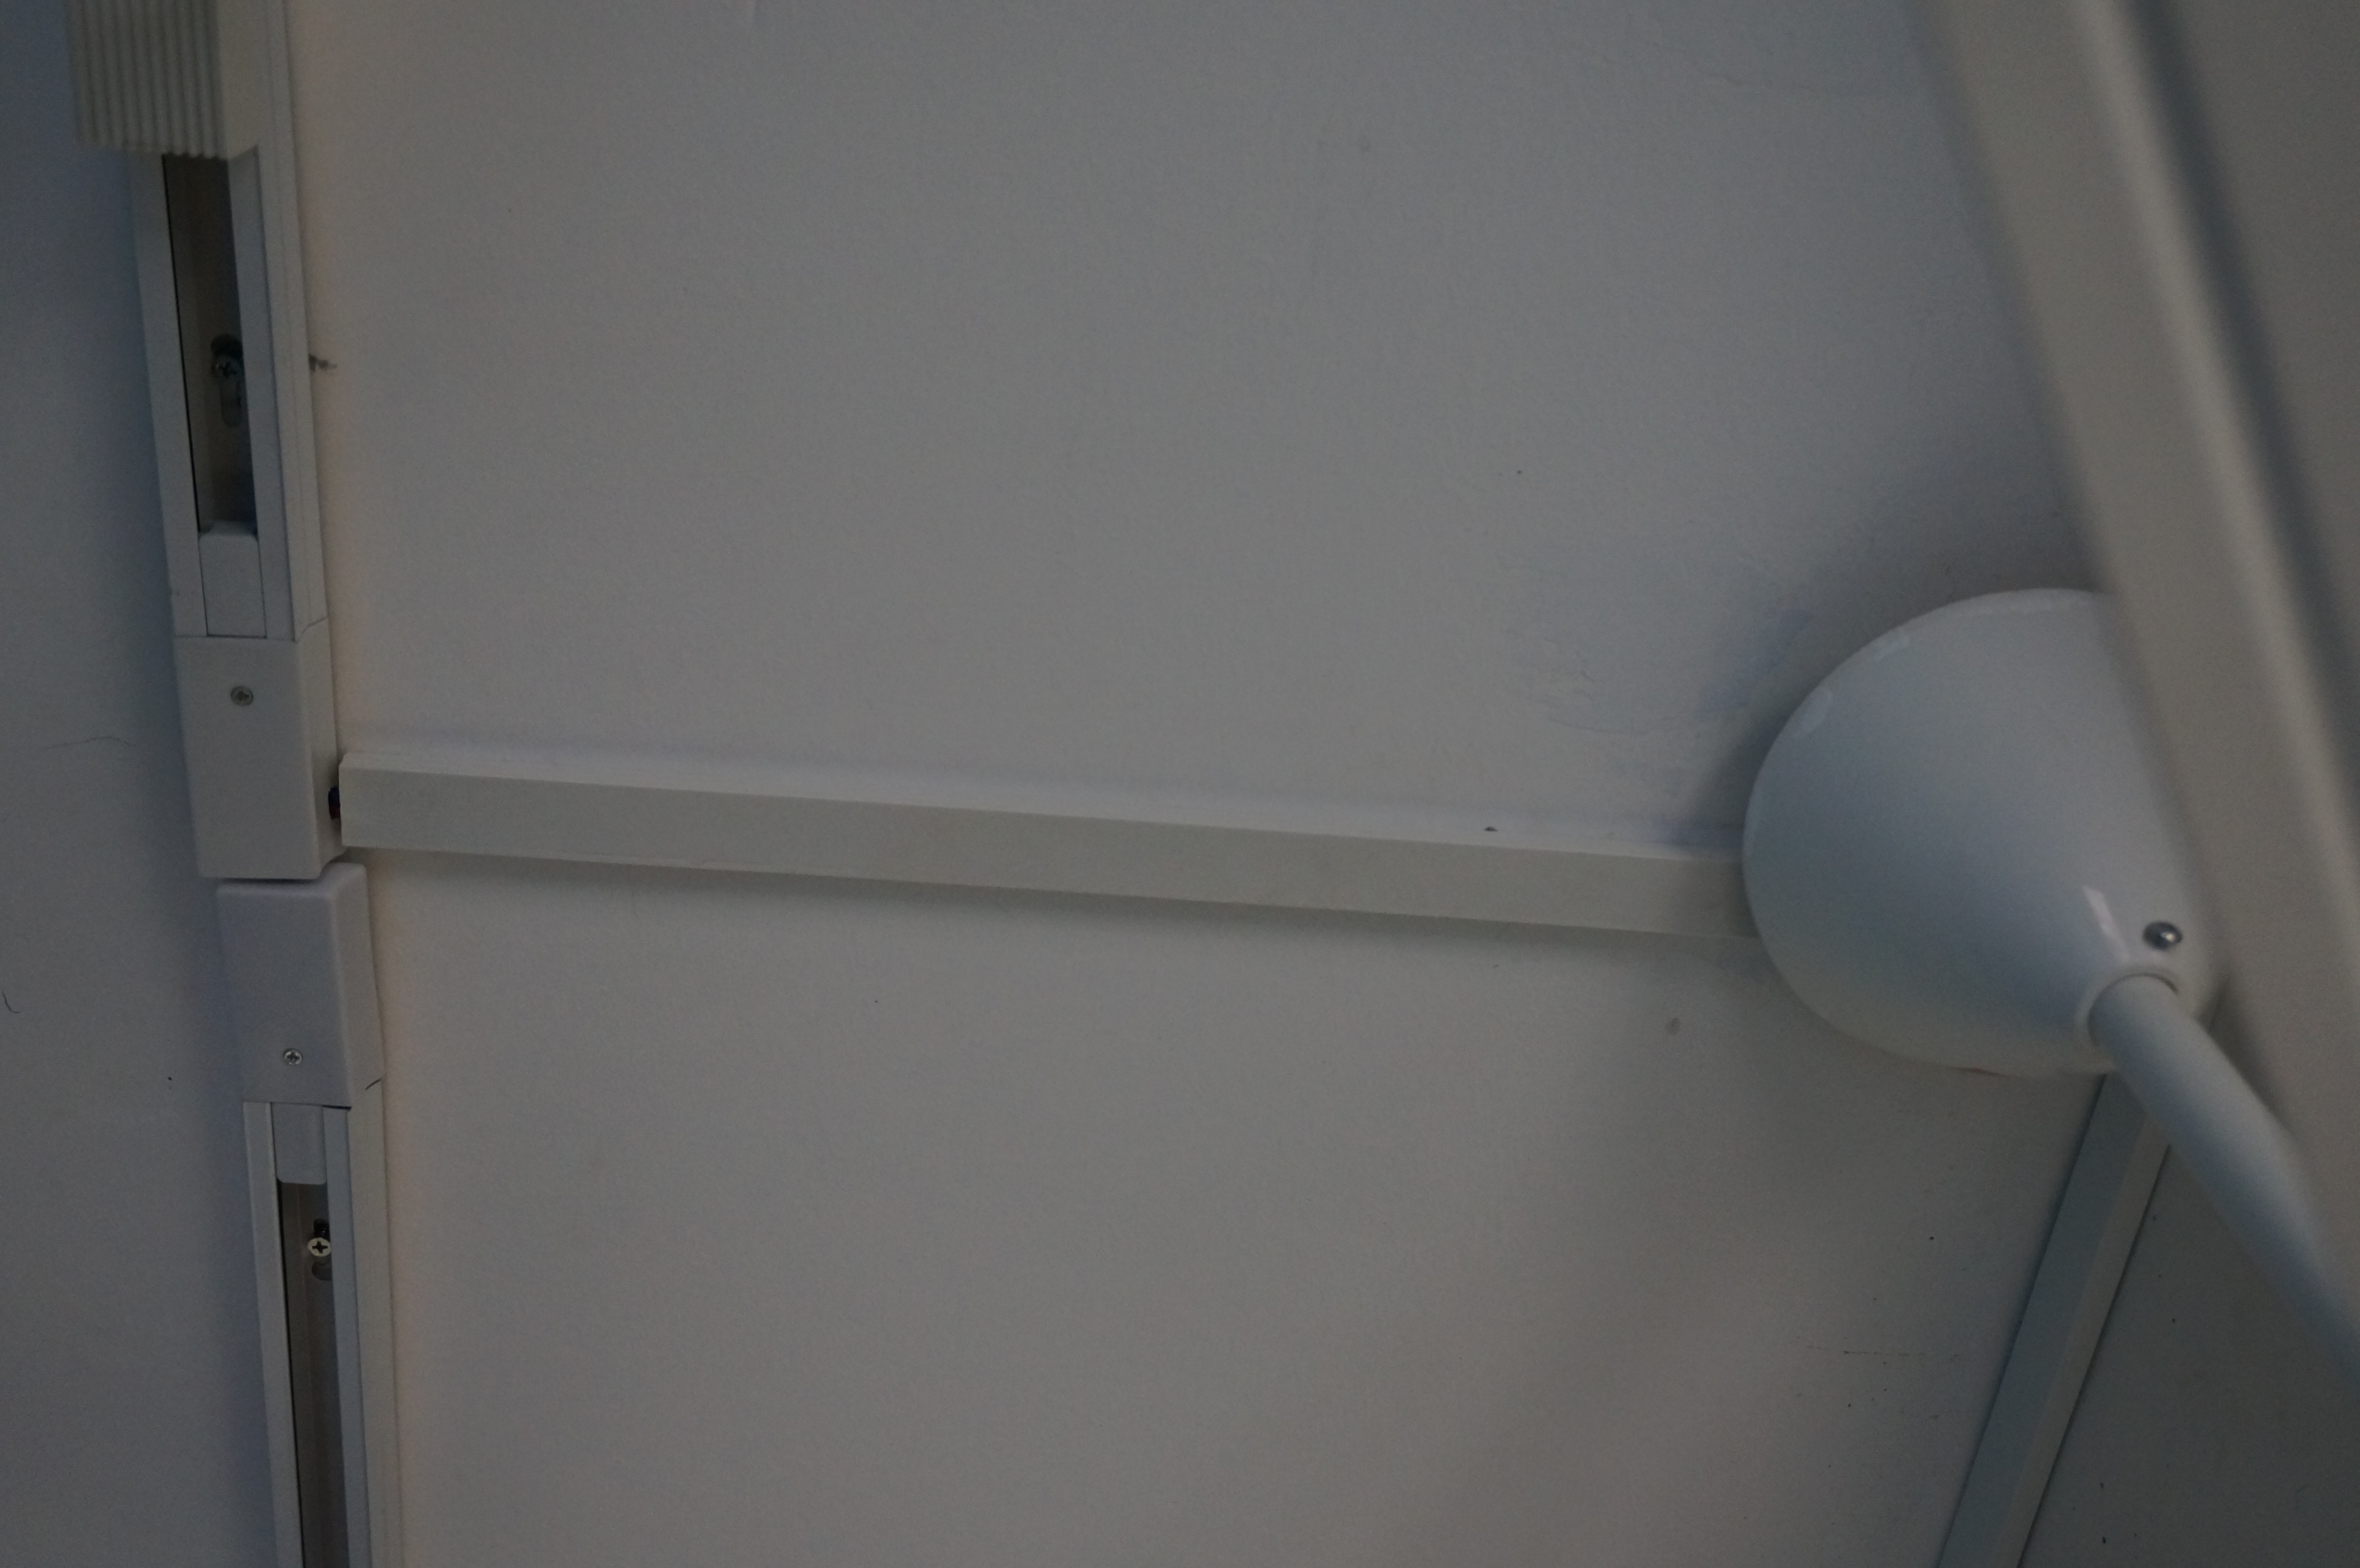
Some hammer-drilling into the brick and pounding in wall anchors, and here they are!
Version 1 of the clothes rack:
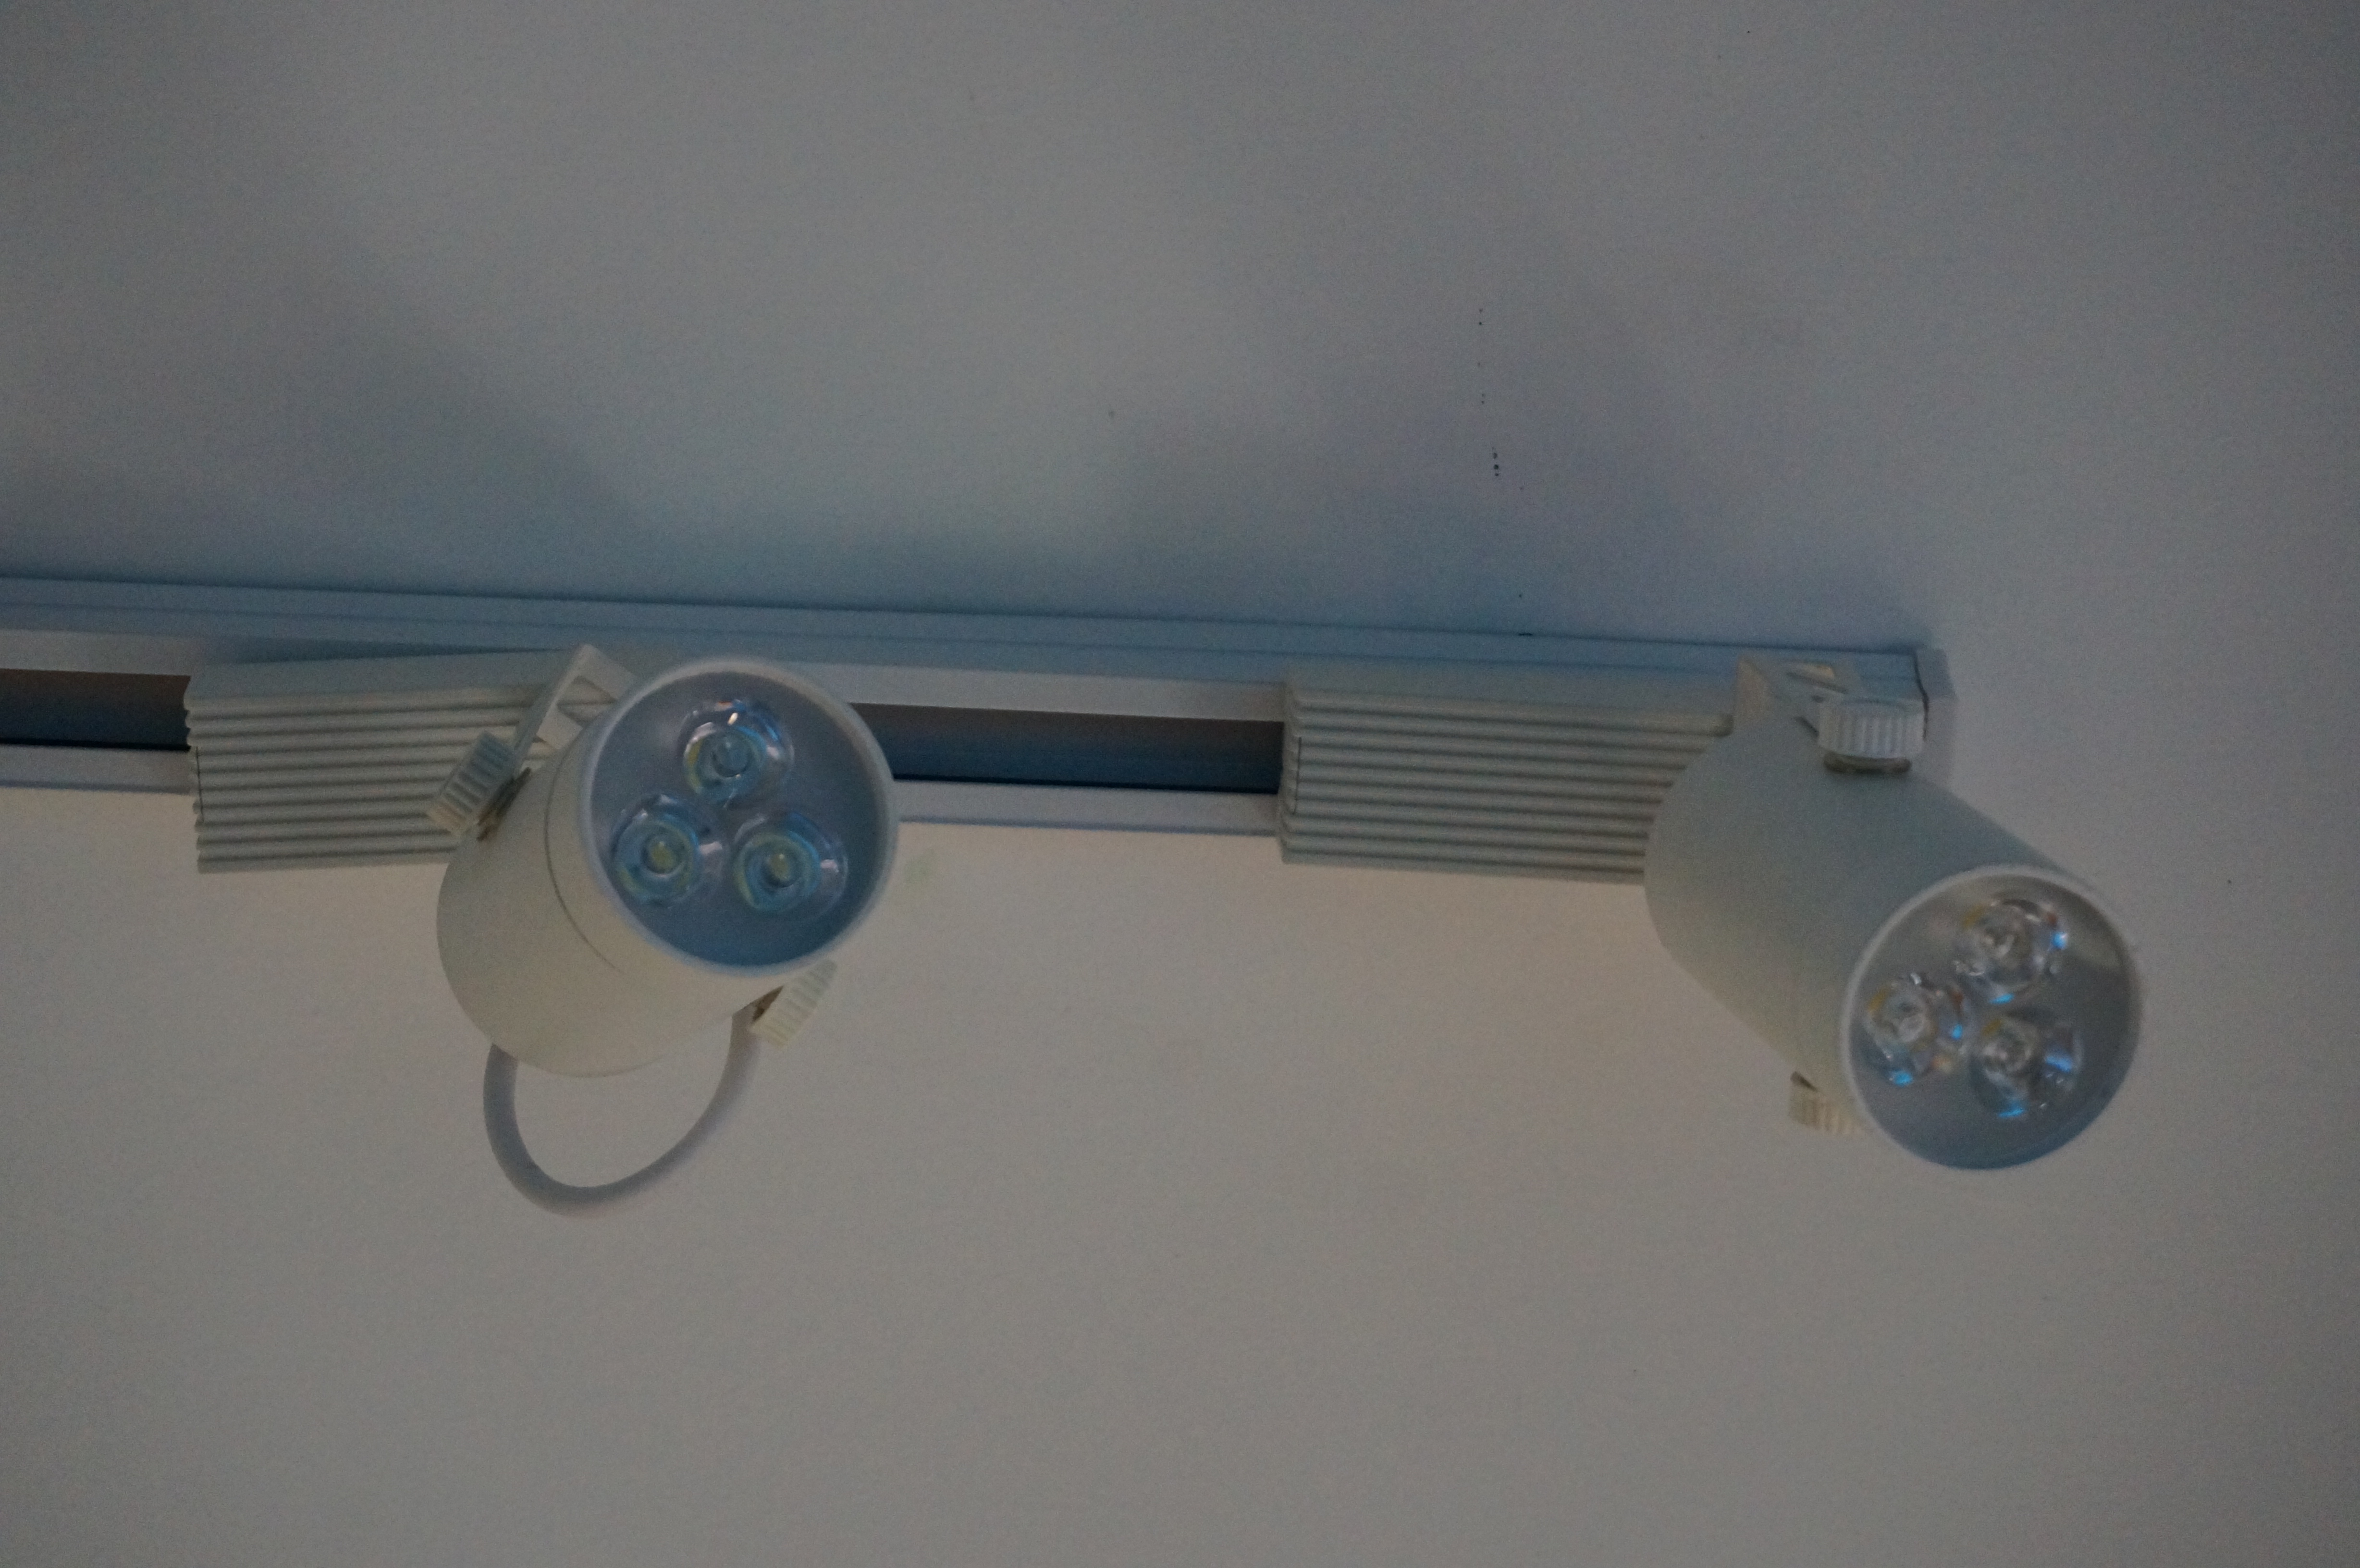
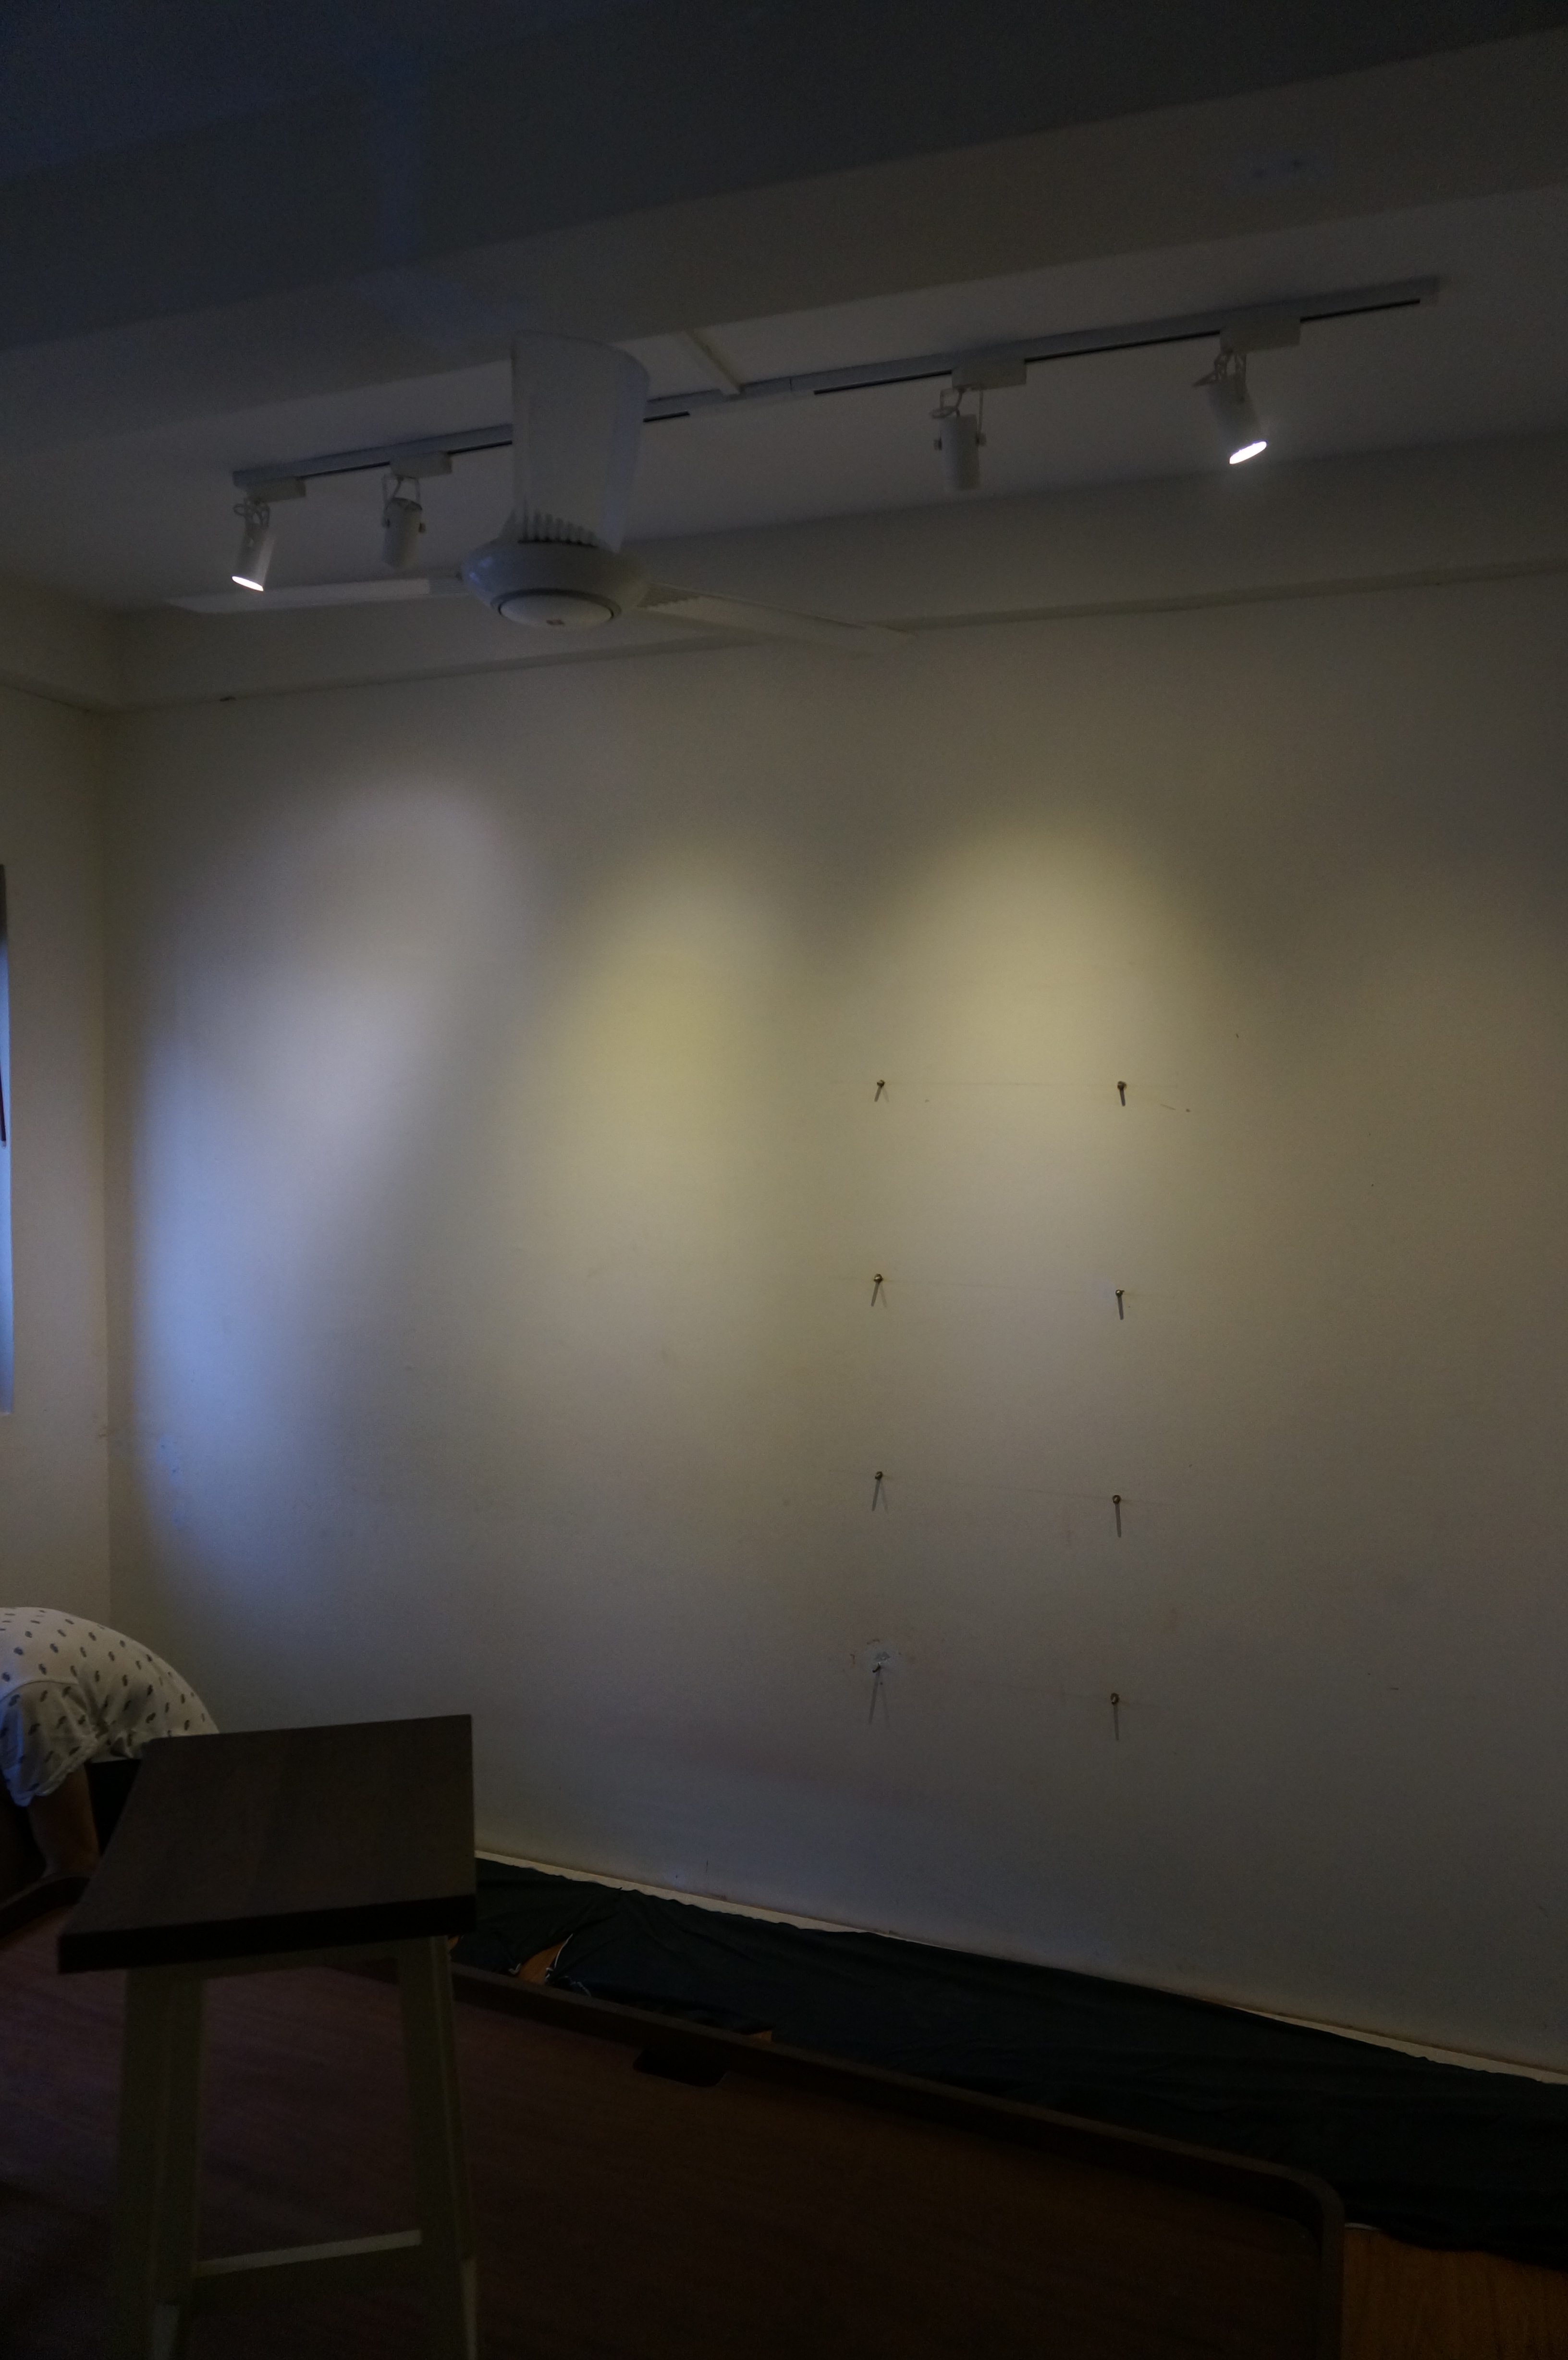
Next came installing the track lighting (~$30-$40). The trunking was ok but I misaligned the light bars a bit.
Then putty and paint. This was a big step for me. I decided to go with a bold blue as an accent color. It’s not shy!
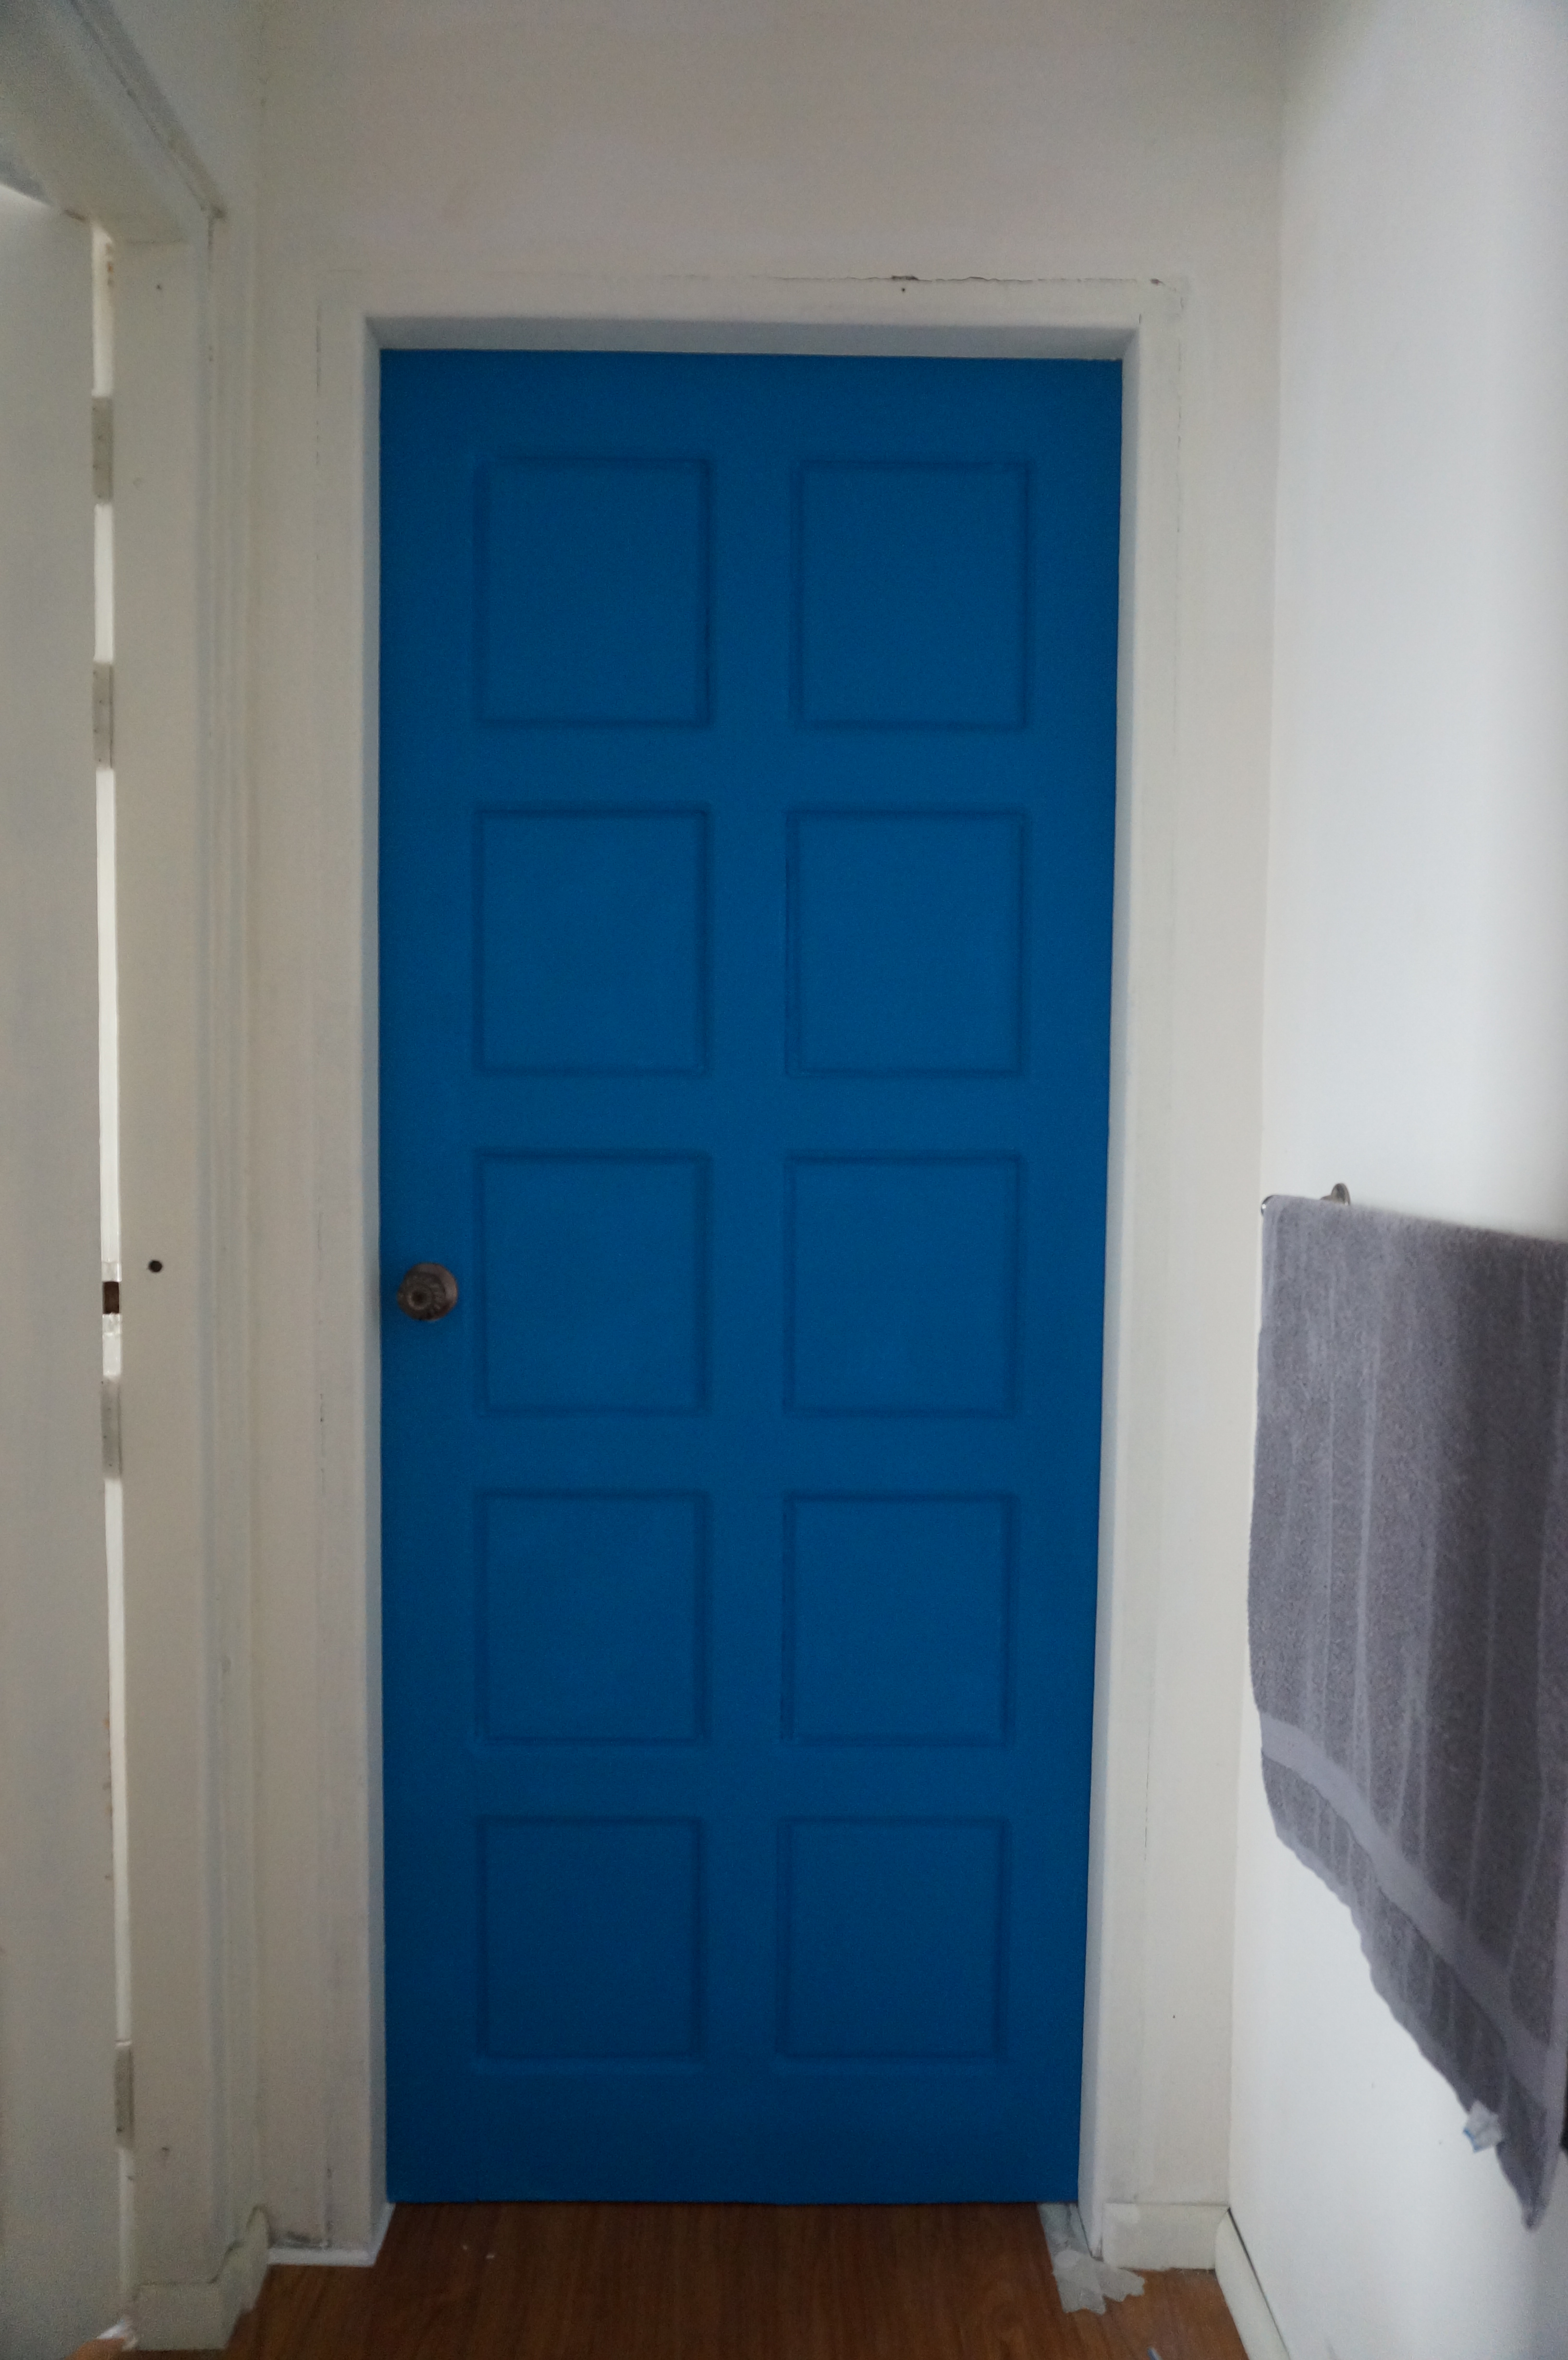
We joke about this being the Greek/Mediterranean room.
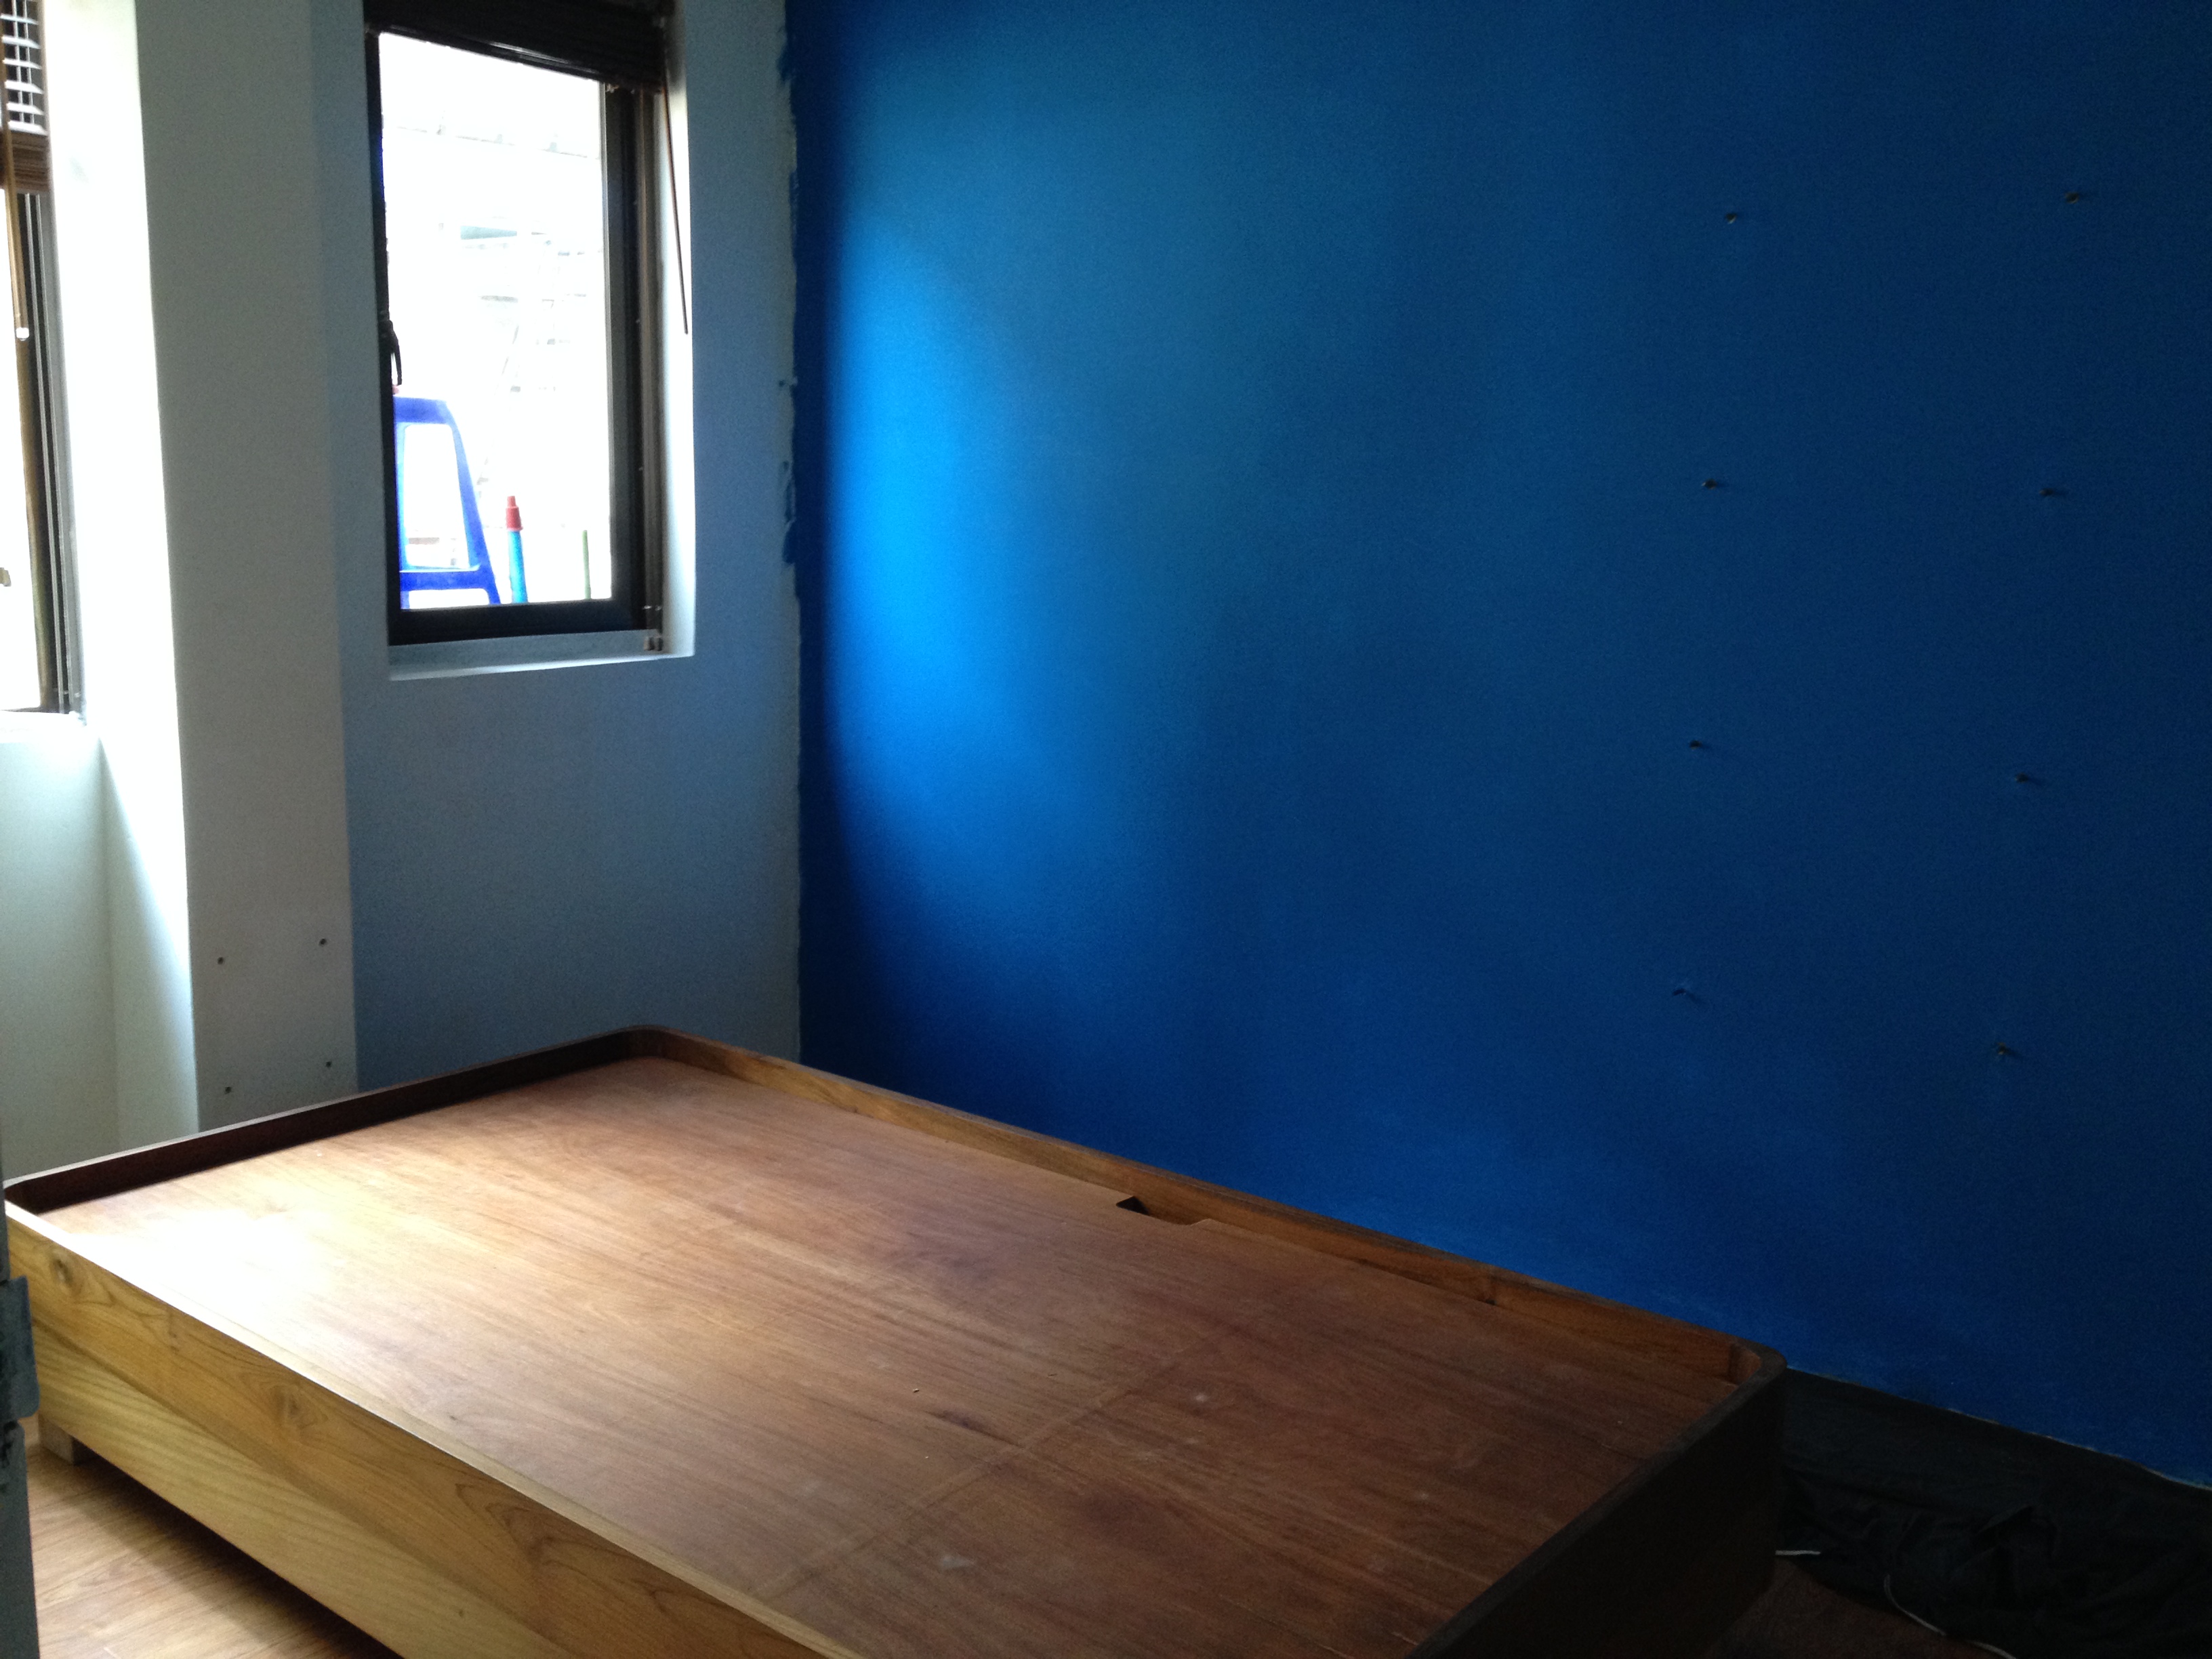
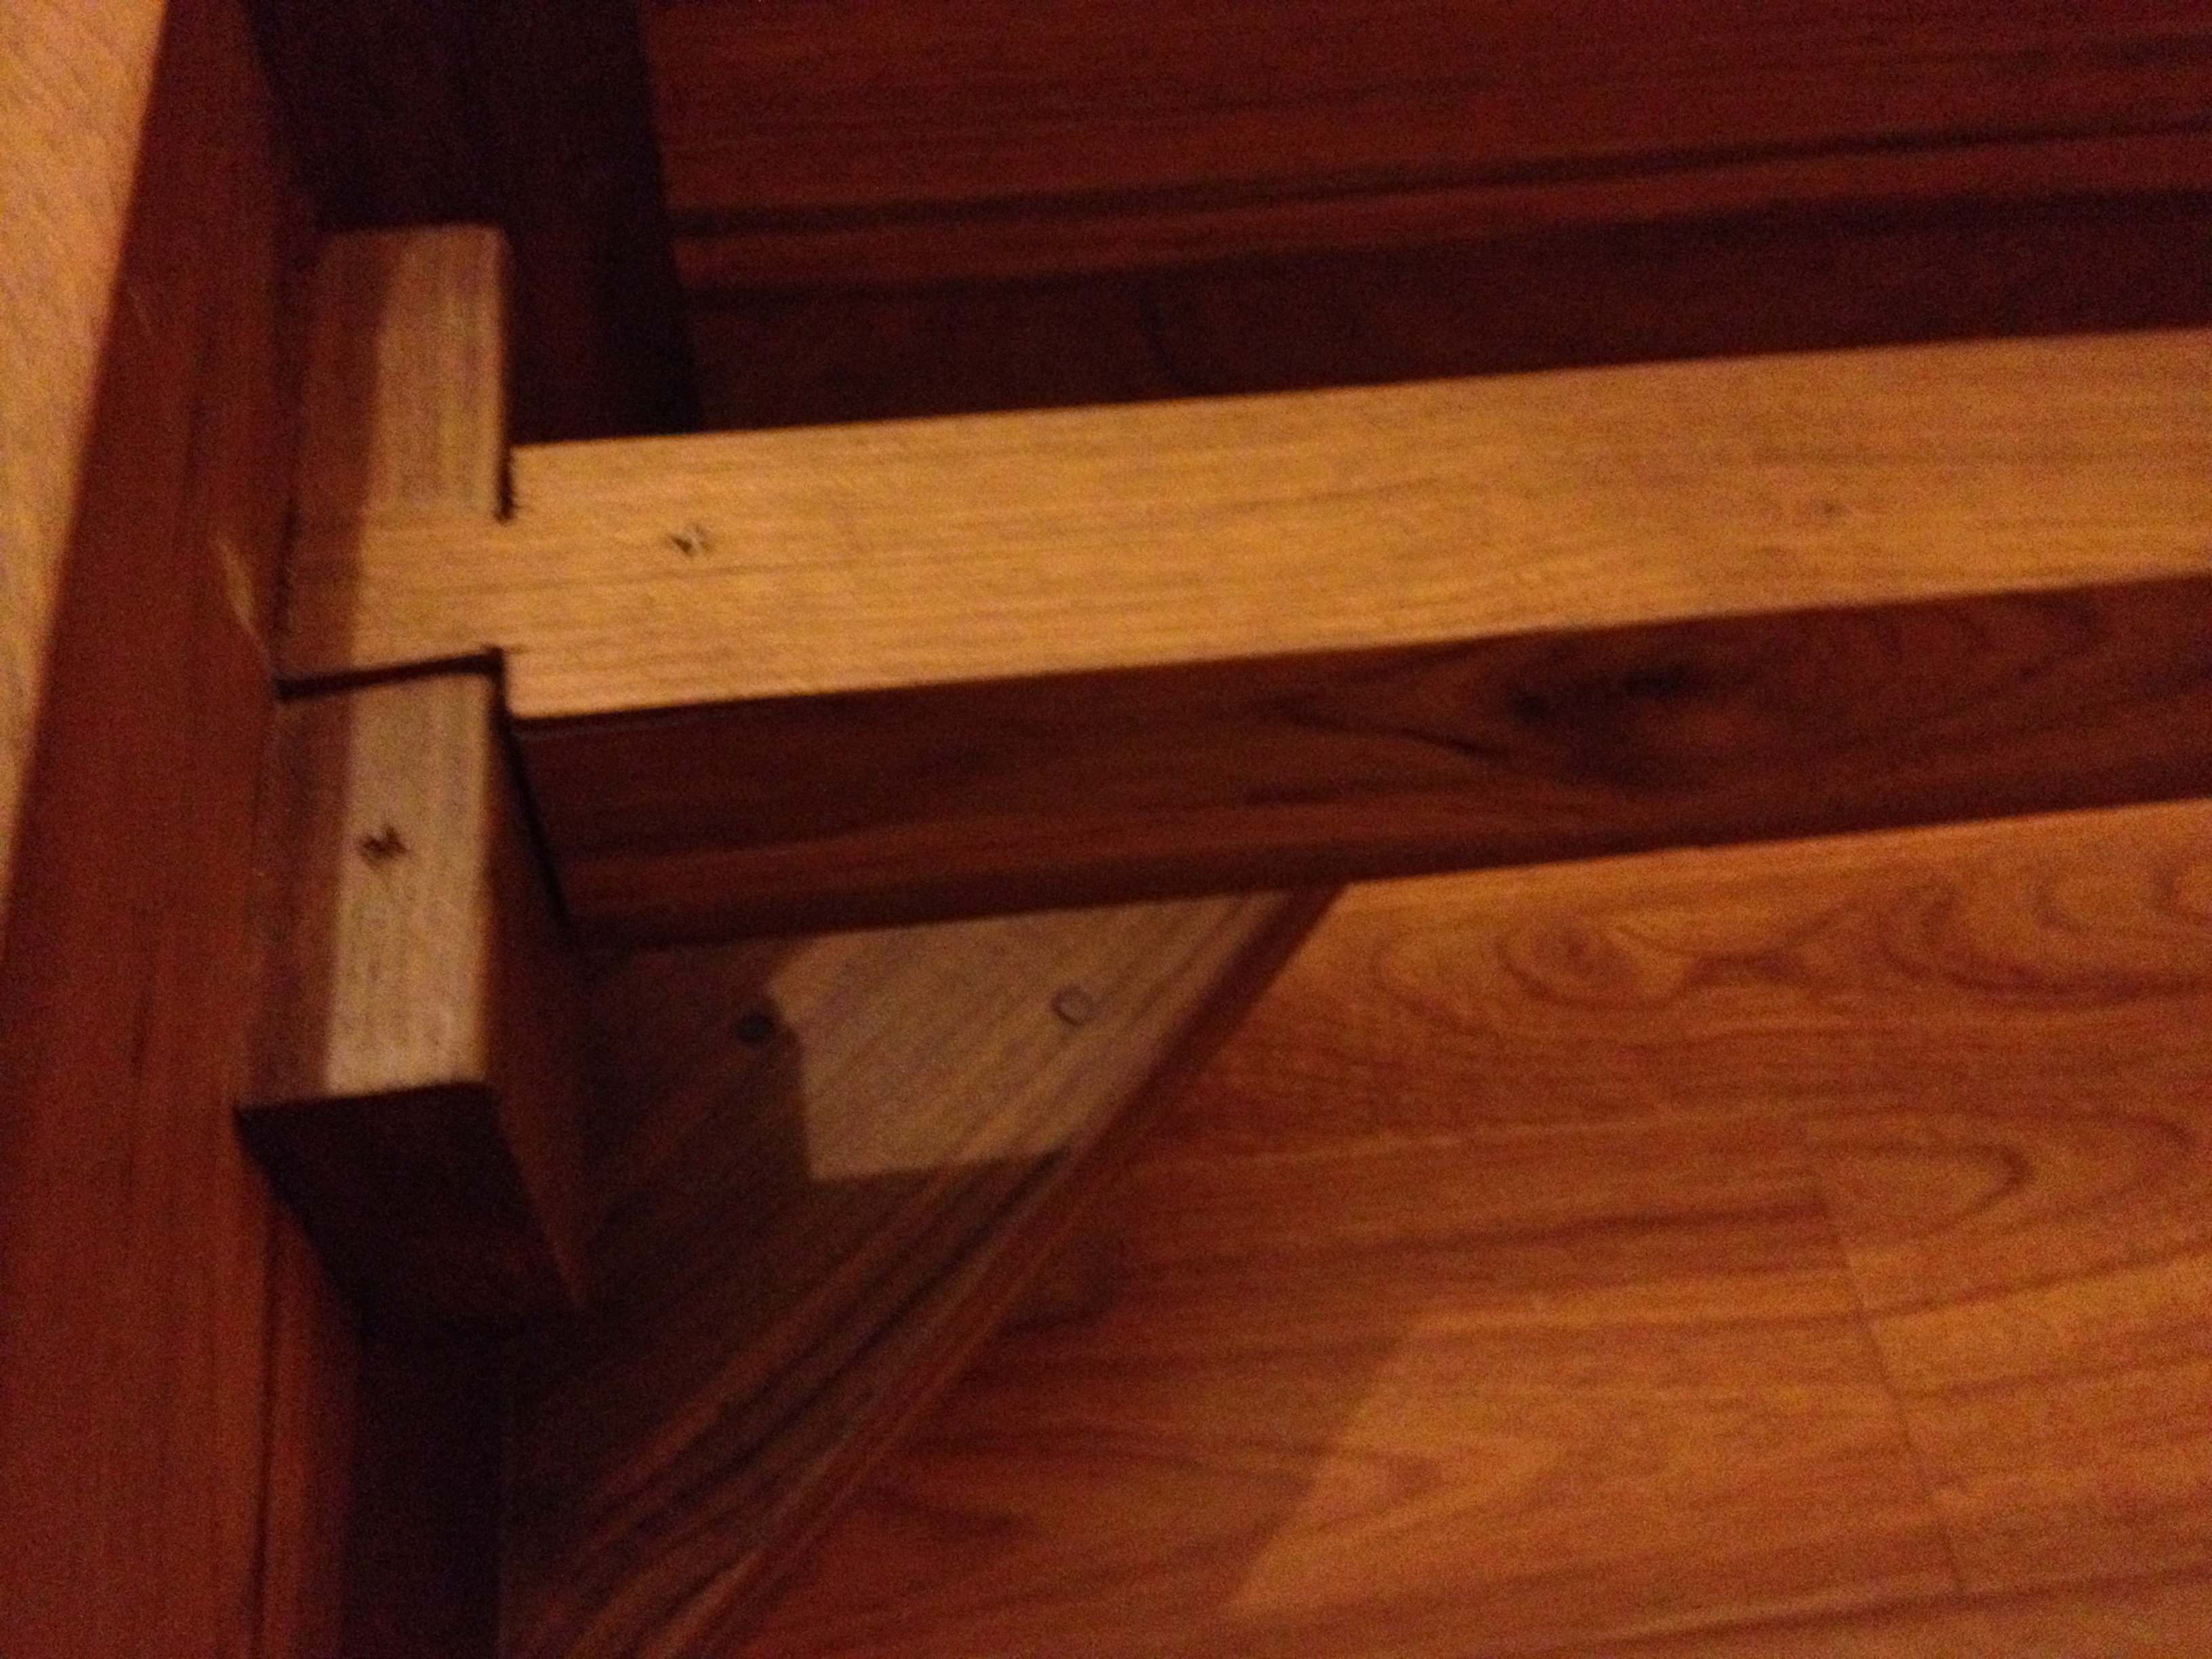
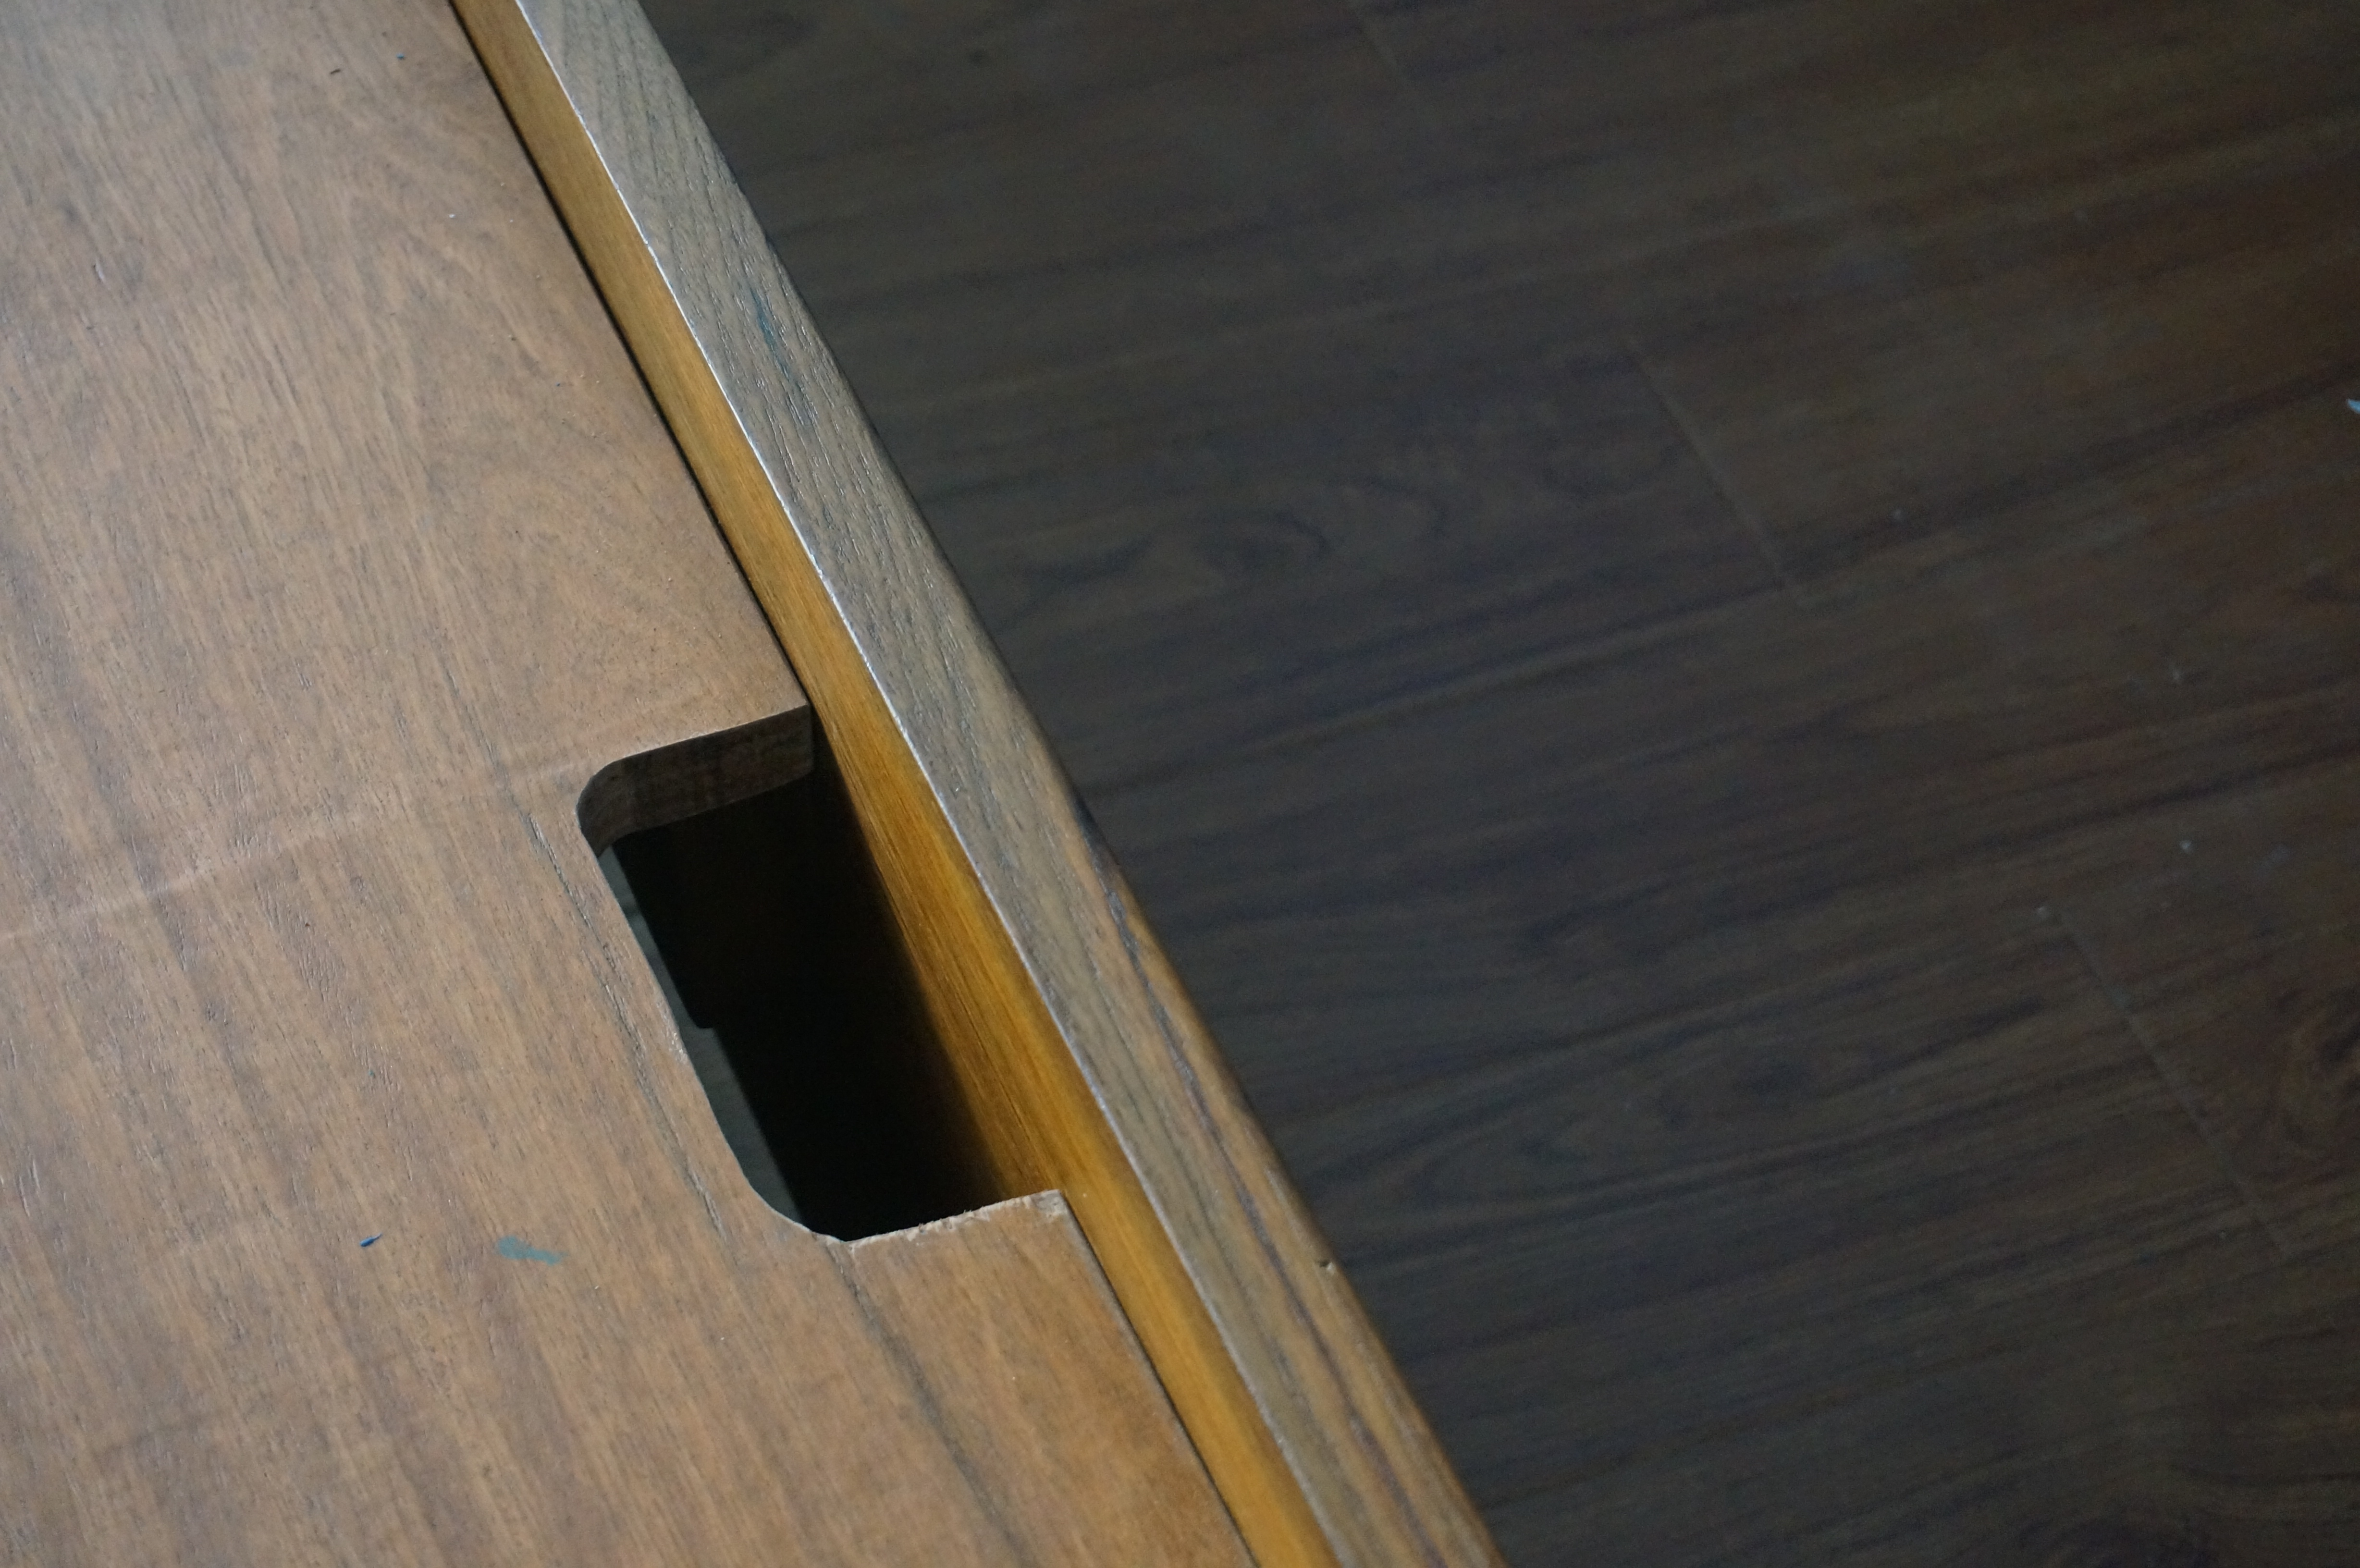
You can also see the plywood weight distribution board. Taiei and I used a skill saw to cut a hand hold to be able to lift it.
Next came reassembling the shelves (you can see the plastic feet that we added so the glass can better grip).

The clothes rack is a cool effect with urethane finish but the rough base (the pipe has such great character).

The bedside shelves proved more challenging (I think we were hitting rebar with the hammer drill). The top one went in after some finagling but it’s unclear if the bottom one is going to work out.
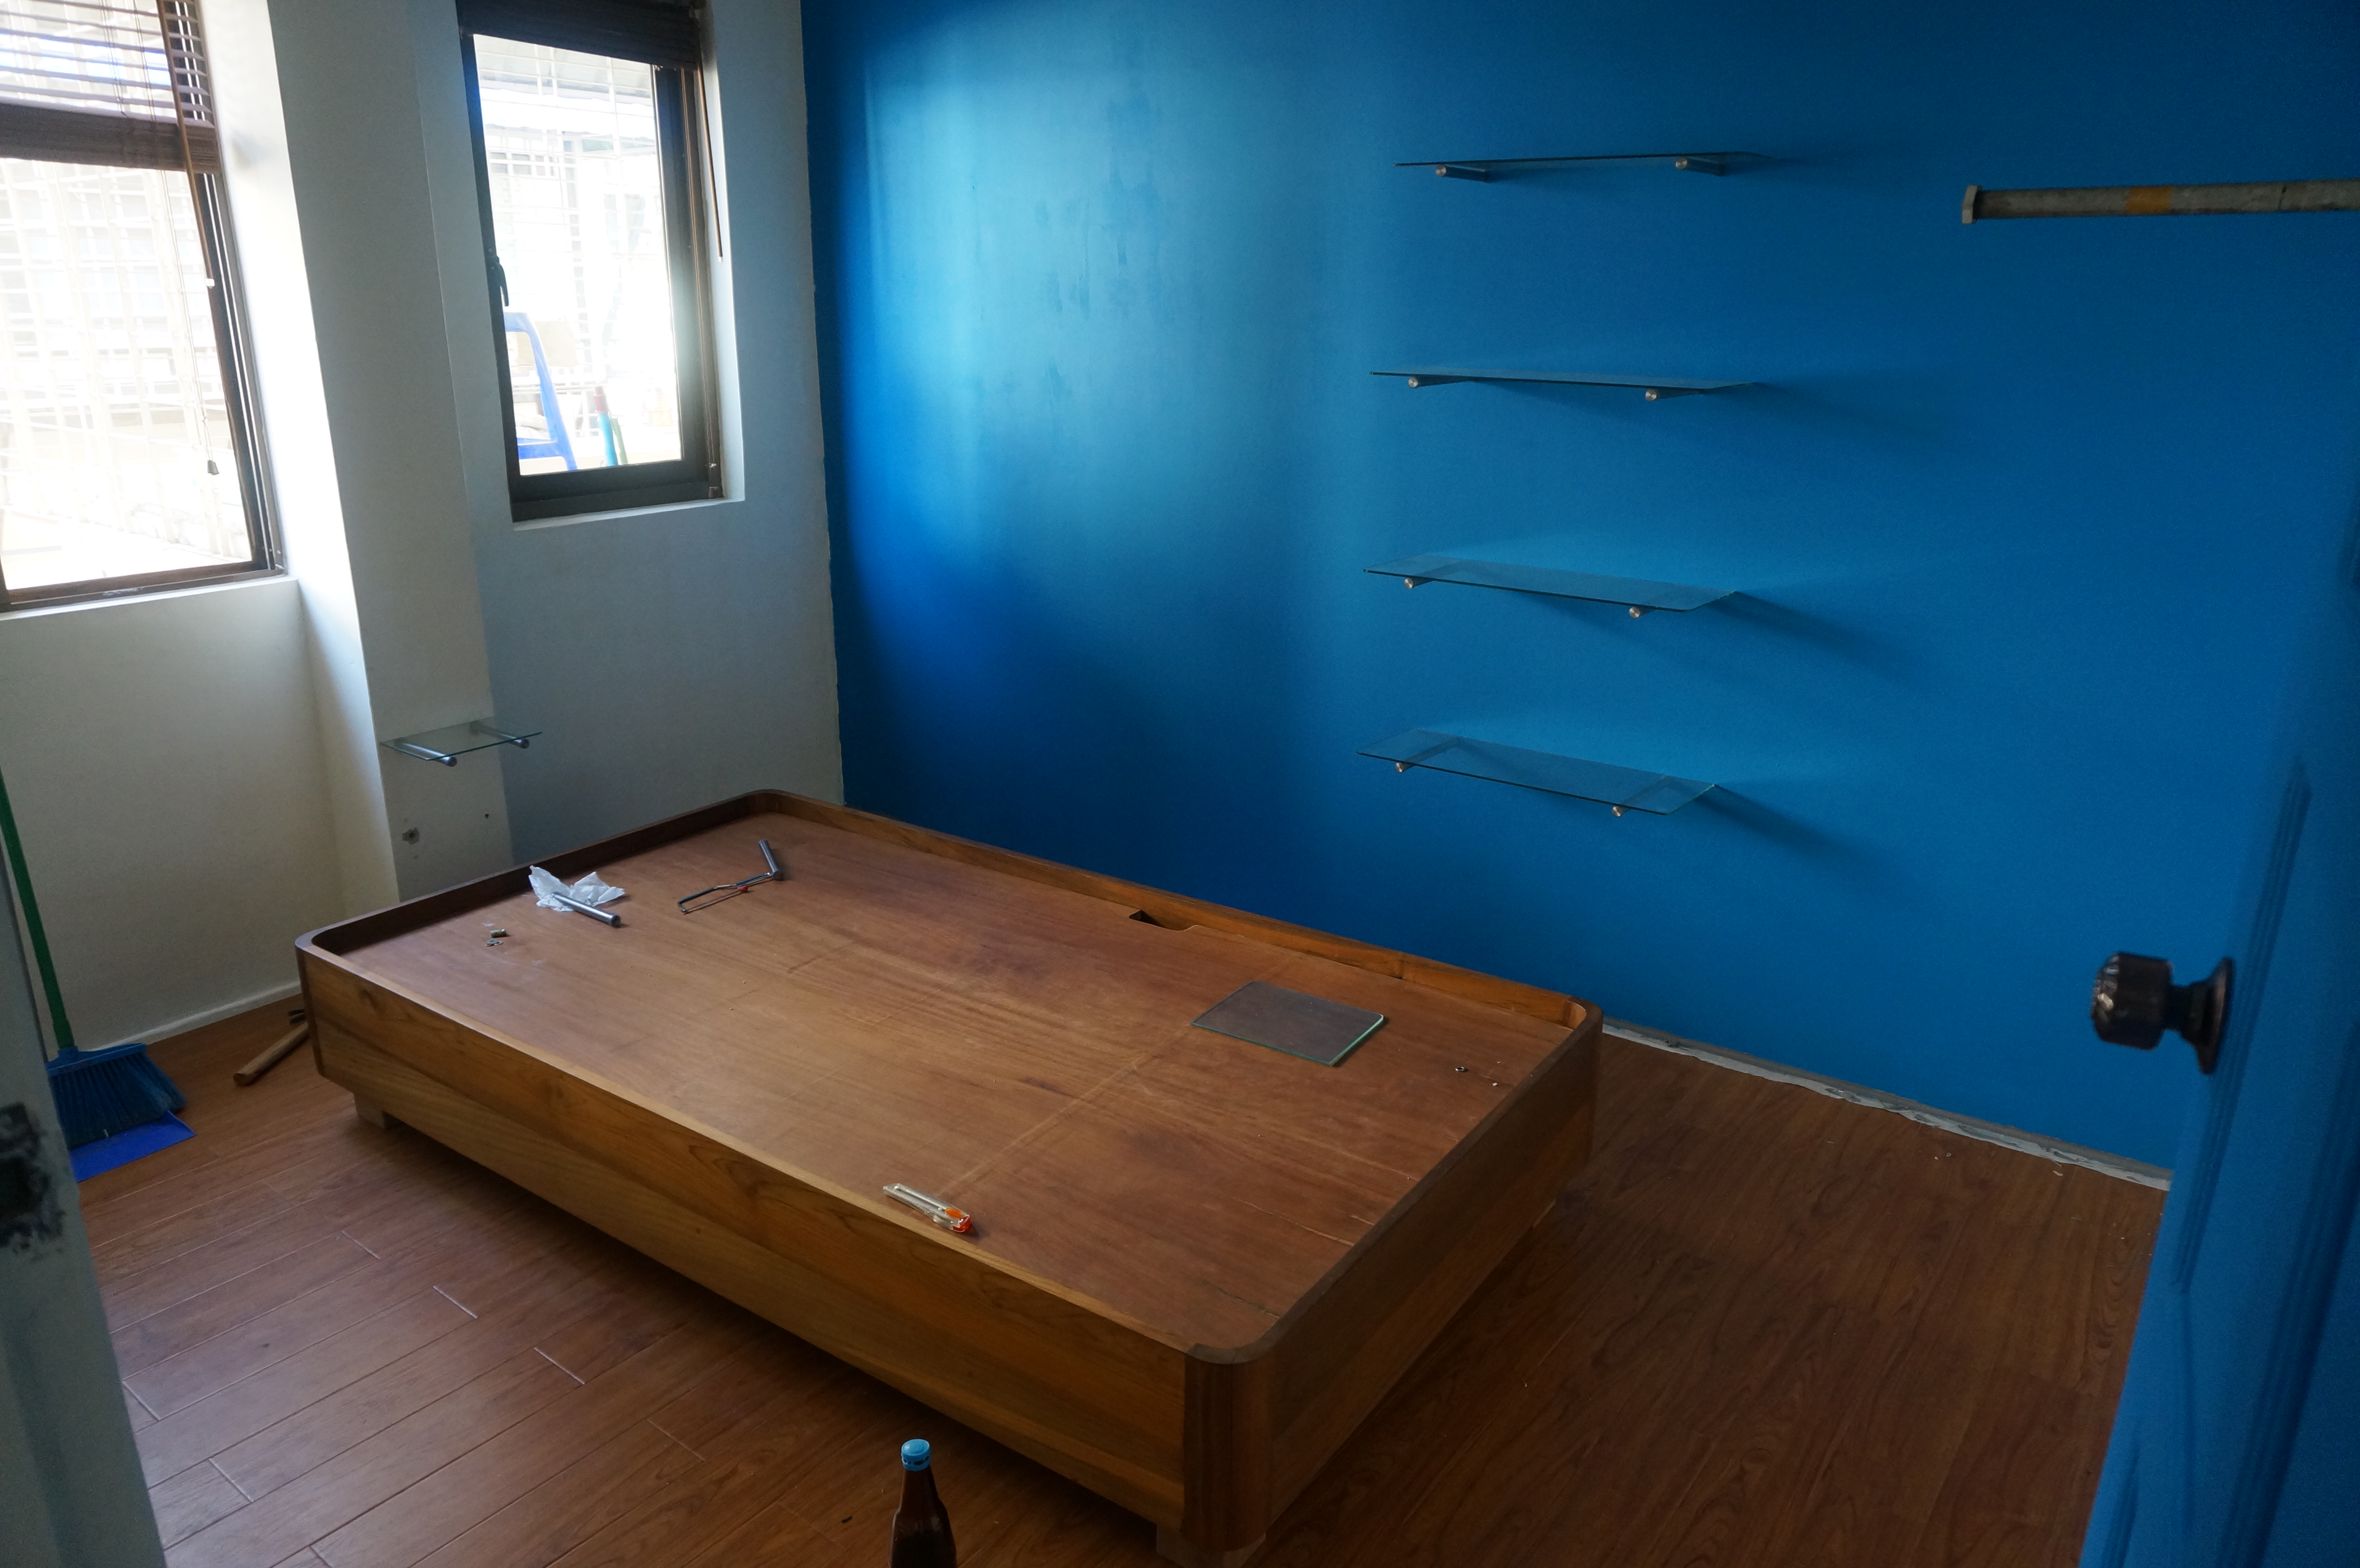
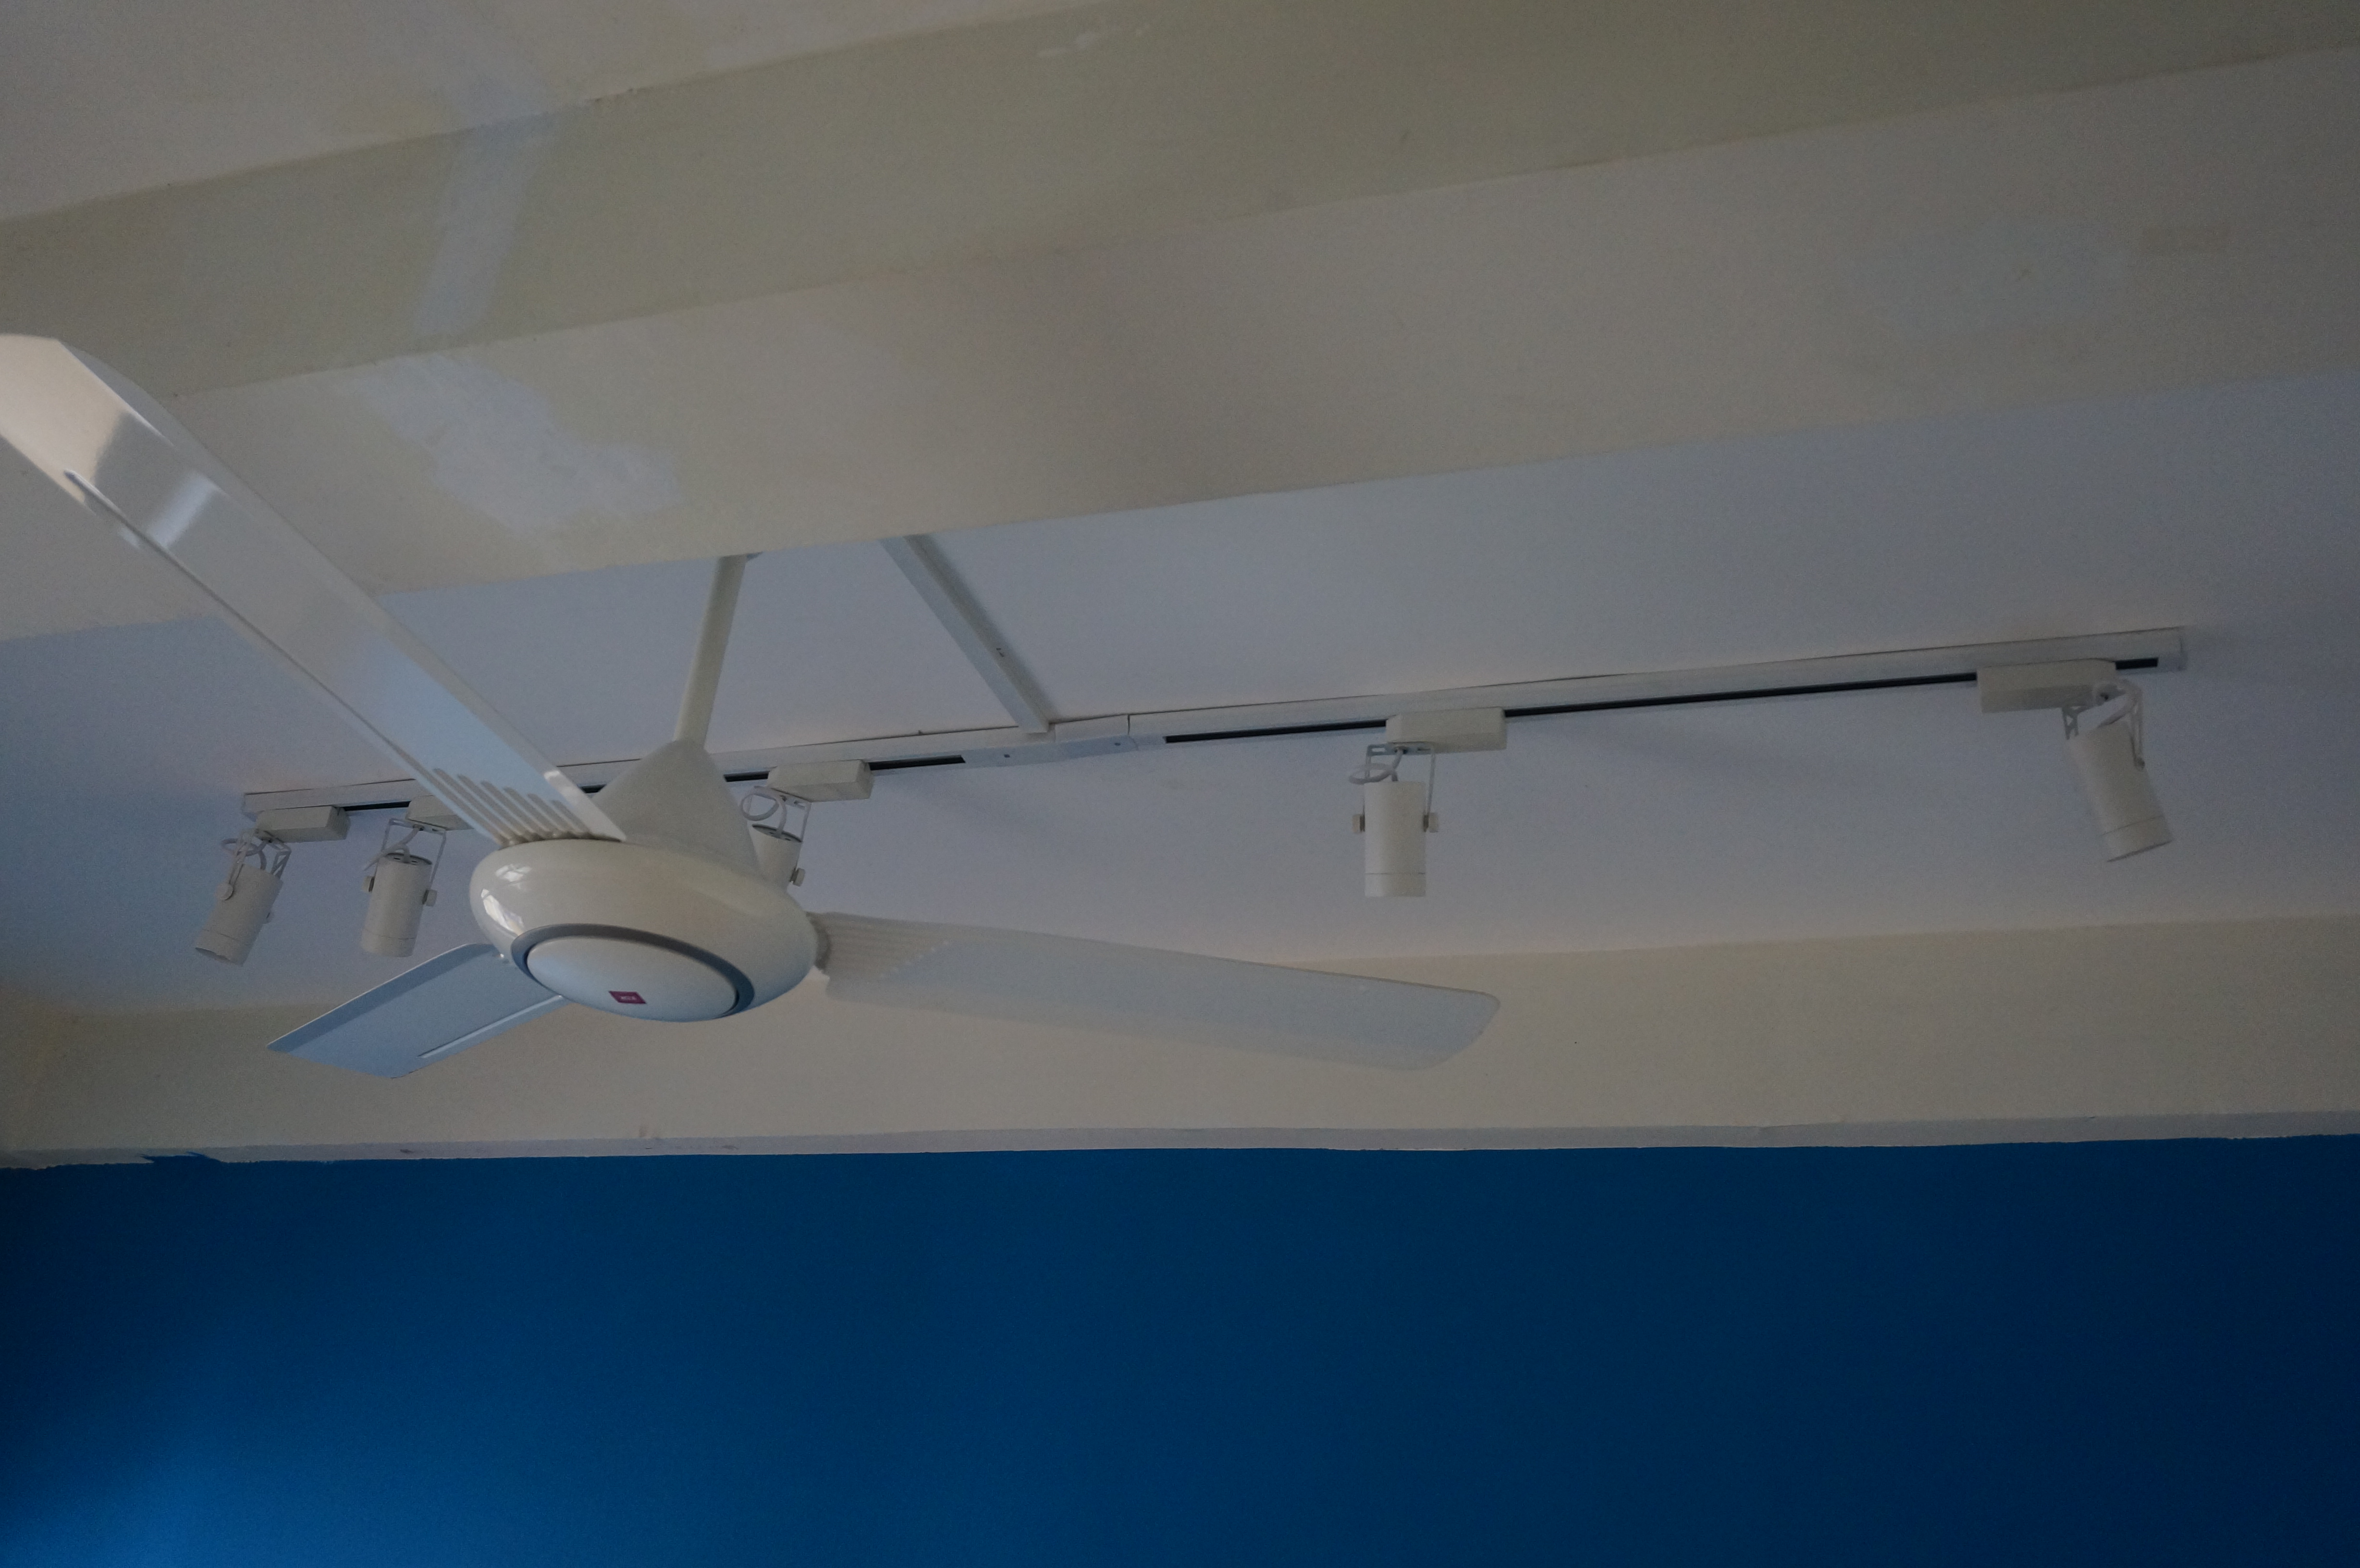
Here’s another shot of the track lighting.
We also removed the floor molding and applied silicone caulking to fill in the gaps between where the floor boards meet the wall.


So far, I think all-in the room probably cost in the $500-$700 range ($335 for the bed, $50 for the metal, anchors, etc., $60 for the glass, $50 for the paint, putty, caulking, etc., $40 for the lights, and I’m probably missing some other expenses like the urethane and thinner).
Taiei, my roommate, has been a massive help throughout this process, helping me to design and build the components and acquire the materials, teaching me how to use things like a lathe and hammer drill, providing a supporting nudge to go with the blue accent wall, and helping to bring everything together toward the finish line (as I write this he is currently helping to finalize the caulking).
Here’s a picture of the two of us after manning the grill at a gathering at our friend’s apartment:

I was hoping to share more in this post, but it’s already long and I will close for now. Hope you are all well, and Happy Easter!

Happy Easter Steve!
Nice job!
>